


Your cart is empty.
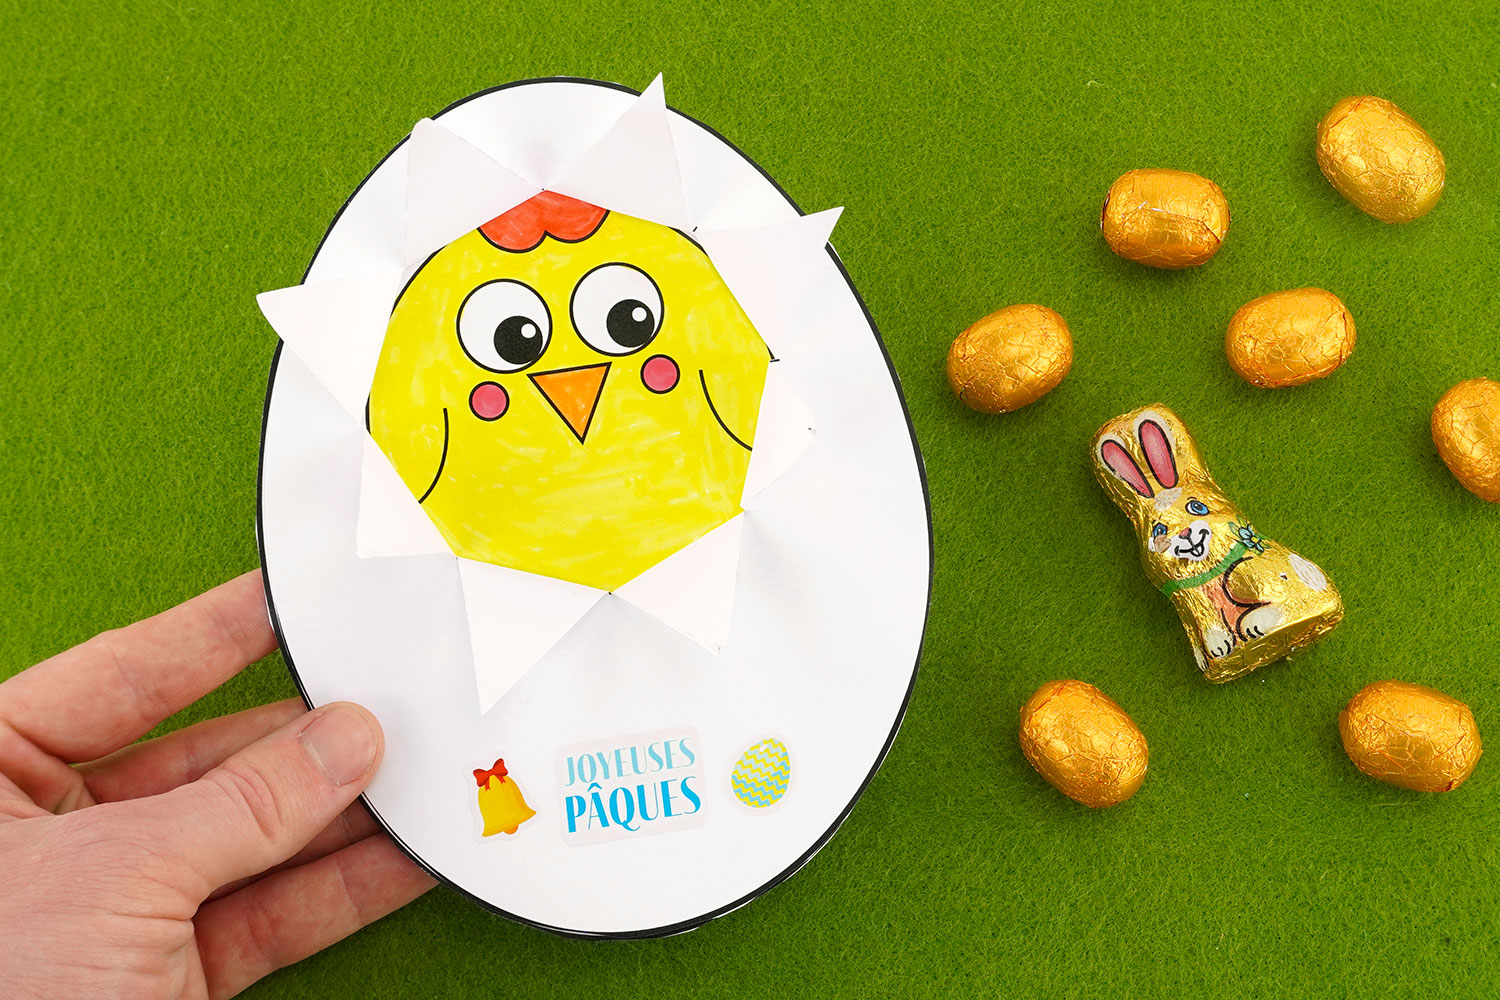
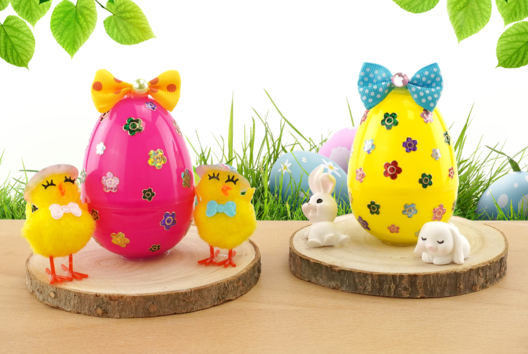
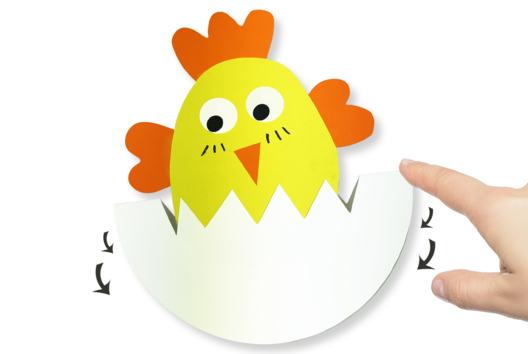
Chick "broken egg" for Easter


Chick "broken egg" for Easter


Discover this Easter activity that is very cute and easy to recreate at home with the kids!
With a bit of paper, lovely stickers, and markers, we will show you how to make a chick in a broken egg.
A fun and easy Easter activity for children from a young age!
How to make this craft step-by-step:
Materials:
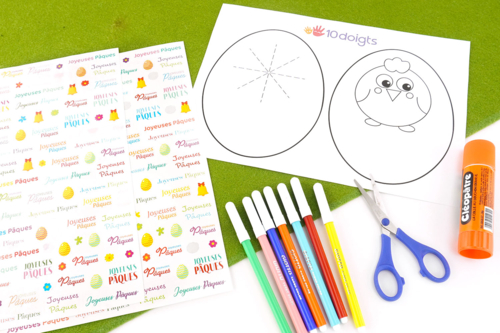
To create a lovely chick, you will need:
- a free printable template here
- a lightweight white sheet
- Easter egg stickers
- colored markers
- a glue stick
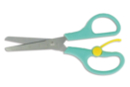
- a pair of scissors
Step 1:
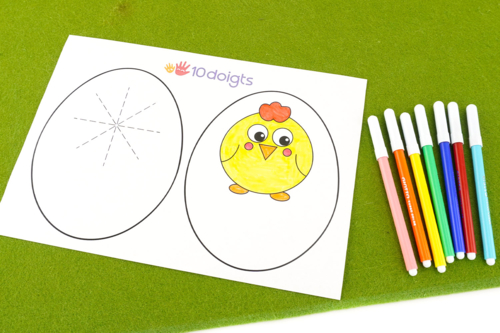
Start by printing the egg template, then color the chick with colored markers.
Step 2:
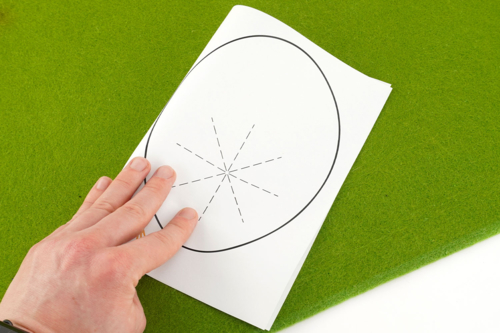
Then neatly fold the template in half to stack the two eggs.
Step 3:
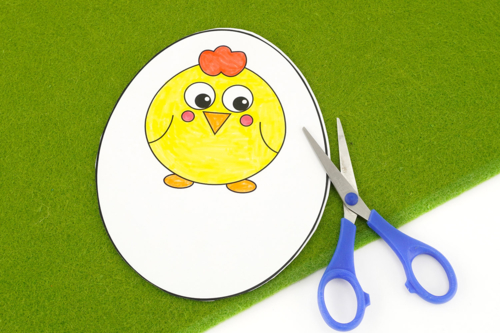
Cut everything along the outline of the egg using a pair of scissors.
This will give you 2 distinct eggs.
Step 4:
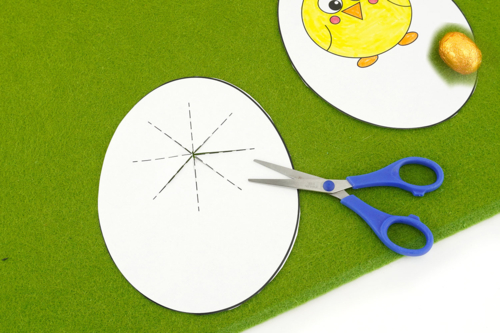
Then cut slits along the dotted lines of the egg without the chick.
Step 5:
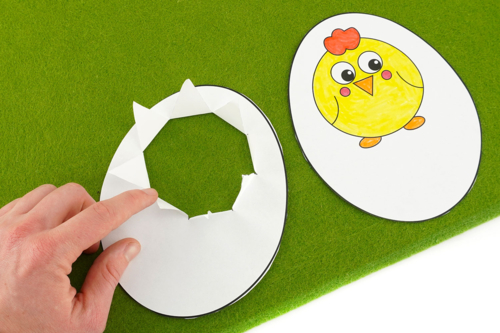
Fold the cutouts to achieve the "broken egg" effect.
Step 6:
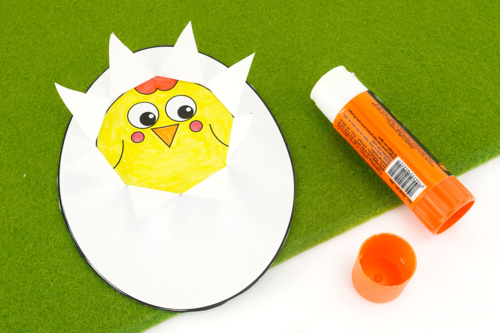
Using a glue stick, stick the broken egg onto the egg with the chick.
Step 7:
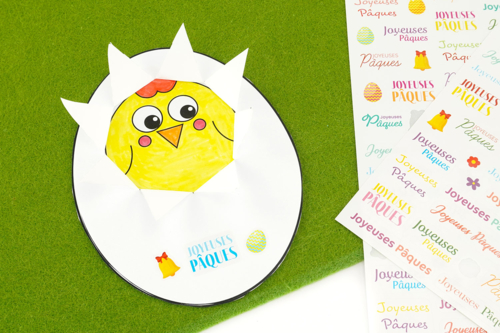
Finally, stick Easter stickers on the lower part of the egg.
Materials Needed:
Materials Needed:


Other tutorials on the theme "Easter Tutorials"



 5/5



Avis client
5.0/5
1 avis publié
5
100%
4
0%
3
0%
2
0%
1
0%
Customer review

Very good
Très bien
 AI Translation •Show the original
