


Your cart is empty.
Christmas Tree Photo Holder
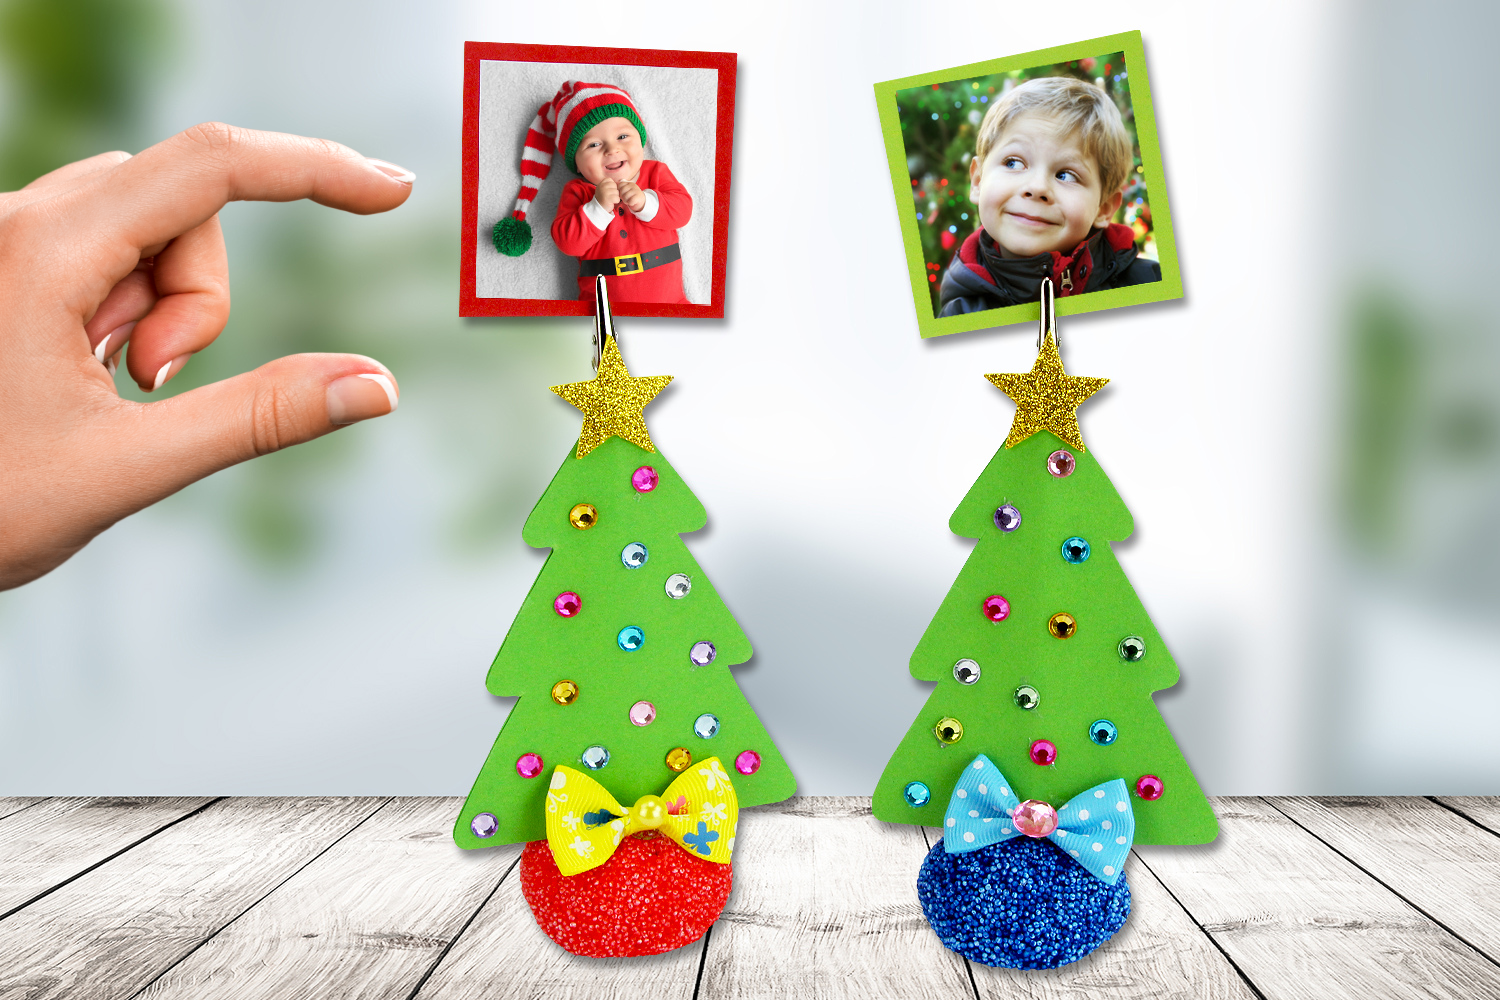


Christmas Tree Photo Holder
For Christmas, we will make some adorable trees that will allow you to display your favorite family photos! These lovely trees can also be used as place markers for holiday meals.
A complete creative activity blending cutting, gluing, and modeling: the children will have fun!
How to make this craft step-by-step:
Materials
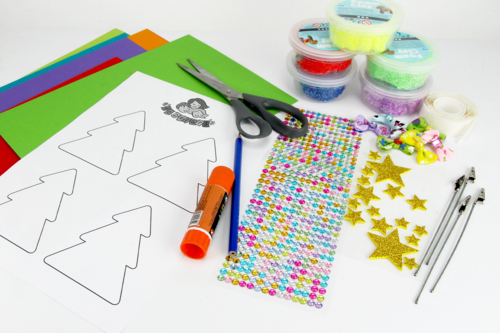
To make a tree photo holder:
- colored cardstock (300 g/m²)
- a memo clip with a clamp
- self-adhesive rhinestones
- star stickers
- foam clay
- fabric bows
- a glue stick
- glue dots
- a pair of scissors
Step 1
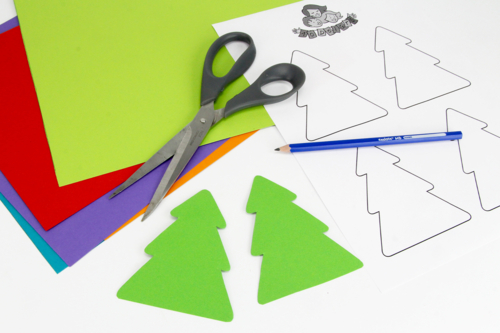
Tip: To achieve the same result as in this tutorial, you can print our tree template by clicking on "Technical sheet" below the main photo.
Once the template is printed, cut out 2 identical trees from a sturdy card.
Step 2
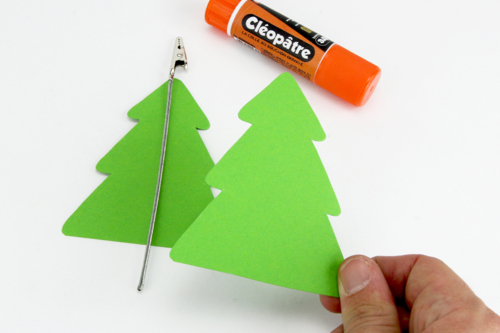
- Glue the surfaces of the 2 paper Christmas trees.
- Place the memo clip at the center of one tree.
- Stick the trees together to enclose the memo clip.
Step 3
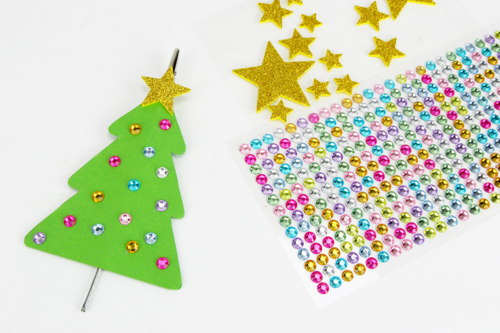
Decorate the tree with adhesive rhinestones and then attach a golden star to the top of it.
Step 4
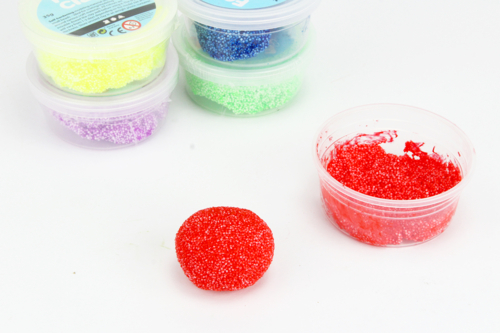
Make a ball with modeling clay (Foam clay) in the color of your choice, then slightly flatten it with the palm of your hand to create a stable base.
Step 5
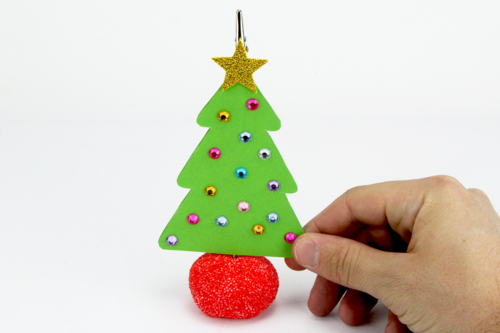
Plant the tree in the modeling dough (allow about 24 hours for the dough to harden).
Step 6
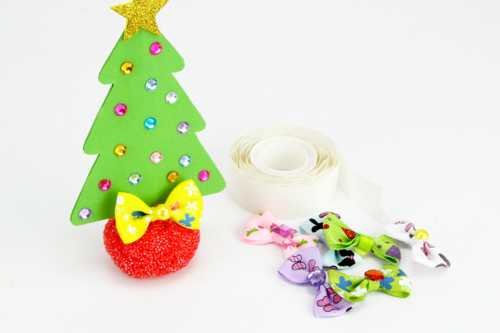
Stick a pretty fabric bow at the foot of the tree using an adhesive dot.
Step 7
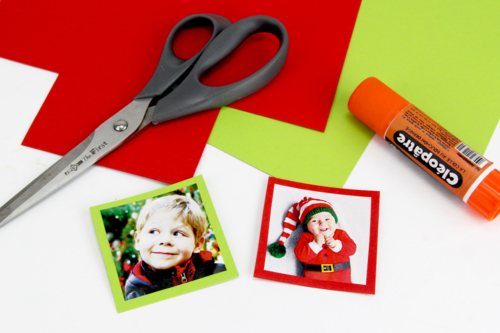
Print and then cut out a photo before gluing it onto a colored cardstock for a stunning effect.
Step 8
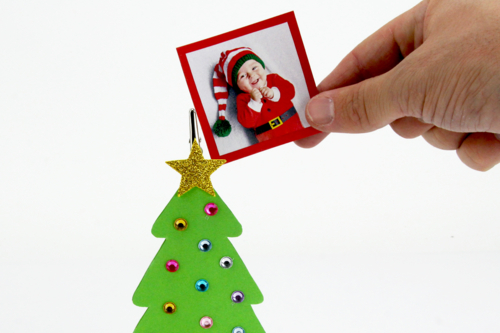
Place the photo on the metal clip at the top of the tree.
Materials Needed:
Materials Needed:

13,99€ (either 0,28 € / pc)
Available

1,79€ (either 0,36 € / pc)
Available

2,49€
Available


19,90€
Available


Other tutorials on the theme "Craft Tutorials"








Vos créations inspirées par ce tuto
Avis client
5.0/5
2 avis publiés
5
100%
4
0%
3
0%
2
0%
1
0%
Customer review

Great idea
With preschoolers, it's quite easy
Super idée
Avec les maternelles c est assez facile
 AI Translation •Show the original

it's really great
c est vraiment super