


Your cart is empty.
Christmas Tree with Paper Strips
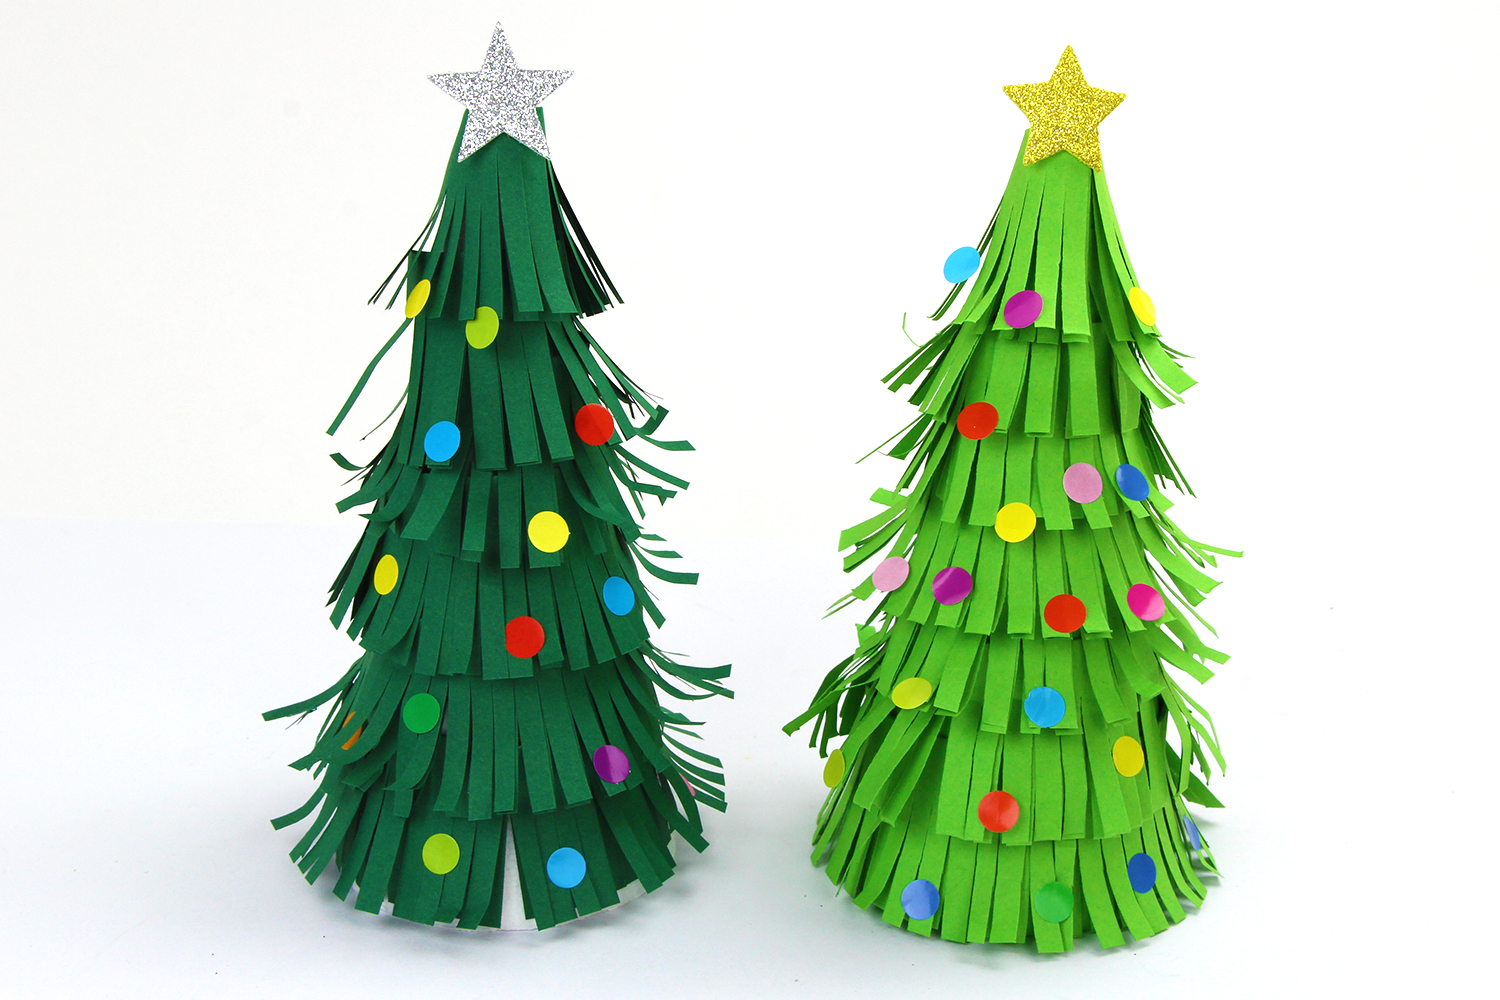
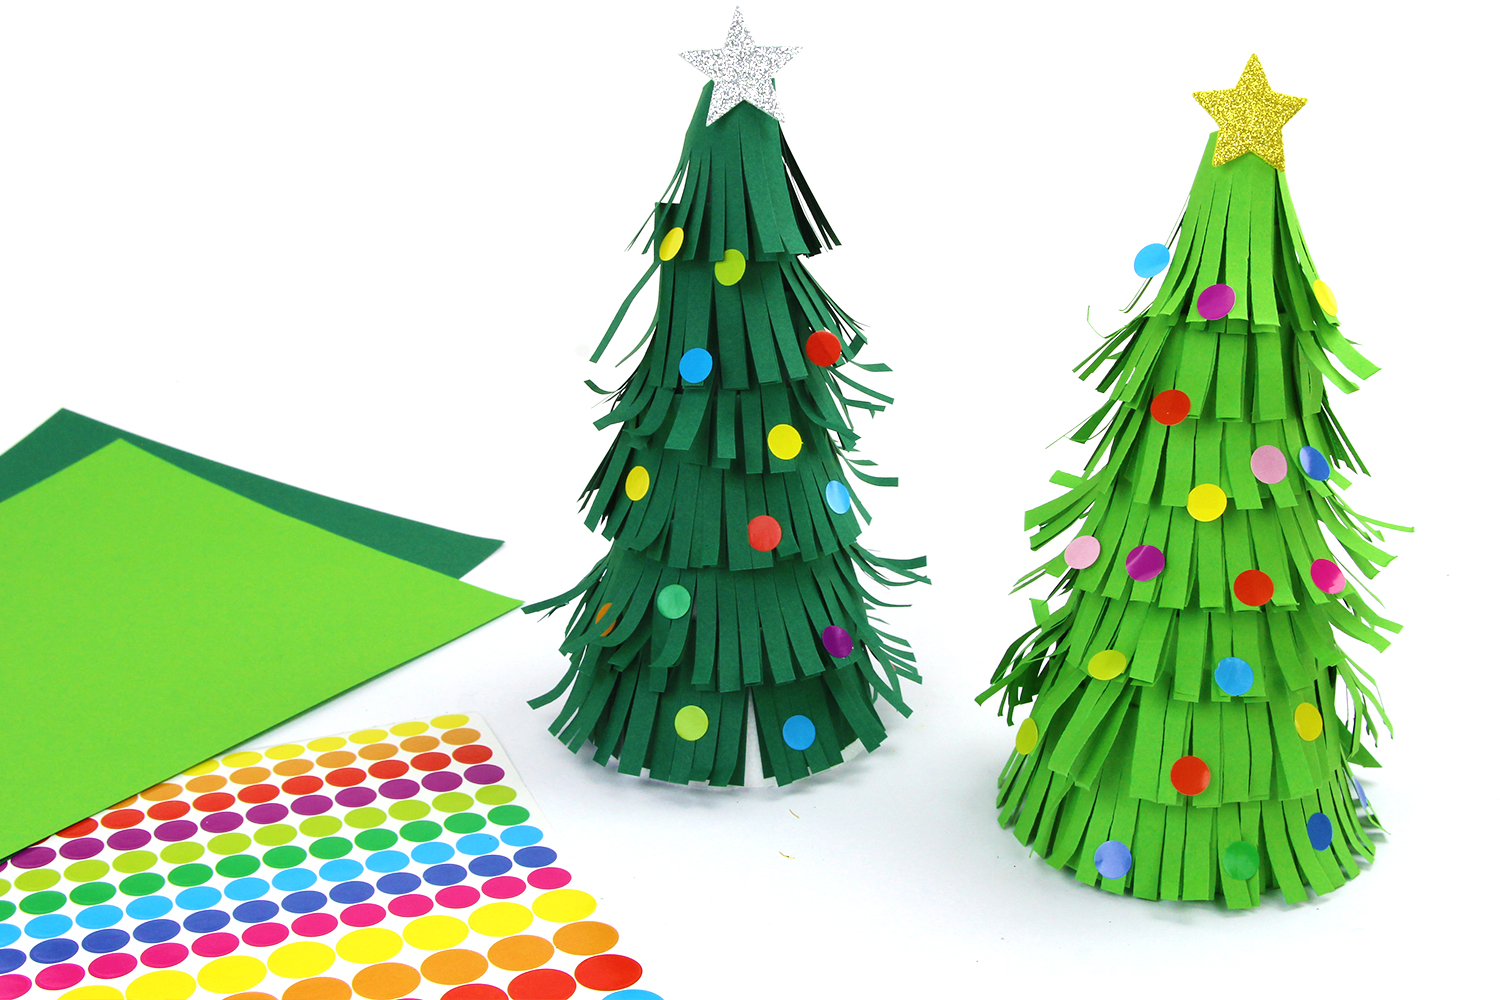


Christmas Tree with Paper Strips


Discover a simple method to create decorative Christmas trees using just foam cones, paper, and stickers!
Activity to be done with the help of an adult.
How to make this craft step-by-step:
Materials:
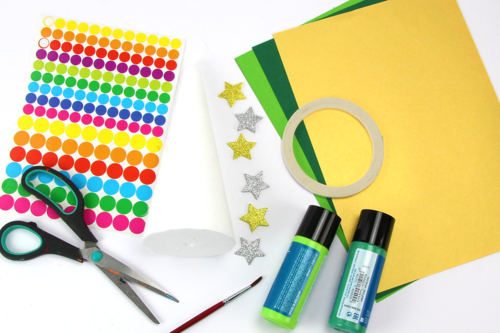
To make a Christmas tree, you need:
- A polystyrene cone
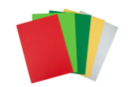
- A4 paper sheets in Christmas colors (130 g/m²)
- Colored round stickers
- A glittery adhesive star
- Light green and dark green paint + a brush
- A pair of scissors
- Double-sided adhesive tape
Step 1:
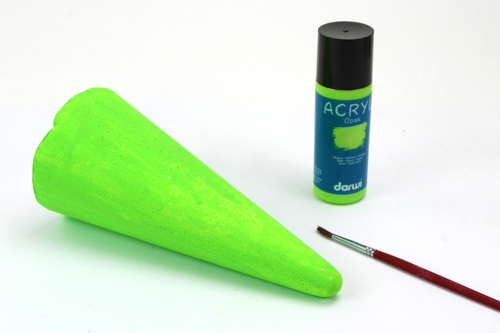
To start, paint the polystyrene cone in light or dark green.
Then let it dry for 30 minutes
Step 2:
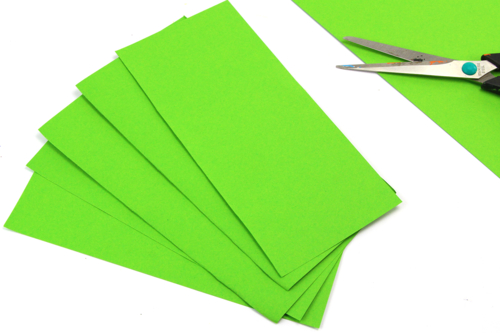
Cut 6 strips of 10 cm x 29.7 cm from light green or dark green paper sheets.
Step 3:
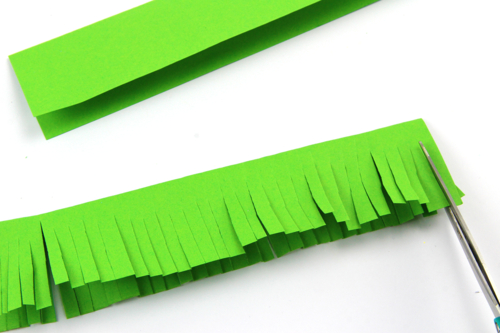
Fold the rectangles in half and cut fringes as shown in the photo.
Step 4:
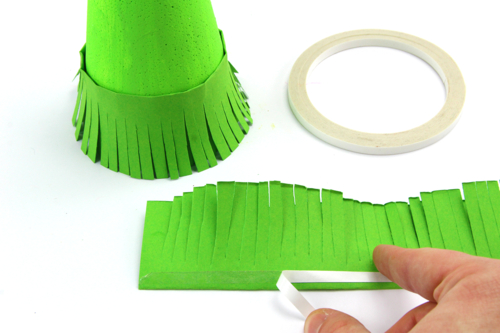
Place a double-sided adhesive strip on the paper strip and then stick it around the cone.
Étape 5 :
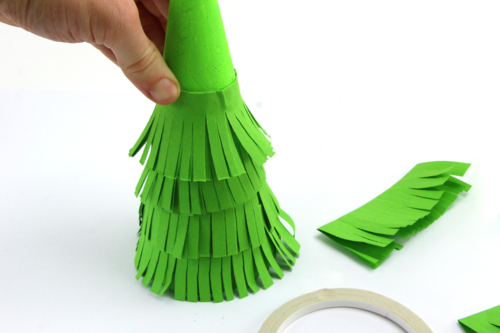
Layer the strips of paper to achieve this result.
Tip: Shorten the length of the strips as you move up towards the top of the cone.
Step 6:
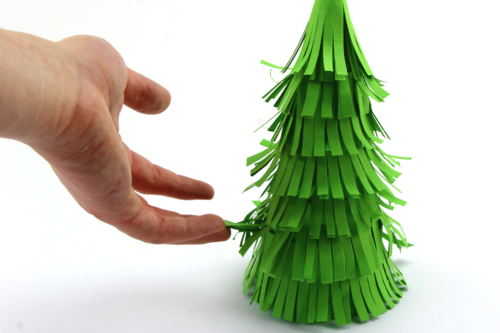
Once the cone is covered, bend the ends of the paper strips to add volume to the tree..
Step 7:
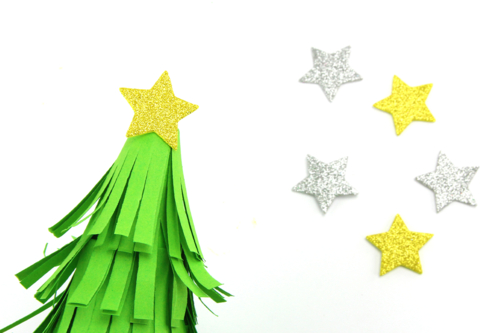
Glue a sparkling adhesive star to the top of the tree.
Step 8:
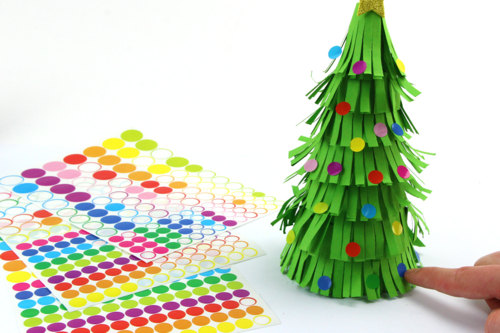
Stick colorful round stickers on the Christmas tree to create a "Christmas ball" effect.
Materials Needed:
Materials Needed:

8,94€ (either 1,49 € / pc)
Available


2,99€ (either 1,00 € / pc)
Available







 5/5





this craft can be great for children who are experimenting with cutting
ce bricolage peut être génial pour les enfants qui expérimentent le découpage