


Your cart is empty.
Easter Bunnies

Easter Bunnies


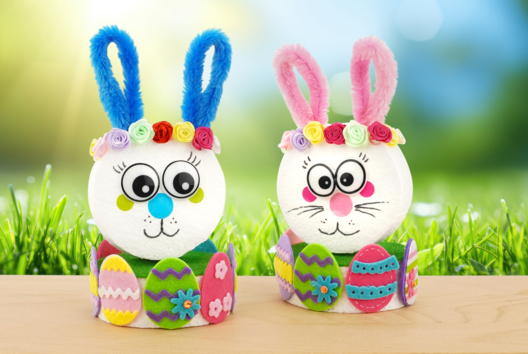
Cutting, painting, and gluing are on the agenda for this exciting Easter activity for children!
A craft that will allow children to create beautiful Easter bunnies to decorate the home.
To achieve this, they will use small round wooden supports, patterned paper, accessories, and natural raffia to create lovely whiskers for these little bunnies.
Thèmes de l'idéa créa :
#Easter Tutorials
How to make this craft step-by-step:
Materials

To make a rabbit, you will need:
- 2 round wooden bases (Ø 8.5 cm)
- a wooden base with a slot
- a wooden bead Ø 2.5 cm
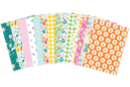
- patterned paper
- solid gouache sticks
- 2 googly eyes Ø 2.5 cm
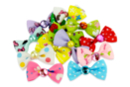
- a fabric bow
- a colored egg
- a ball of natural raffia
- a black marker
- a pair of scissors
- a glue gun
Step 1

Decorate 2 round wooden bases with solid poster paint.
Tip: solid poster paint is very opaque and dries almost instantly!
Step 2

Cut out 2 bunny ears from patterned cardstock and glue them to the back of a round base using a hot glue gun.
Step 3

Glue the different accessories with the glue gun to create a cute bunny:
- 2 large googly eyes
- a small fabric bow on the edge of one ear
- a wooden bead
Note: Position the bead so that the 2 holes are on the sides before gluing it down.
Step 4

Cut a few strands of natural raffia and then slide them into the bead to create the rabbit's whiskers.
Trim with a pair of scissors.
Step 5

Draw the rabbit's mouth with a black marker.
Step 6

Glue the rabbit's head and body together using the glue gun.
Step 7

Place the rabbit on the wooden base with the slot.
Step 8

Glue a colored egg onto the wooden base.
Materials Needed:
Materials Needed:

3,90€ (either 0,39 € / pc)
Available



2,99€ (either 0,25 € / pc)
Available



Wooden base with a slot 13 x 2 x 1 cm
Réf. 34047 - Similar product
0,99€
Available from February 2027






I find the support for placing the rabbit too small to fit the rabbit circle, but the activity itself is easy and very pretty in the end.
Je trouve le support pour mettre le lapin et trop petit pour faire passé le rond de lapin mais l’activité en elle même facile et très joli à la fin