


Your cart is empty.
Easter Chick in Its Broken Egg





Easter Chick in Its Broken Egg


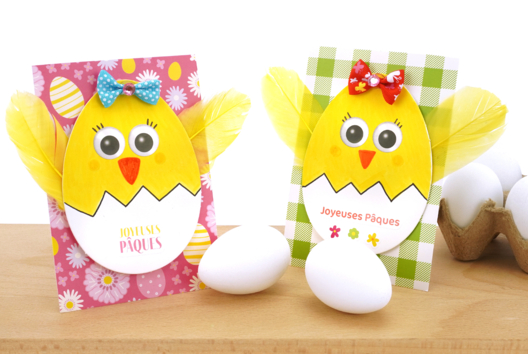
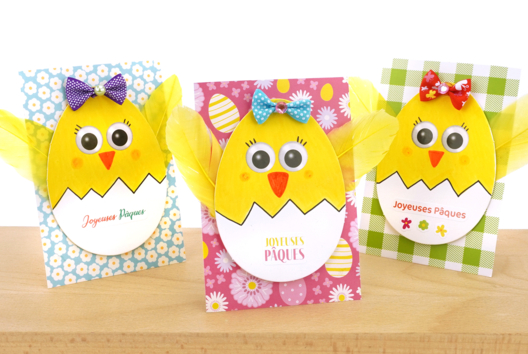
Discover this cute Easter craft that you can make at home with the kids!
Using some paper, pretty stickers, and colorful little accessories, we will show you how to create a chick in a broken egg.
A simple and fun Easter activity for children from a young age!
TIP: To download and print our template, click here or on "Printable Template" on the third photo.
Thèmes de l'idéa créa :
#Animal Tutorials
#Glue and Fold Tutorials
#Funny Characters Tutorials
#Easter Tutorials
How to make this craft step-by-step:
Materials:

To make a lovely chick, you will need:
- a free printable egg template here
- a yellow cardstock (300 g/m²)
- an orange cardstock (300 g/m²)
- a lightweight white sheet
- a grass-effect sheet
- flower rhinestones
- a satin bow
- Easter egg stickers
- two moving eyes Ø 2.5 cm
- a strong cardstock base
- white glue
- a glue stick
- a pair of scissors
Step 1:

Cut a strip from a sheet of grass effect paper and stick it to the bottom of a sturdy yellow card (300 g/m²).
We created a raised cut to add perspective to the design.

Step 3:

Make a small hole in the middle of the egg with a pair of scissors and tear little by little to create a hole large enough.
Tip: If the tears are too long, tear the ends again.
Step 4:

With a glue stick, glue the egg onto the yellow cardstock, applying only around the edge of it.
Step 5:

Cut the chick's beak from a strong orange card, then glue the beak and two movable eyes (Ø 2.5 cm) inside the egg with white glue.
Step 6:

Using white glue, attach a satin bow to the top of the egg and flower rhinestones to the grass effect paper strip.
Step 7:

And to finish, stick Easter egg stickers all around the chick.
Step 8:

Practical: to display the children's creations, you can use our cardboard supports to glue to the back of the work!
Materials Needed:
Materials Needed:

3,59€ (either 0,36 € / pc)
Available

3,59€ (either 0,36 € / pc)
Available


2,99€
Available


2,49€
Available


Other tutorials on the theme "Easter Tutorials"





Vos créations inspirées par ce tuto
Customer review
Give your feedback
Easter Chick in Its Broken Egg
Be the first to share your review of this product.
Post a review