


Your cart is empty.
Easter Eggs Marbling Ornaments





Easter Eggs Marbling Ornaments


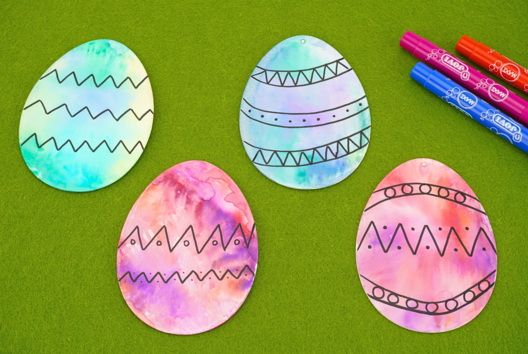
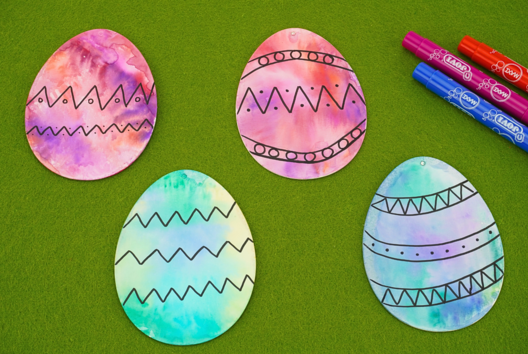
Discover this original and colorful Easter DIY project with this marbling activity on eggs. Easy to execute, this children's activity allows you to create lovely unique ornaments from a white cardboard egg.
The marbled result, almost magical, fascinates children with each creation!
A creative fun activity ideal for getting ready for Easter.
How to make this craft step-by-step:
Materials:

To make one egg, you need:
- a white cardboard egg
- a bucket filled with water
- marbling paint
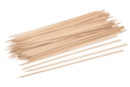
- a wooden skewer
- a protective mat
Step 1:

Fill a bucket or basin with water.
Step 2:

Shake the bottles, then add small drops of a first color of marbling paint (starting with the darkest).
Step 3:

Then, layer the colors (from darkest to lightest).
Step 4:

To achieve a beautiful marbled effect, take a wooden skewer and gently mix the colors.
Step 5:

Insert a skewer into the hole at the top of the egg.
This will prevent children from putting their hands in the paint.
Then gently dip the egg into the paint using the skewer.
Step 6:

Once the support is fully submerged, there will be paint left on the surface. Simply blow on the surface of the water to push away this excess paint.
Step 7:

The marbled effect appears very clearly when coming out of the water.
Then let the egg dry for about 1 hour.
Step 8:

Finally, attach the golden cord to your egg to create your ornament.
Materials Needed:
Materials Needed:

Marbling Paint Set - 6 Metallic Colors
Réf. 04006 - Product sheet
26,99€ (either 4,50 € / pc)
Available


Other tutorials on the theme "Easter Tutorials"






 5/5
Customer review
Give your feedback
Easter Eggs Marbling Ornaments
Be the first to share your review of this product.
Post a review