


Your cart is empty.
Easter Eggs with Aluminum Foil (Foil Art)




Easter Eggs with Aluminum Foil (Foil Art)


Introduce children to a unique Easter craft with this brilliant and colorful creative activity.
Children create patterns with yarn, covered in aluminum foil, and then color the revealed shapes with acrylic markers. This easy craft activity allows for the creation of beautiful relief effects and unique decorations to celebrate Easter while stimulating creativity and fine motor skills.
An easy child activity with aluminum and markers!
How to make this craft step-by-step:
Materials:

To perform the foil art technique, you will need:
- white cardboard eggs
- aluminum foil
- a ball of knitting yarn
- acrylic (or permanent) markers
- a pair of scissors
- a microfiber cloth
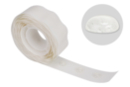
- adhesive dots
- large satin bows
Step 1:

Make cuts of 2 to 3 mm with scissors around the egg.
Step 2:

Pass the knitting yarn through the various notches to create patterns.
Step 3:

Cover the egg with aluminum foil.
Step 4:

Rub the egg with a microfiber cloth to reveal the patterns created with the wool.
Step 5:

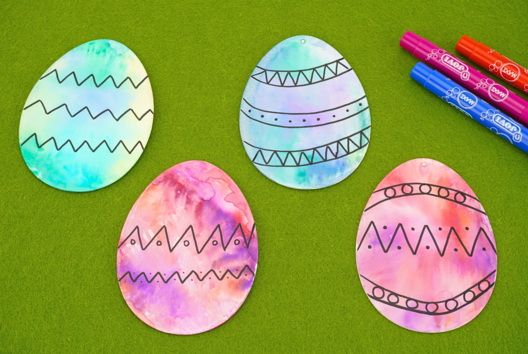
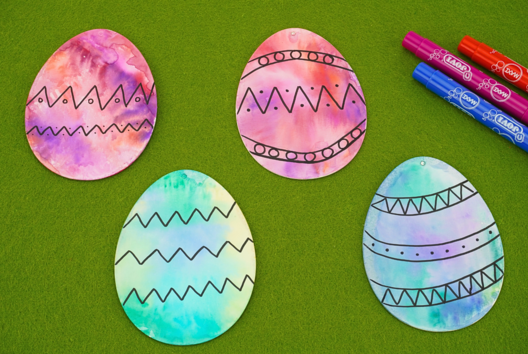
Color the different areas with acrylic markers to create a colorful Easter egg.
Step 6:

Glue a knot to the top of the egg with an adhesive dot
Step 7:

Using a well-sharpened pencil or a pen, pierce the aluminum foil located at the top of the egg.
Since the hole is already present in the egg, the piercing will be easy to perform.
Step 8:

Tie a gold ribbon so you can hang your egg on the Easter tree or in the house.
Materials Needed:
Materials Needed:












Customer review
Give your feedback
Easter Eggs with Aluminum Foil (Foil Art)
Be the first to share your review of this product.
Post a review