Your cart is empty.
Father Christmas with a Pine Cone
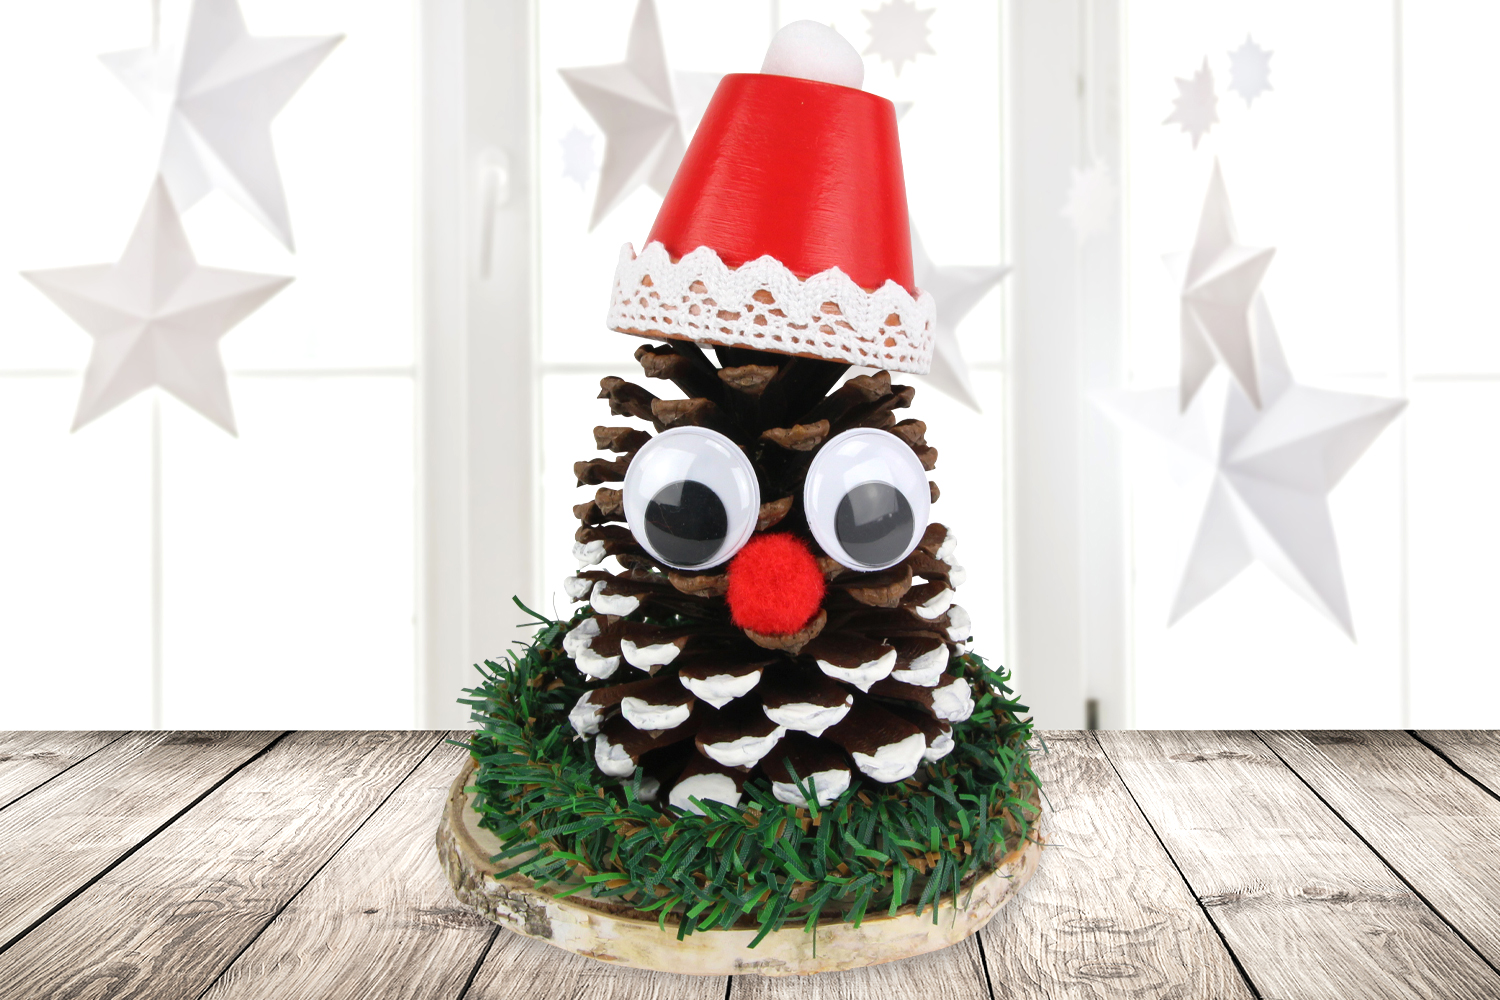
Father Christmas with a Pine Cone
Discover an original Christmas craft where we will transform a pine cone into Father Christmas!
An easy activity to do with children to create beautiful holiday decorations.
Thèmes de l'idéa créa :
#Funny Characters Tutorials
#Christmas Characters
#Upcycling Tutorials
#Winter Tutorials
#Christmas Crafts
How to make this craft step-by-step:
Materials
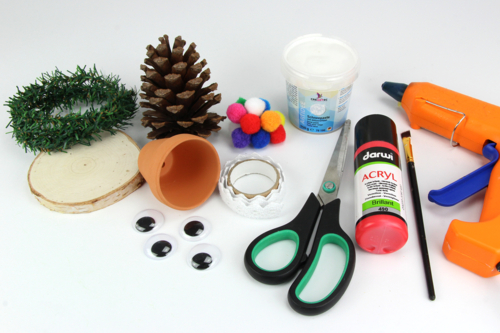
For this activity you will need:
- a large pine cone
- a slice of wood (Ø 8 to 10 cm)
- a terracotta pot (Ø 5.8 x 5 cm)
- an artificial garland with a fir effect
- red paint
- snow effect paste
- a brush
- colored pom-poms
- adhesive lace
- 2 movable eyes Ø 2.5 cm
- a glue gun
- a pair of scissors
Step 1
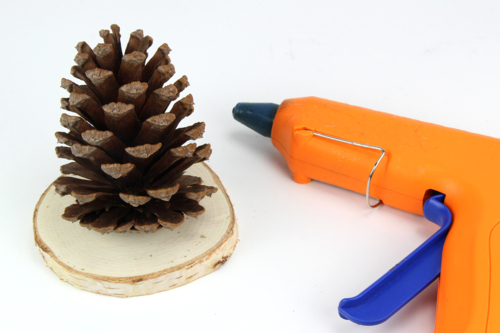
Glue the pine cone in the center of the wood slice using a glue gun.
Step 2
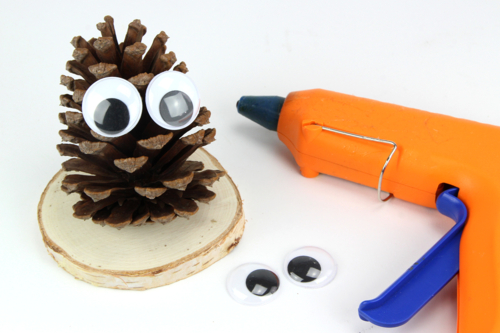
Stick 2 large googly eyes on the pine cone.
Step 3
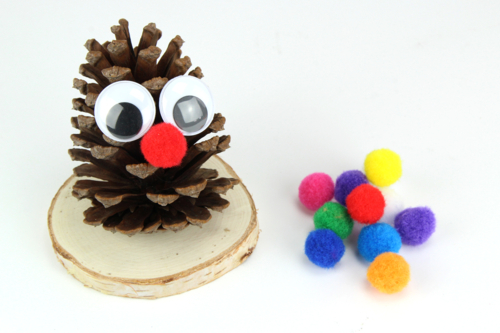
Glue a colored pompom onto the pine cone (or slide the pompom between the scales).
Step 4
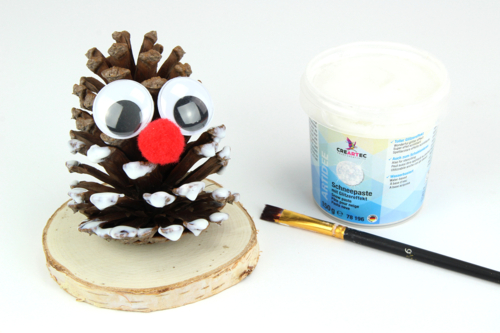
Apply snow effect paste on the tips of the pine cone scales.
Let dry for about an hour.
Step 5
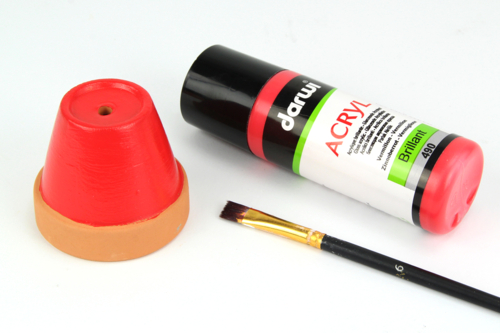
Paint the outline as well as the underside of the pot with red acrylic paint.
Step 6
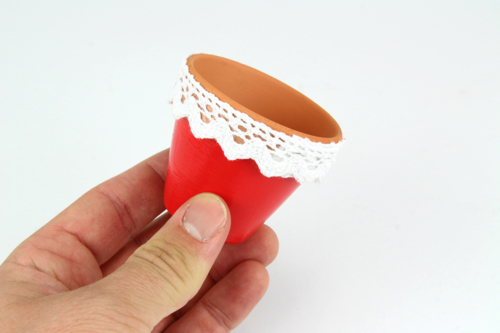
Glue white adhesive lace around the collar of the jar.
Step 7
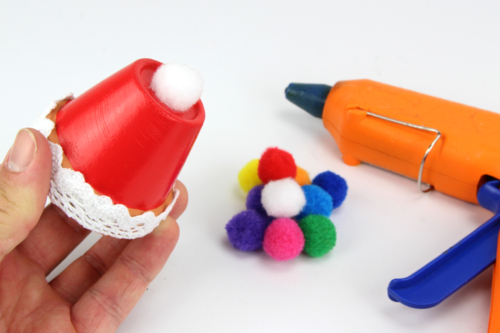
Glue a white pompom with the hot glue gun to complete Santa Claus's hat.
Step 8
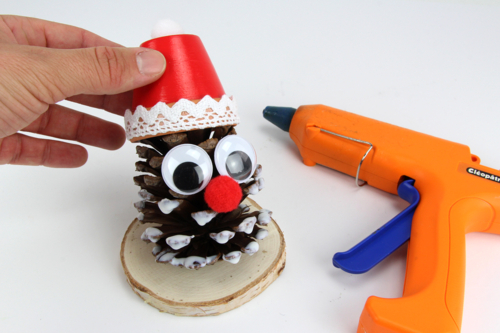
Place the pot on the pine cone.
Note: you can also glue it using a hot glue gun.
Step 9
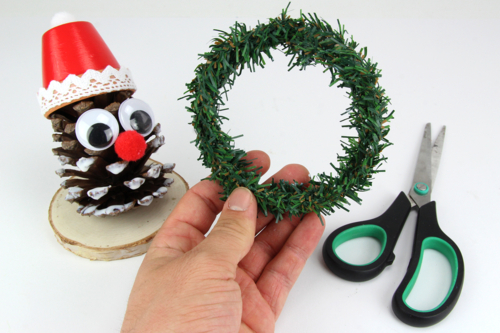
Cut a piece of synthetic garland about 1 meter long and then wrap it into a circle.
The diameter of this circle should be approximately equal to that of the wooden slice.
Step 10
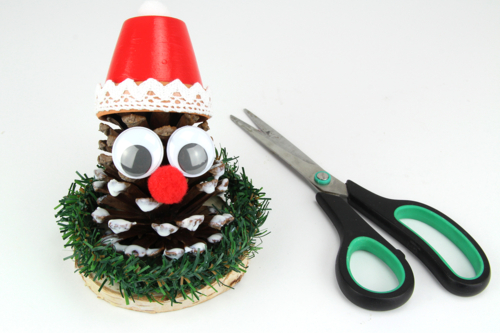
Place the synthetic garland on the wood slice by threading the pine cone through it.
Materials Needed:
Materials Needed:

Wooden Discs Ø 8 to 11 cm - 6 Pieces
Réf. 36020 - Product sheet
5,96€ (either 0,99 € / pc)
Available

2,99€ (either 0,50 € / pc)
Available



2,99€ (either 1,00 € / pc)
Available


1,99€
Available

Other tutorials on the theme "Christmas Characters"

 5/5




Customer review
Give your feedback
Father Christmas with a Pine Cone
Be the first to share your review of this product.
Post a review