


Your cart is empty.
Flower and Butterfly Frame


Flower and Butterfly Frame


Celebrate Mother's Day with an unforgettable creative activity for children: transforming a simple white photo frame into a stunning colorful masterpiece. Perfect for kids aged 3 and up, this DIY project for Mother's Day is both economical and easy to make.
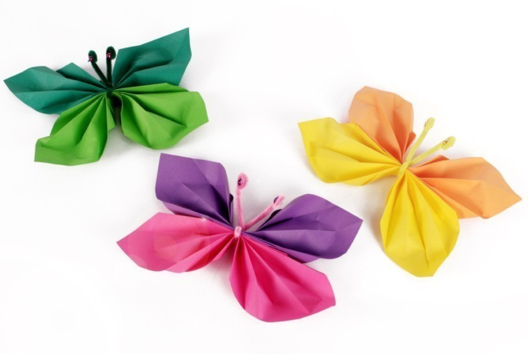
Children will enjoy decorating the frame with nature-inspired elements, such as bright flowers, 3D ladybugs, and colorful butterflies.
This summery scene will showcase a lovely photo in a frame that will surely delight moms!
This DIY photo frame is a great way to develop creativity and fine motor skills in little ones while allowing them to create an adorable gift for Mother's Day.
How to make this craft step-by-step:
Materials

To carry out this activity, you will need:
- a foam board frame
- solid gouache sticks
- a textured paper sheet with grass effect
- 3D butterflies
- adhesive wooden ladybugs
- flower stickers
- a strong glue stick
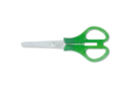
- a pair of scissors
- a photo
Step 1

To start, decorate the foam board frame with a blue poster paint stick.
Tip: the poster paint sticks are very opaque, and the drying time is nearly instant!
Step 2

Cut a strip 5 to 6 cm high from a sheet of grass-effect paper and glue it to the bottom of the frame.
We created a wavy cut on one of the two sides to add perspective to the creation.
Step 3

Glue some butterflies (at the wings) at the top of the frame using the strong glue stick.
Also glue a few wooden ladybugs onto the grass-effect paper by adding a little glue to the adhesive dots beneath the ladybugs.
Step 4

Complete the decoration of the frame by sticking on flower stickers.
Step 5

Glue a photo (10 x 15 cm format) to the back of the frame.
Step 6

Attach the 2 legs to the bottom of the frame to complete your creation.
Materials Needed:
Materials Needed:



Other tutorials on the theme "Mother's Day Tutorials"






Customer review
Give your feedback
Flower and Butterfly Frame
Be the first to share your review of this product.
Post a review