Your cart is empty.
Halloween Candle


Halloween Candle


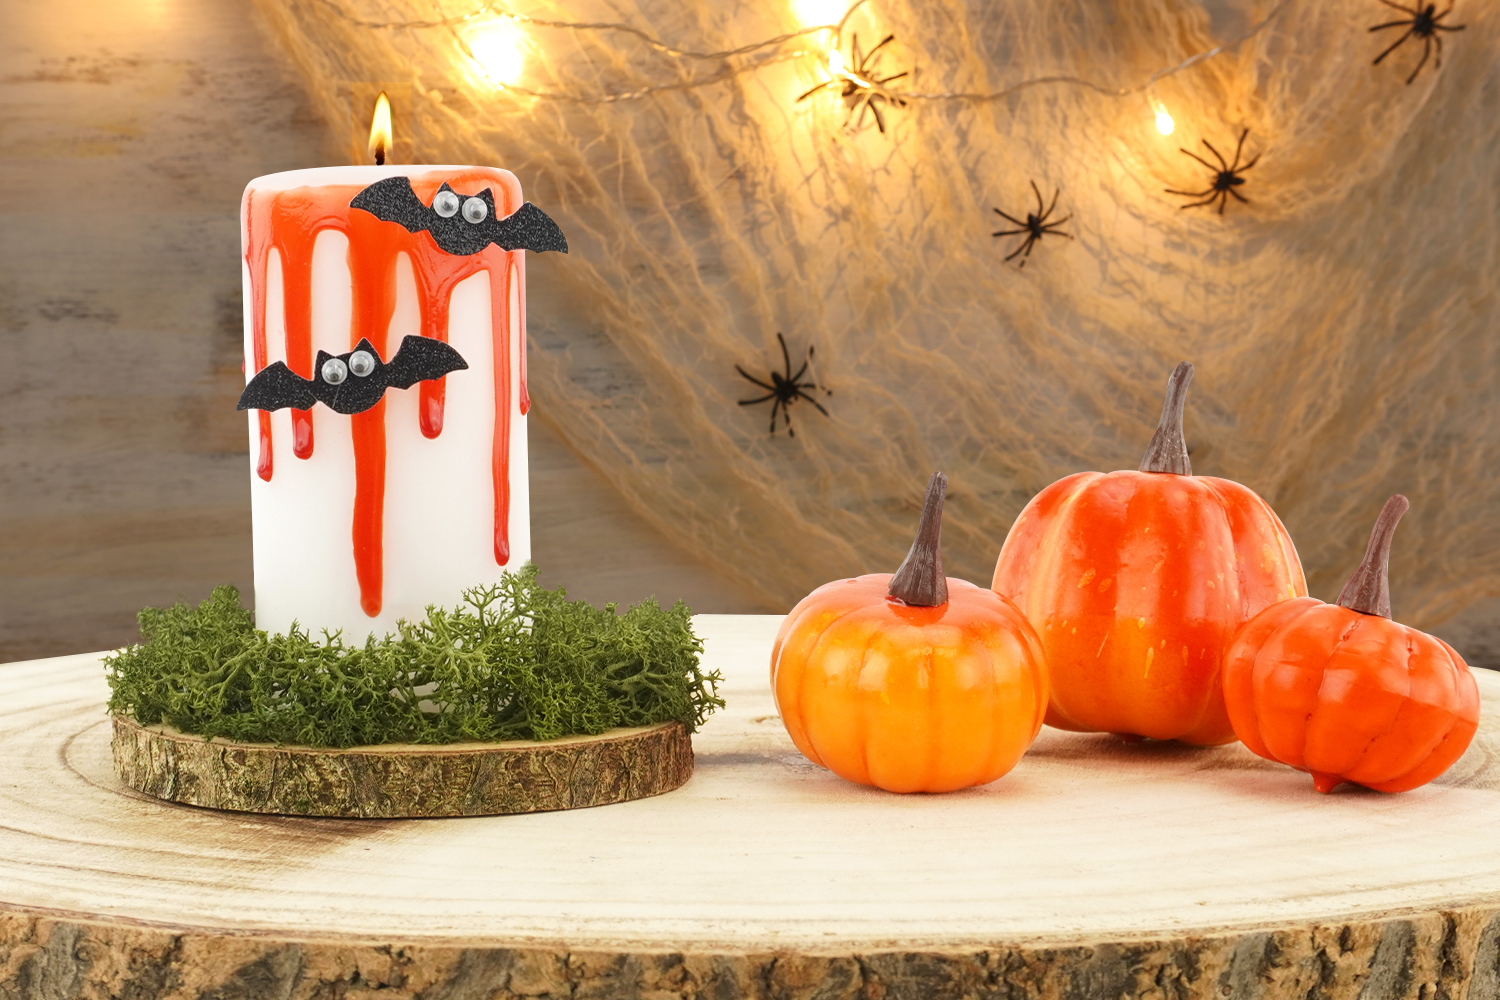
Create a fun and spooky Halloween candle with the kids!
Easy to make, this candle with its paint drips for a fake-blood effect will create the perfect atmosphere for the night of October 31st.
With a few simple materials (paint, stickers...), children can personalize their candle while having fun, and will take pride in having made a decoration that adds even more magic to this terrifying celebration. A playful and creative activity to share with the family!
Thèmes de l'idéa créa :
#Halloween Tutorials
How to make this craft step-by-step:
Materials
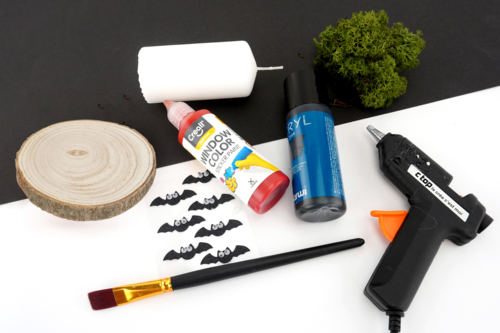
To make an original candle for Halloween, you will need:
- a wooden log (Ø 10 cm)
- a large white candle (10 cm)
- repositionable red paint
- Icelandic moss
- bat stickers
- a glue gun
Step 1
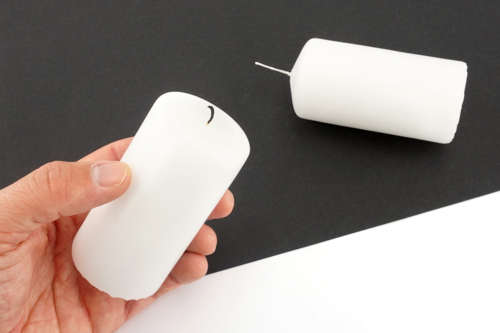
Before starting the activity, you can light the candle for an hour or two to "flatten" the top and give it a more authentic look.
Step 2
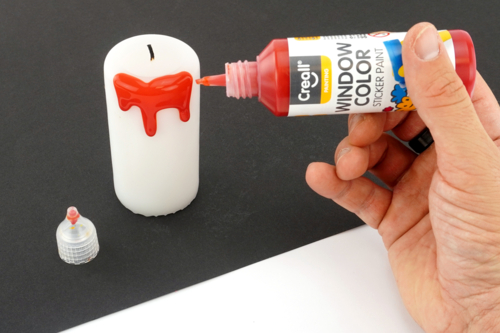
Place the nozzle of the repositionable paint bottle on the edge of the candle and then apply paint all around it.
We recommend not applying too much paint to achieve nice drips of moderate size. Then let the paint dry for a few hours.
Note: we used repositionable paint for its ideal texture to create drips and its translucent appearance, which will look great!
Step 3
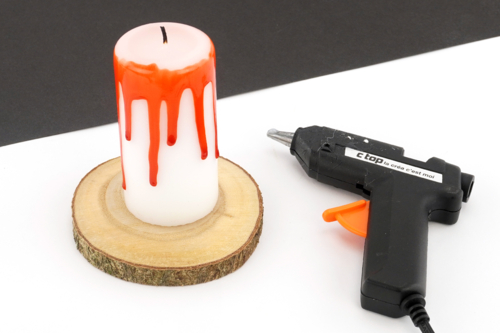
Once the paint is dry, glue the candle to the center of a wooden log using a glue gun.
Step 4
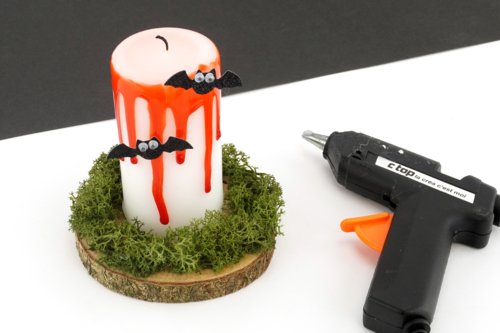
Glue green foam all around the candle using the glue gun.
Glue 2 or 3 bats onto the candle with the glue gun to give it a unique look.
Step 5

IMPORTANT: the final result is a decorative candle that should not be lit to avoid the risk of burning the decorative elements (stickers, paint, foam...).
Materials Needed:
Materials Needed:

Wooden Discs Ø 8 to 11 cm - 6 Pieces
Réf. 36020 - Product sheet
5,96€ (either 0,99 € / pc)
Available




Other tutorials on the theme "Halloween Tutorials"












 5/5



Customer review
Give your feedback
Halloween Candle
Be the first to share your review of this product.
Post a review