


Your cart is empty.
Pony Beads Ice Cream
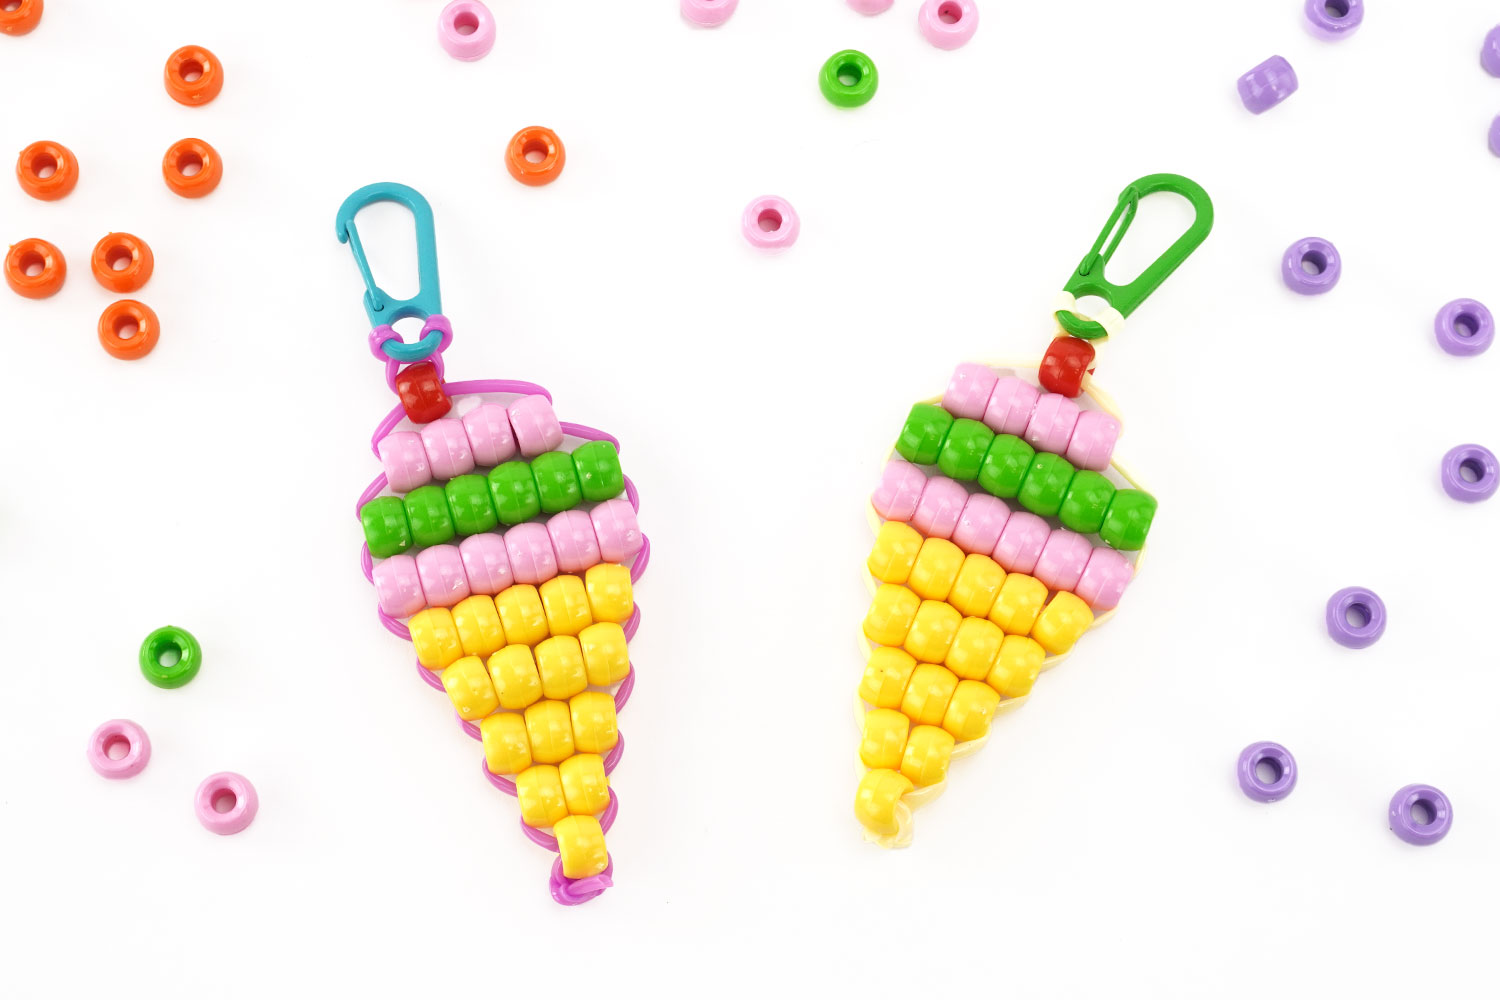
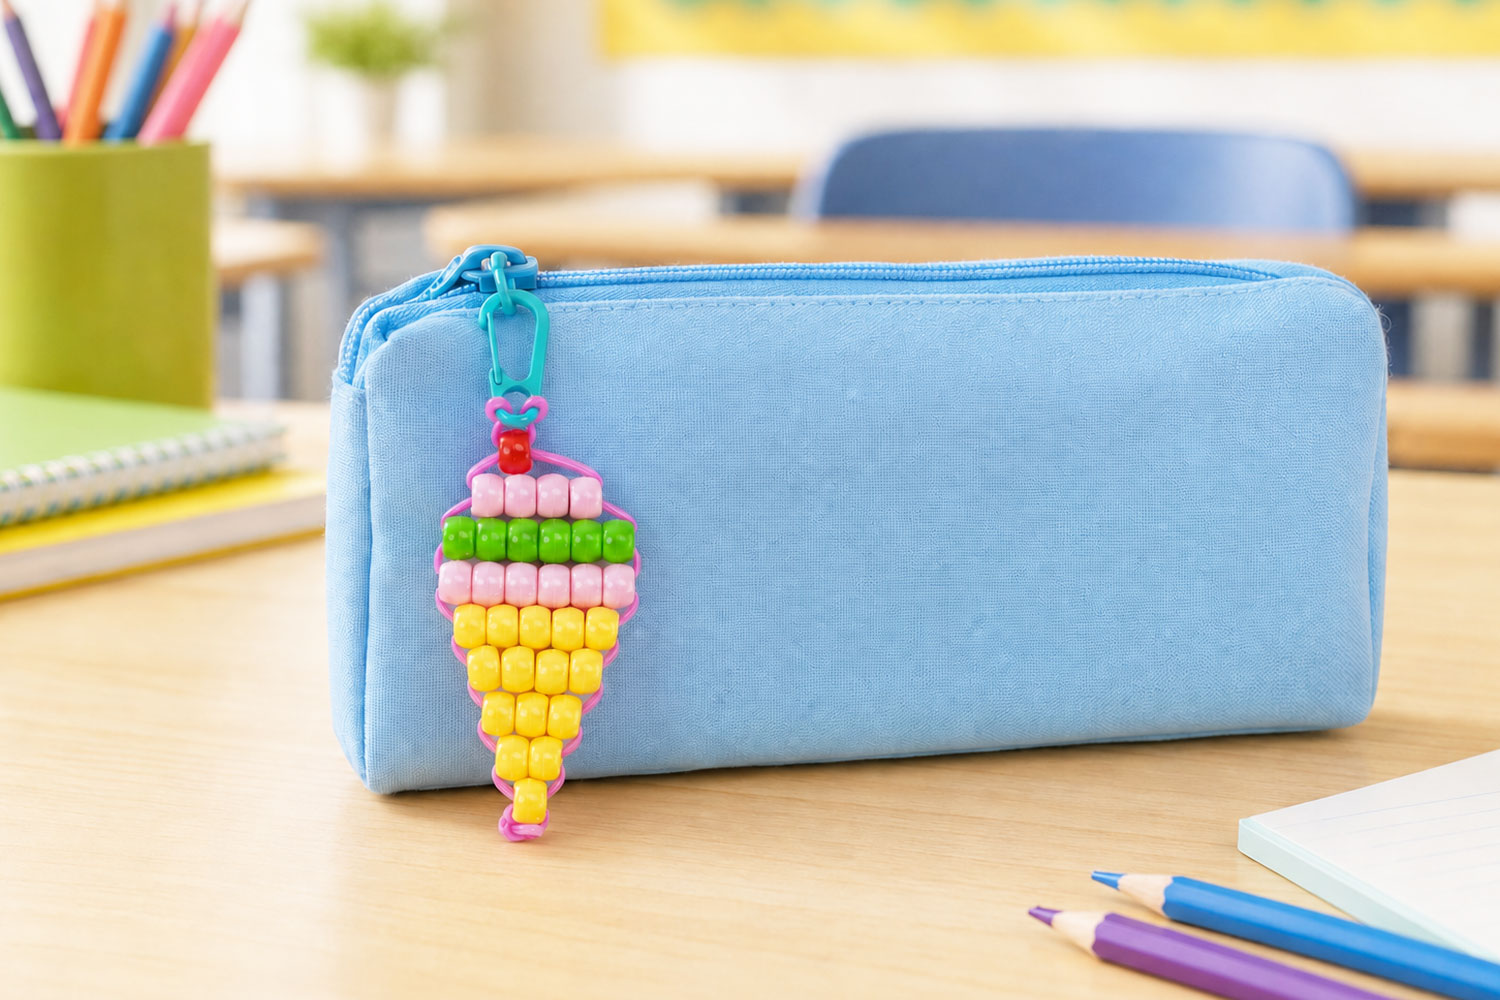




Pony Beads Ice Cream


With Pony Beads, you can create a multitude of colorful small accessories that can be transformed into keychains or bag charms.
In this tutorial, we propose making a lovely ice cream that is perfect for adding a colorful touch to a bag, pencil case, or even a keyring. Thanks to the technique of crossing the threads, the ice cream takes shape step by step, from the cherry to the cone.
This tutorial is more suitable for older children, as it requires a bit of precision to thread the beads in the correct order and cross the threads properly. The ice creams can be made in a multitude of colors to customize your creation 100% and imagine a unique accessory with our entire range of plastic beads.
Learn also how to make a lizard with pony beads or a turtle with pony beads.
How to make this craft step-by-step:
Materials:
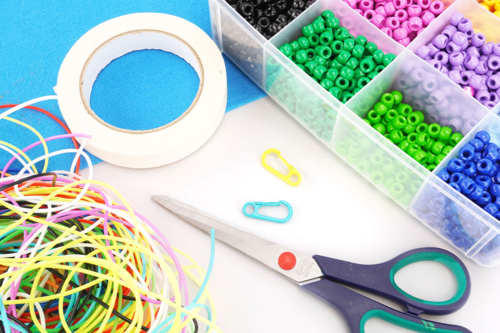
To make an ice cream, you need:
- round beads with large holes, also known as Pony Beads
- scoubidou strings
- a colored carabiner
- a pair of scissors
- tape or masking tape
Step 1:
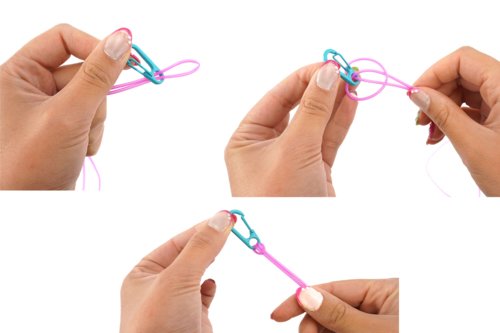
To start, choose a length of lanyard string.
Make a knot to attach the string to the clasp.
To make this knot:
- fold the lanyard string in half to create two equal lengths
- pass the loop through the clasp
- pass both ends of the string through the loop, then pull
Step 2:
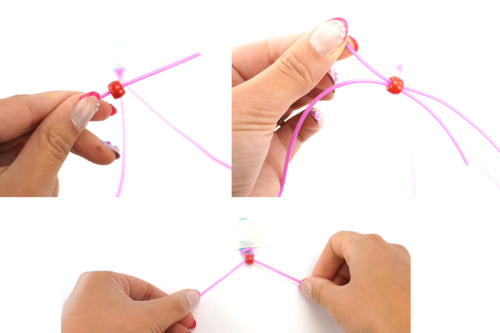
Attach the clasp with tape or masking tape to hold the work in place during the activity.
To start, thread a red bead onto the left string. Then pass the right string through the bead, and pull both strings at the same time to finish.
Step 3:
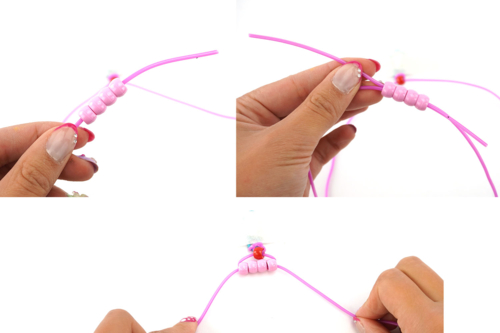
Continue with four pink beads on the left string, pass the right string through the four beads, then pull.
Step 4:
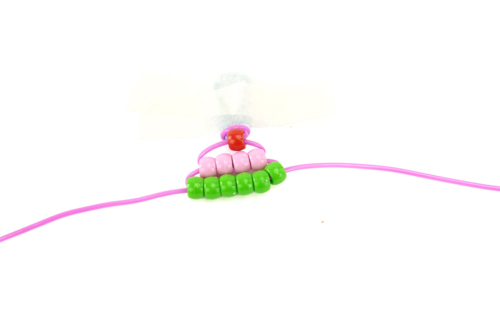
Pass six green beads onto the left string, pass the right string through the six beads, then pull.
Step 5:
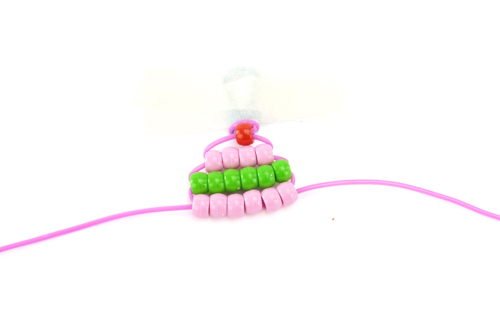
Pass six pink beads onto the left string, pass the right string through the six beads, then pull.
Step 6:
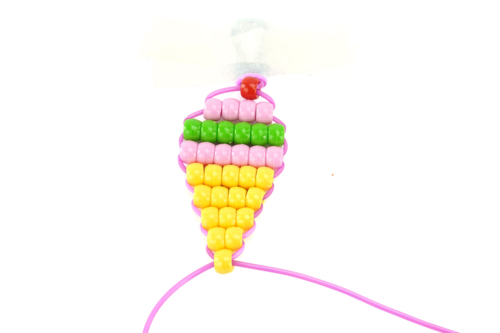
To make the cone, repeat the same method as for the beginning of the ice cream: thread the beads onto the left string, pass the right string through the beads, then pull both strings at the same time.
To make the cone, thread the yellow beads in the following order:
5 beads
4 beads
3 beads
2 beads
1 bead
Step 7:
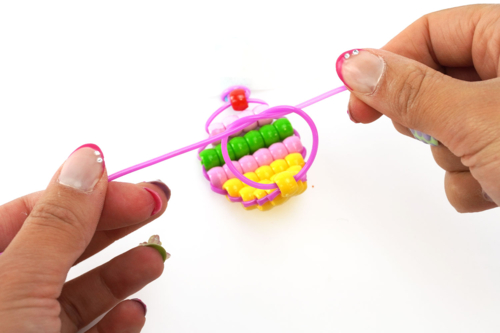
To finish, make a knot at the end of the strings to hold the last bead, then cut off the excess string.
Now attach the ice cream to a keyring, bag, or pencil case...
Materials Needed:
Materials Needed:




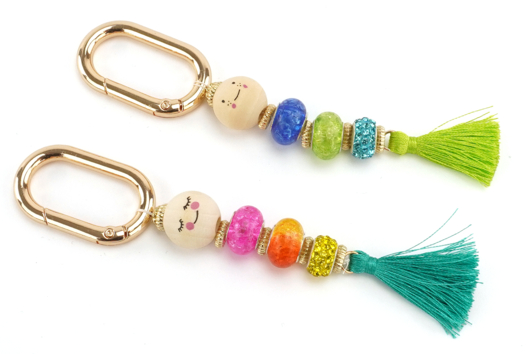
Other tutorials on the theme "Keychain Tutorials"






 5/5
Customer review
Give your feedback
Pony Beads Ice Cream
Be the first to share your review of this product.
Post a review