


Your cart is empty.
Mosaic Tray


Mosaic Tray
To serve refreshing drinks or a light breakfast this summer, explore this new tutorial to learn how to easily decorate a tray with mosaics.
This easy activity will give children their first experience with the art of mosaic, with or without the help of an adult depending on the children's age !
Thèmes de l'idéa créa :
#Mosaic Tutorials
How to make this craft step-by-step:
Materials:

To decorate a tray you need:
- A square wooden tray 20 x 20cm
- Glass mosaic tiles 2 x 2 cm (49 mosaics for the tray used in this activity)
- A 250g bag of powder grout (one bag can make 4 trays)
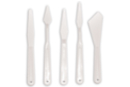
- A plastic spatula
- A sponge
- White paint and a brush
- Mosaic glue
- Plastic cups
Step 1:

Paint the tray with white acrylic paint (or another color of your choice).
Let it dry for 20 minutes.
Step 2 :

With the mosaic glue, stick your mosaics in rows of 7 across the entire surface of the tray. Leave 2 to 3 mm between each mosaic.
Let dry for 30 minutes.
Step 3:

In a bowl, mix the powder coating with water (1/3 water for 2/3 powder).
In another bowl, prepare some water and a sponge.
Step 4:

After verifying that the mosaics are well adhered, spread the compound with a spatula over the entire surface to fill in the gaps.
Step 5 :

Remove the excess coating with a damp sponge.
Then allow everything to dry for a few hours.
Materials Needed:
Materials Needed:


2,99€
Available




Plastic bowls, assorted colors - 10 bowls
Réf. 40548 - Product sheet
9,90€ (either 0,99 € / pc)
Available

2,99€ (either 1,00 € / pc)
Available
Other tutorials on the theme "Mosaic Tutorials"




 4/5
Avis client
5.0/5
2 avis publiés
5
100%
4
0%
3
0%
2
0%
1
0%
Customer review

Super good
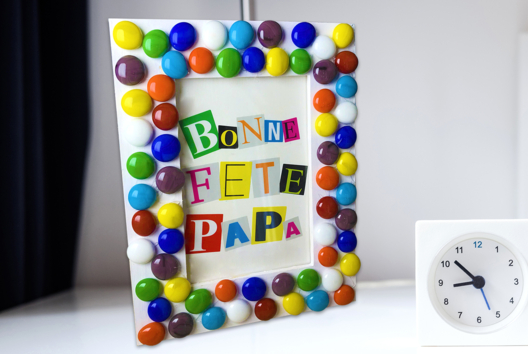
I am delighted. We made the sun photo holder.
Surper bien
Je suis ravi.nous avons fais le porte photo soleil
 AI Translation •Show the original

Well-explained tutorial, handy materials list. However, the underside of the mosaics is ribbed, which is not visible on the site. So I thought it was a different model and we applied the glue on the top instead of the bottom... anyway, the result is still nice (ribbed side visible), but I'm leaving this comment to prevent other beginners from making the same mistake ^^
Tuto bien expliqué, liste de matériel bien pratique. Par contre, le dessous des mosaïques est canelé, on ne le voit pas sur le site. Du coup j'ai cru que c'était un autre modèle et on a mis la colle sur le dessus au lieu du dessous... bref, le rendu est quand même sympa (face canelée visible), mais je laisse ce commentaire pour éviter à d'autres grands débutants de faire la même erreur ^^