Your cart is empty.
Multicolored Dinosaur with a Paper Plate
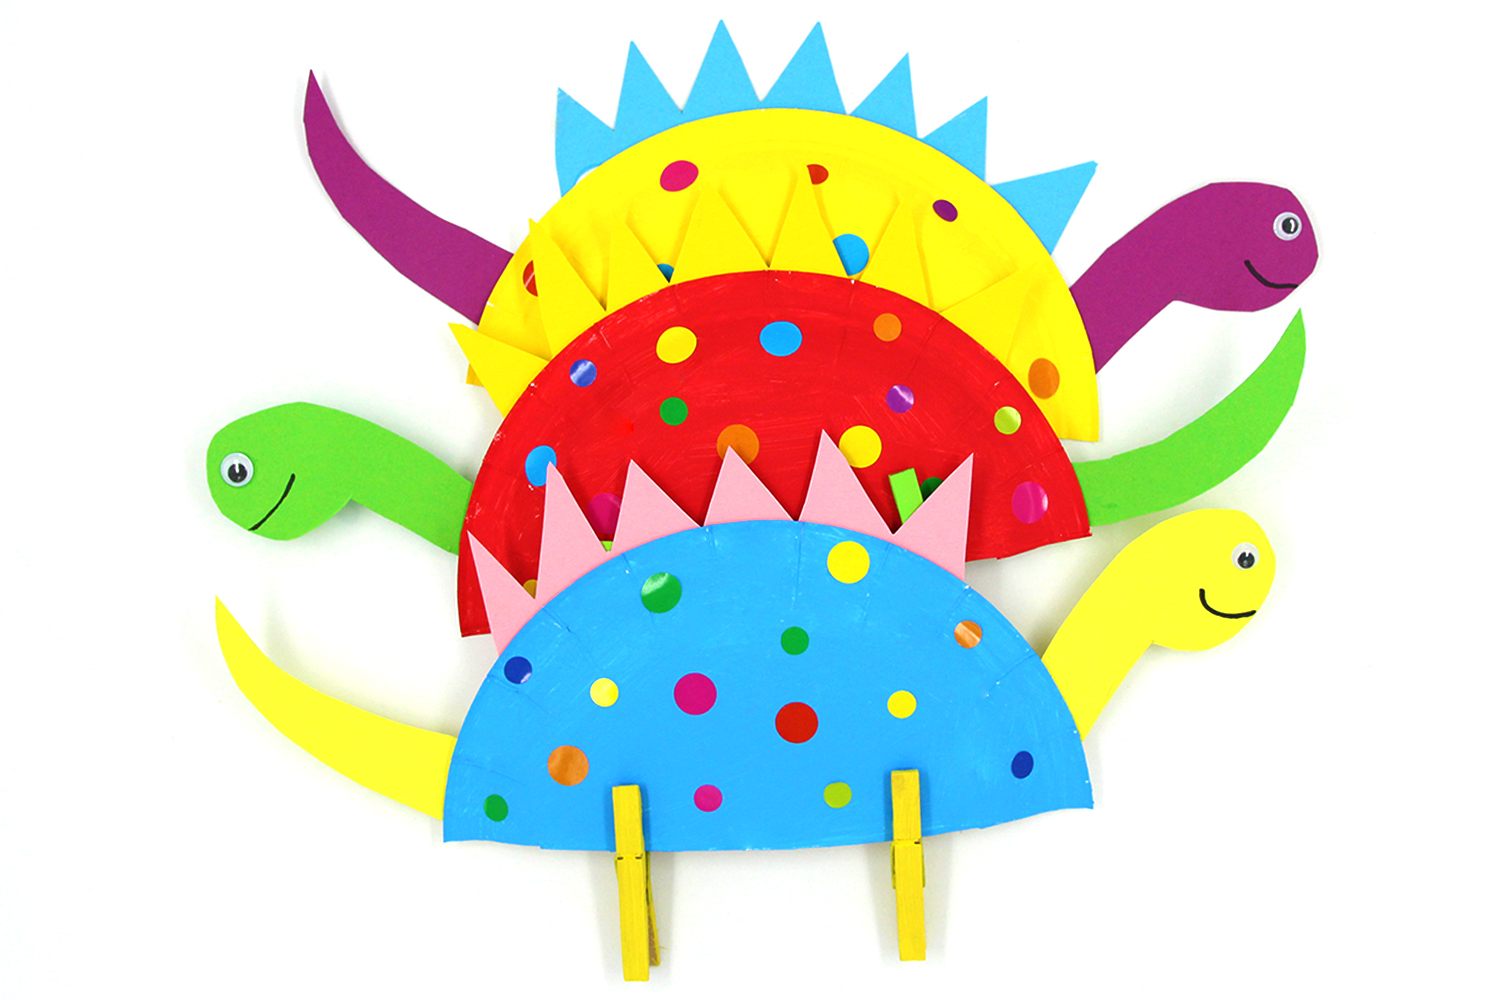
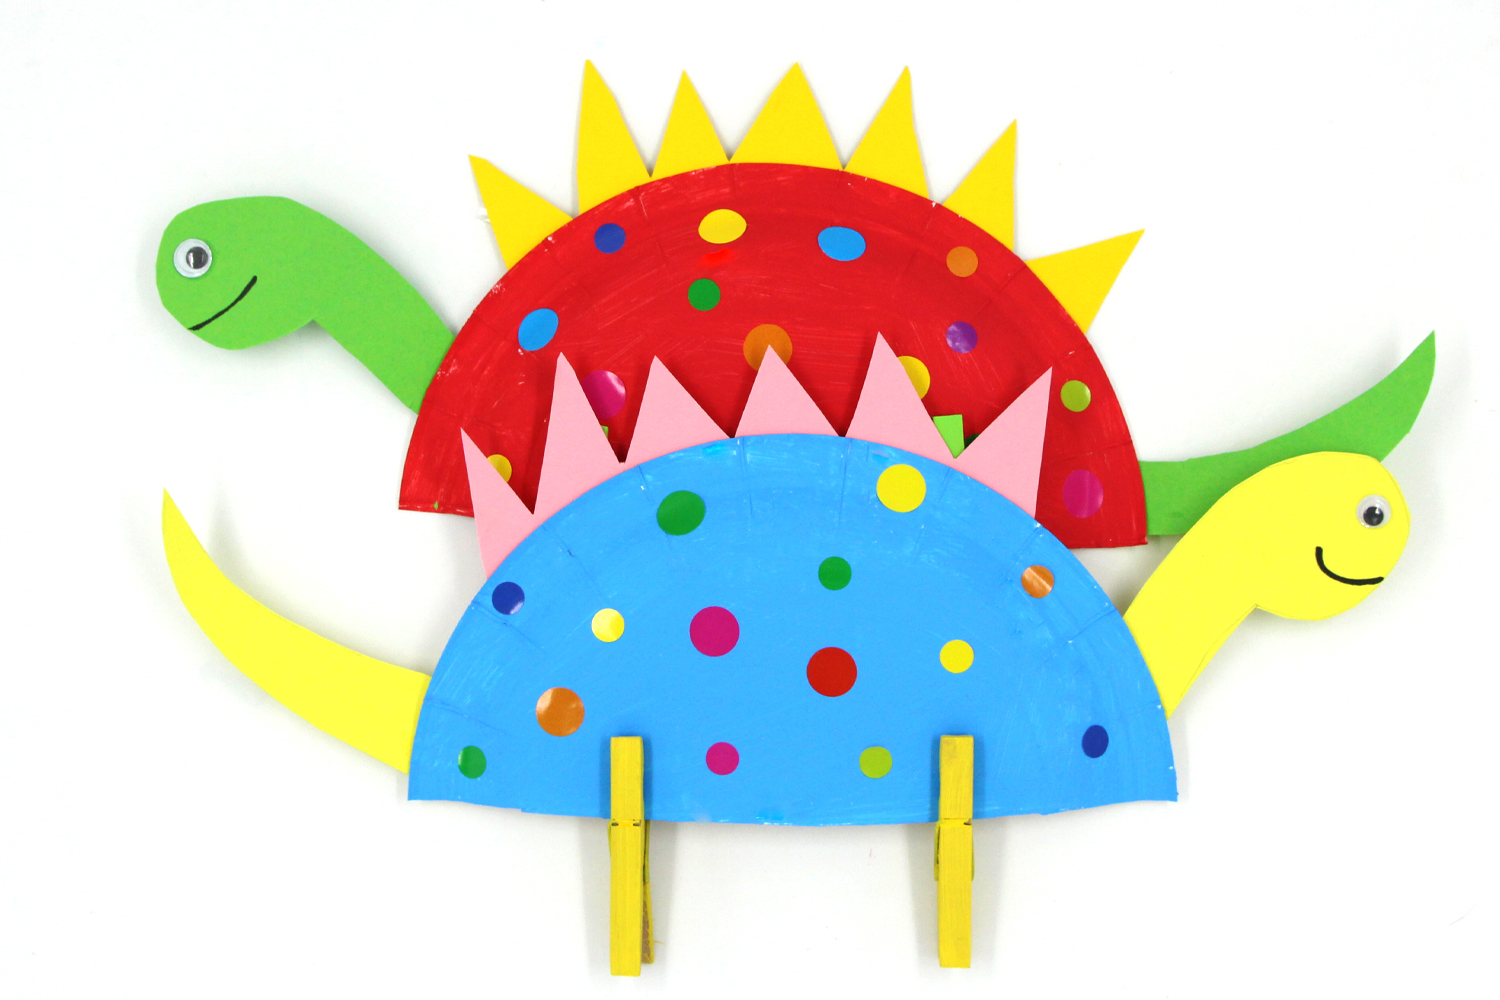
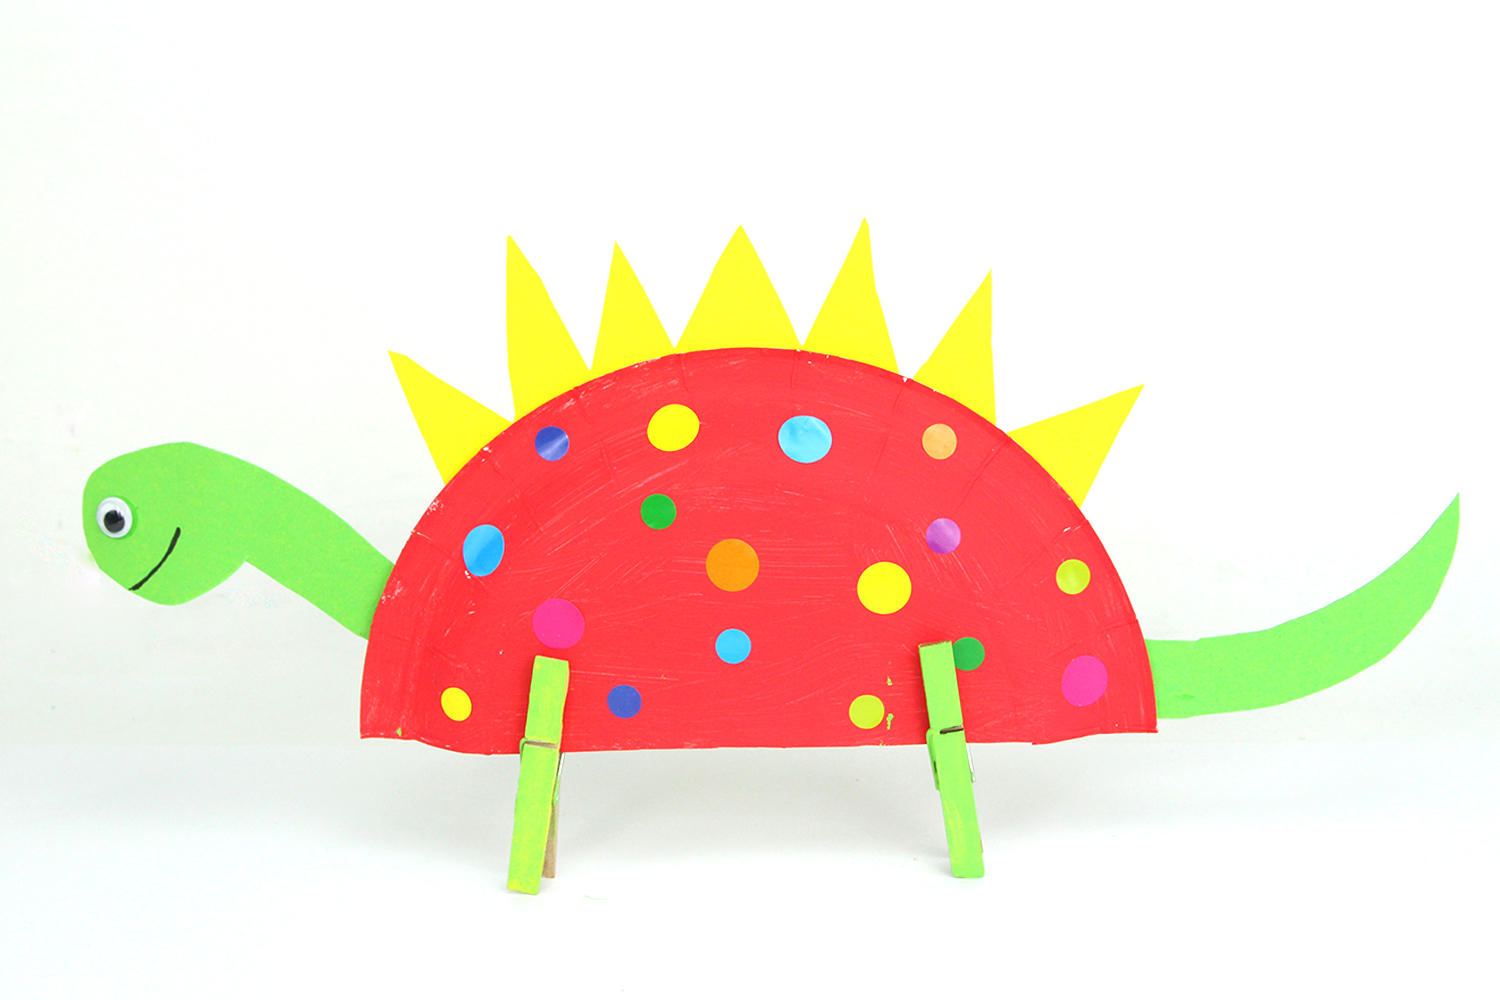
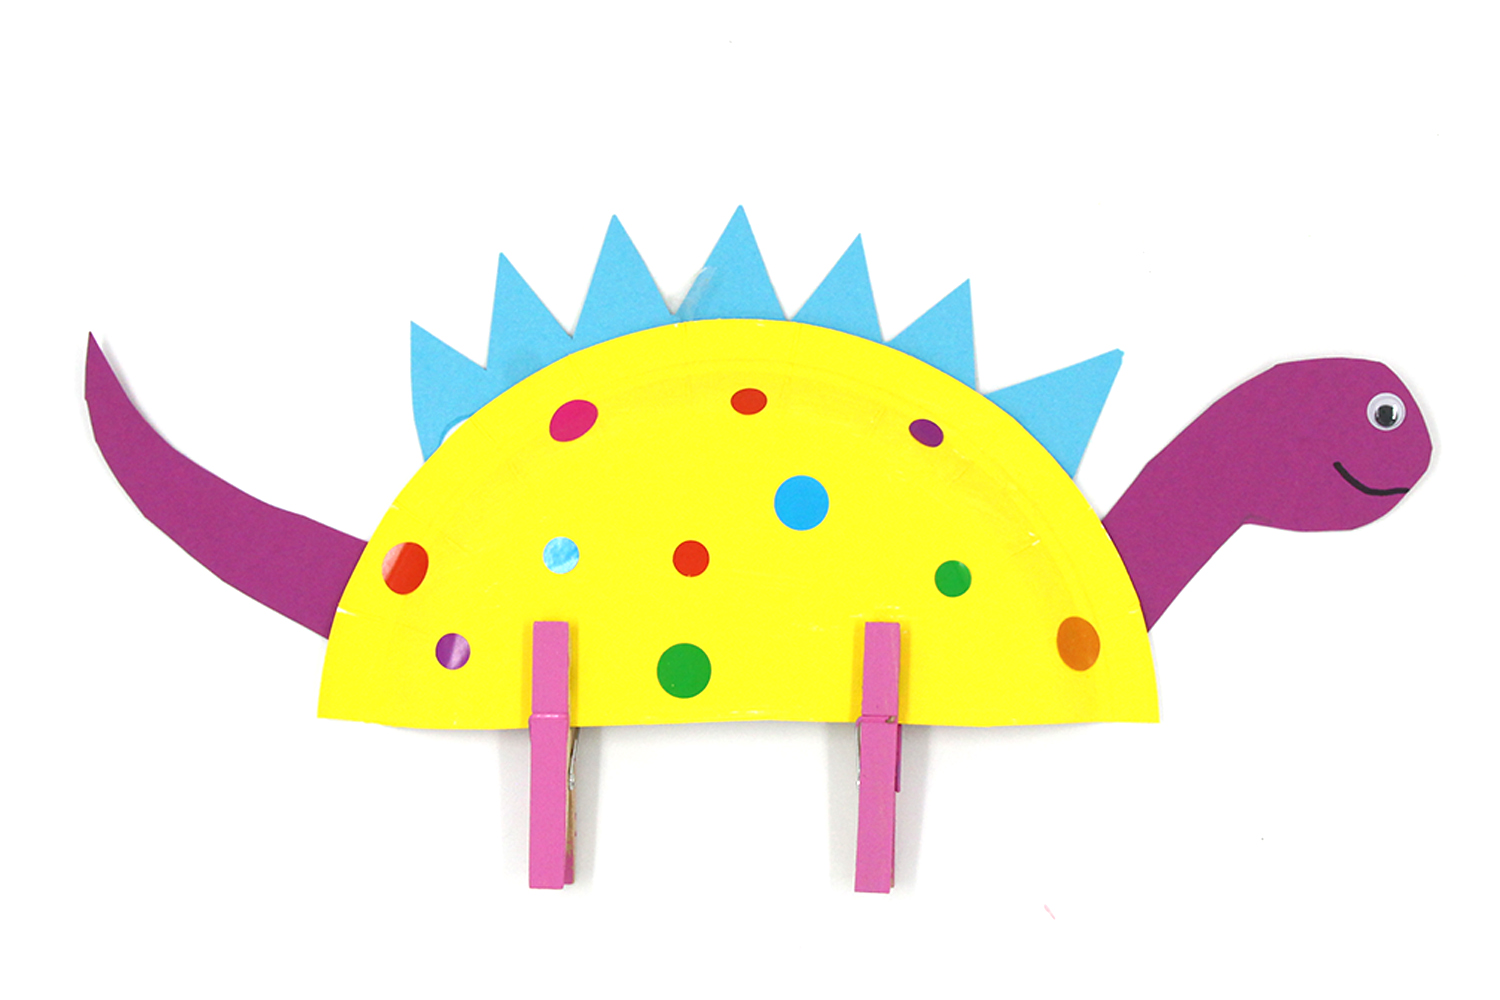
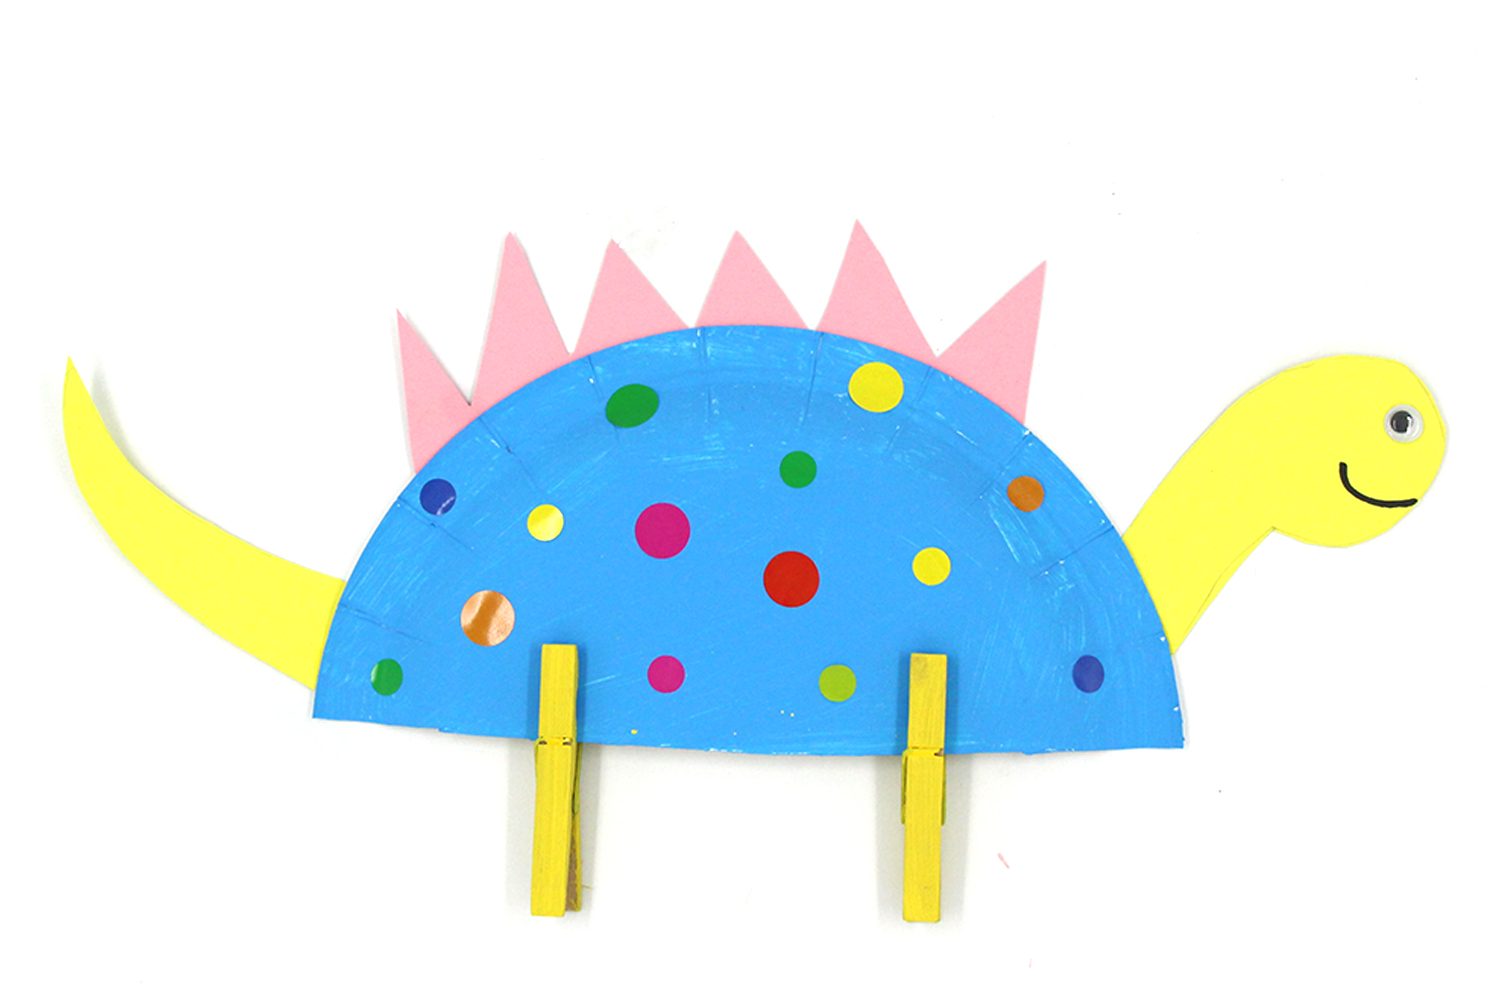
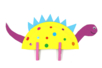
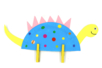
Multicolored Dinosaur with a Paper Plate
In this new craft activity, you will discover how to make colorful dinosaurs using paper plates.
Painting, cutting, and gluing are on the agenda for this craft, ideal for developing your children's creativity and dexterity !
How to make this craft step-by-step:
Materials:
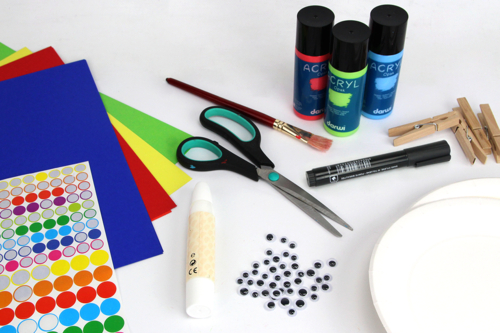
To make a dinosaur you will need:
- A cardboard plate (Ø 21 cm)
- Colored paper sheets (300gr)
- Round stickers
- Googly eyes (Ø 1.2 cm)
- Wooden clothespins
- Acrylic paint and a brush
- A black permanent marker
- Strong white glue
- A pair of scissors
Step 1:
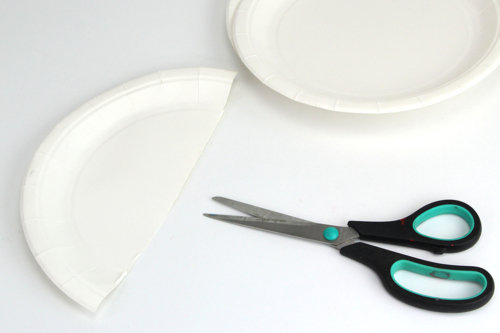
Cut a paper plate in half.
Step 2:
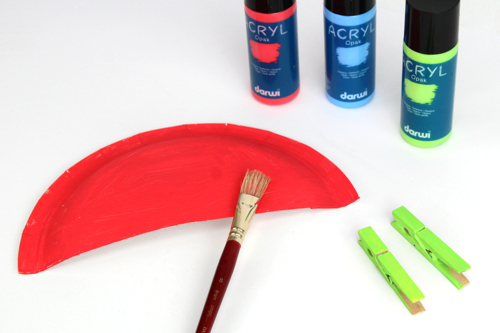
Paint the half-plate and the clothespins with acrylic paint.
Then let it dry for 30 minutes.
Step 3:
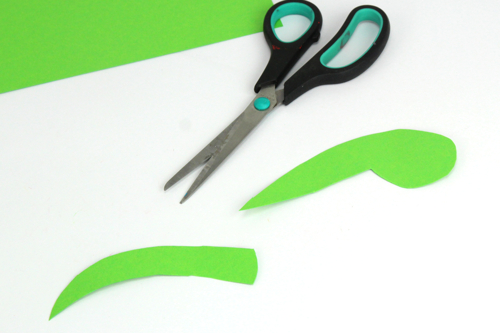
Cut the head and tail of the dinosaur from a colored sheet of paper.
Step 4:
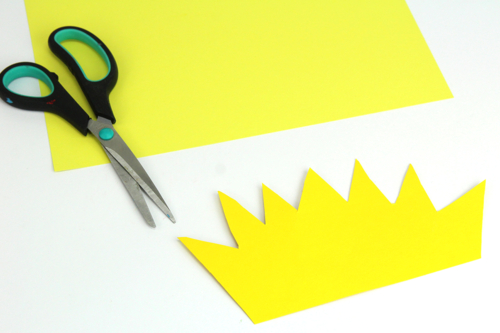
Place the half-plate on another sheet of paper, draw the crests that will be on the back of the dinosaur, and then cut the sheet following the outline.
Step 5:
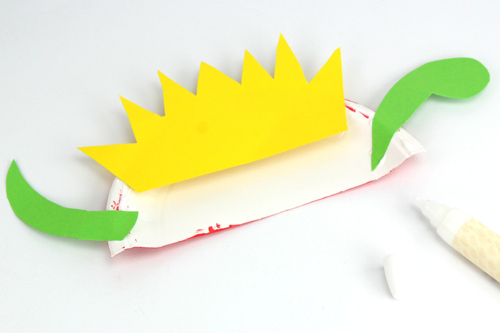
Glue the head, the tail, and the crests of the dinosaur onto the back of the plate.
Étape 6 :
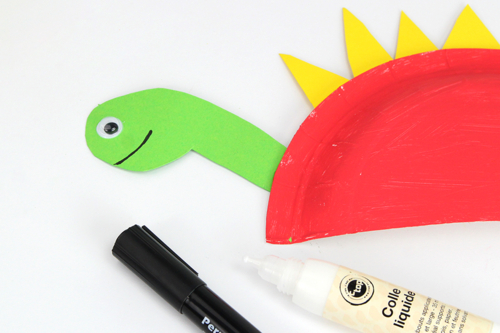
Sur la tête du dinosaure, coller un oeil mobile et dessiner la bouche avec un marqueur noir.
Step 7:
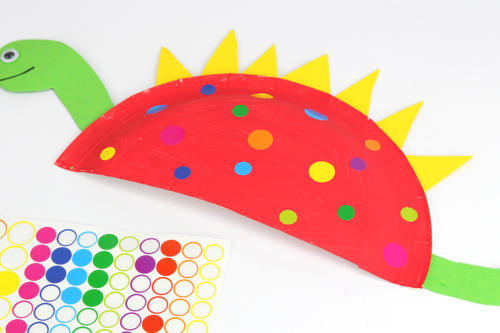
Stick stickers on the plate while varying the colors and sizes.
Step 8:
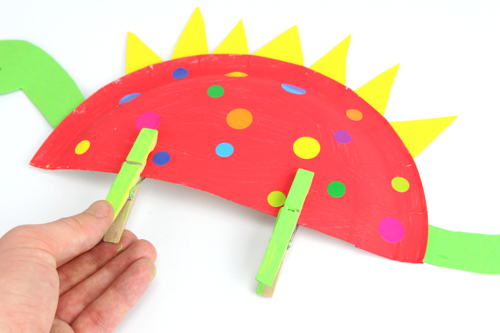
Add the clothespins to create the dinosaur's legs.
Materials Needed:
Materials Needed:


2,99€ (either 1,00 € / pc)
Available

13,99€ (either 0,28 € / pc)
Available


Other tutorials on the theme "Glue and Fold Tutorials"

 5/5






Customer review
Give your feedback
Multicolored Dinosaur with a Paper Plate
Be the first to share your review of this product.
Post a review