Your cart is empty.
Seahorses with Quilling Paper Strips




Seahorses with Quilling Paper Strips
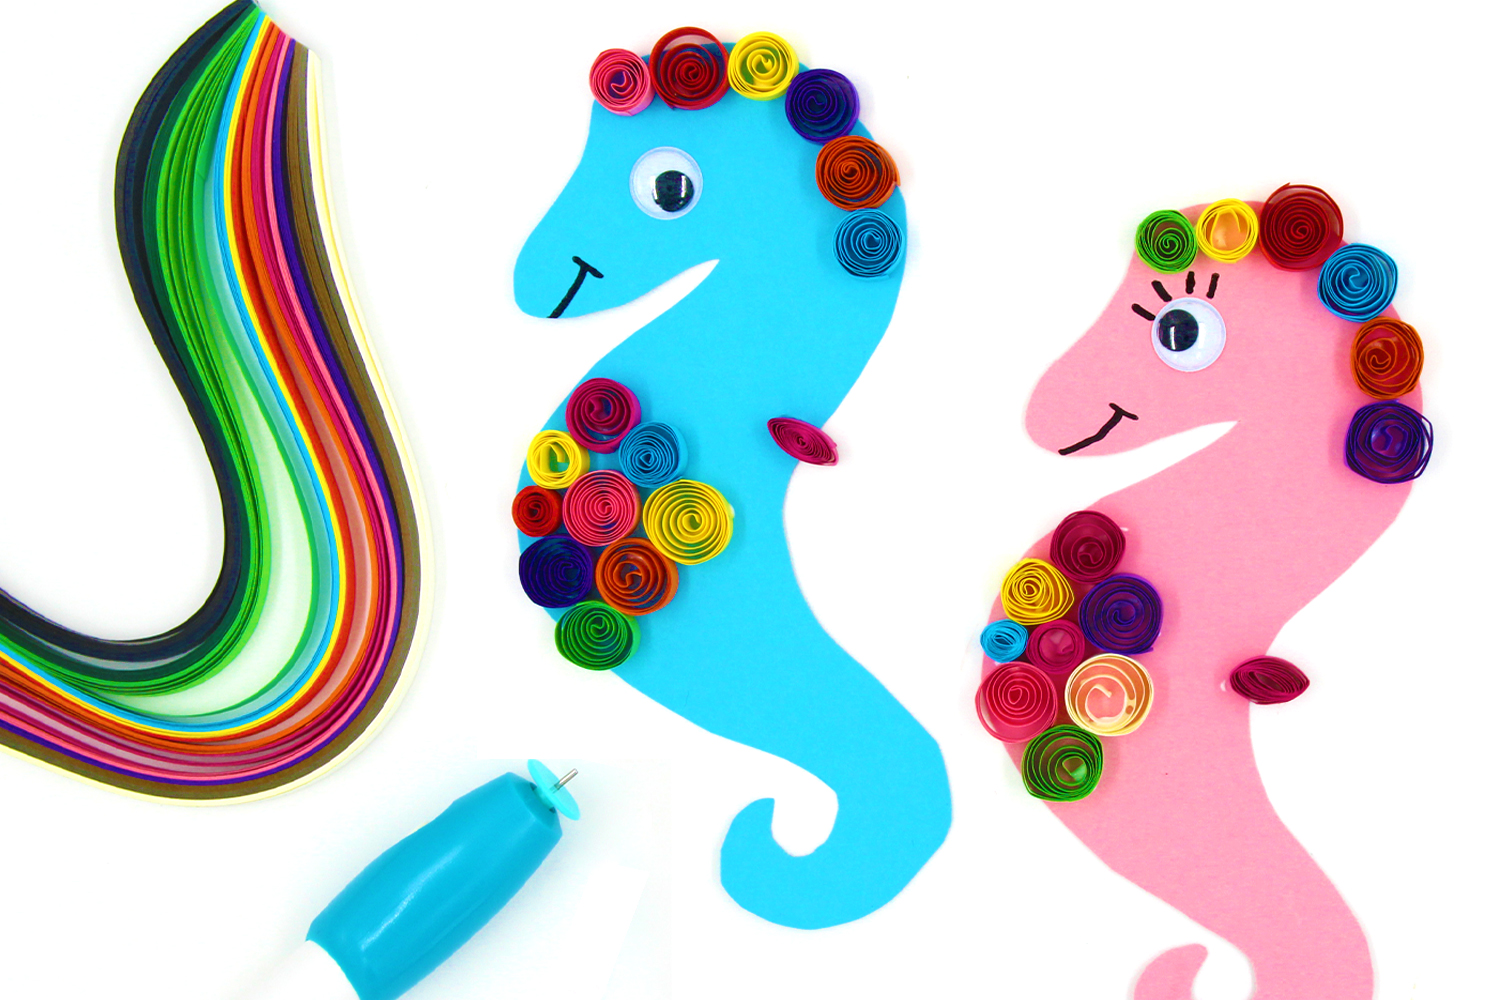
Discover an easy kids craft that will allow them to explore the famous Quilling technique!
By rolling fine strips of paper with our electric roll, they can quickly create colorful seahorses!
Check out our video tutorial here or in the second photo.
To PRINT the template, click here or on "Printable Template" in the third photo.
Thèmes de l'idéa créa :
#Animal Tutorials
#Glue and Fold Tutorials
#Ocean Tutorials
#Funny Characters Tutorials
#Summer Tutorials
How to make this craft step-by-step:
Materials:
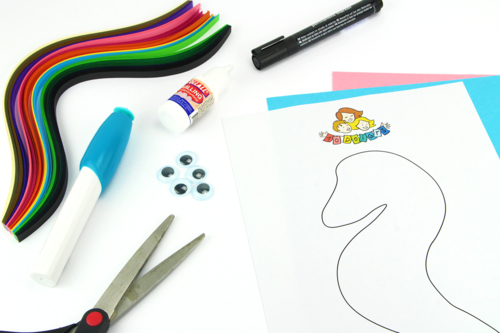
To make a seahorse, you will need:
- A printable seahorse template
- Thick colored paper sheets (300 g/m²)
- Quilling paper strips
- An electric quilling tool
- Quilling glue
- A mobile eye Ø 1.8 cm
- A black marker
- A pair of scissors
- A quilling board
Step 1:
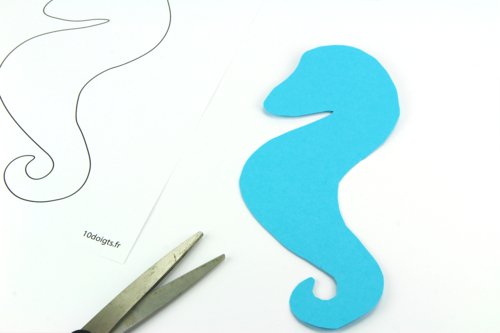
To begin, print our free seahorse template by clicking here.
Then cut out the shape from a sheet of colored thick paper.
Step 2:
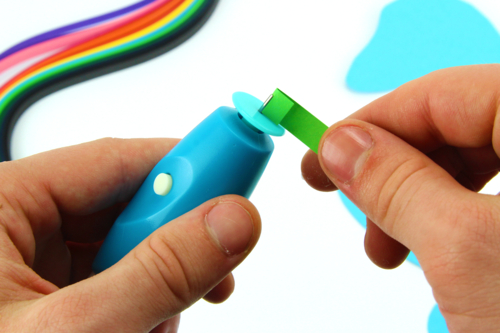
Place the end of a special quilling paper strip in the slot of the metal tip of the roller.
Step 3:
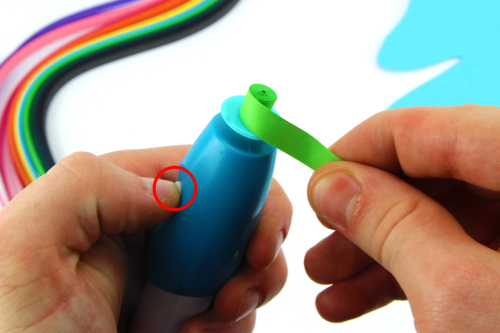
While keeping the paper strip in place, press the button to activate the winder.
Thanks to this very handy accessory, the paper strip winds up in just a second!
Step 4:
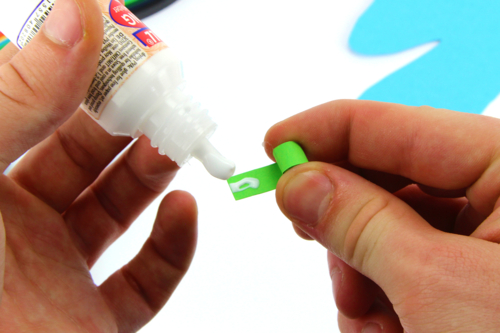
Place a dot of quilling glue at the end of the strip to "close" the roll and allow it to maintain its shape.
Tip: You can also place the paper rolls on our quilling board to let them take the shapes of the selected circles before applying the glue.
Step 5:
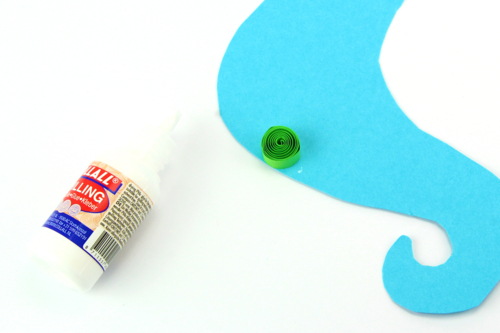
Then glue it onto the seahorse shape with quilling glue.
Step 6:
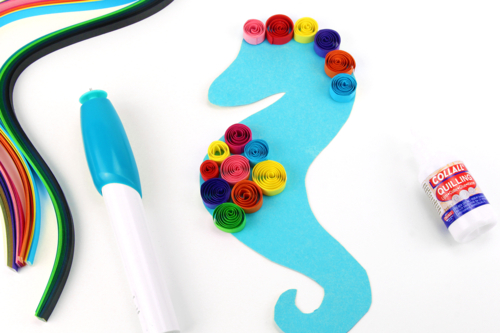
Repeat steps 2, 3, and 4 by sticking about 9 rolls on the belly and 6 on the head.
Step 7:
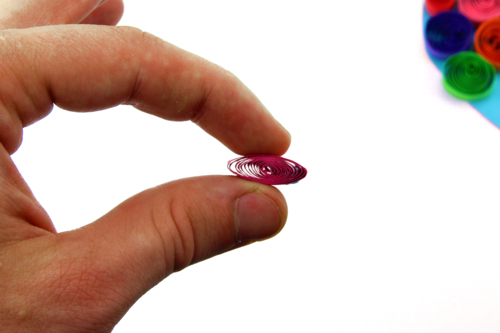
Repeat steps 2, 3, and 4, flattening the roll this time to give it a different shape.
Step 8:
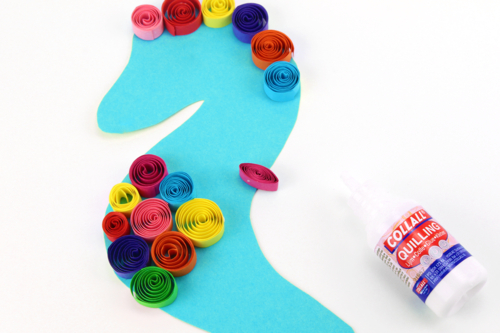
Then glue it with quilling glue to form its fin.
Step 9:
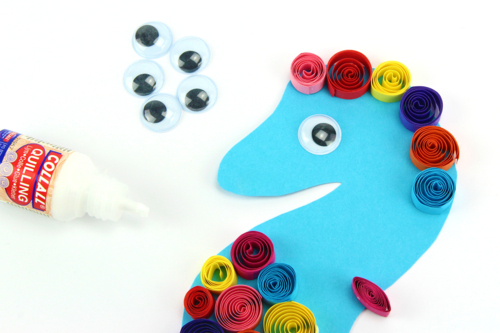
Then glue a mobile eye Ø 1.8 cm.
Step 10:
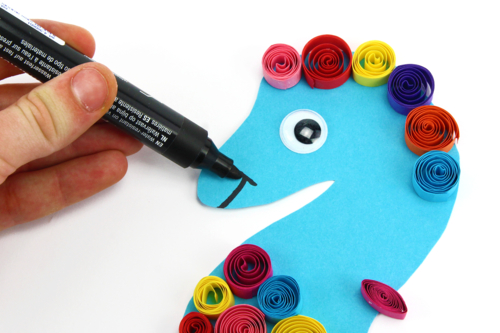
And finally, using a black marker, draw a mouth.
You can also draw eyelashes to emphasize the cute side of this creation!
Materials Needed:
Materials Needed:

8,49€ (either 0,34 € / pc)
Available

2,99€
Available


Other tutorials on the theme "Ocean Tutorials"






 5/5


Customer review
Give your feedback
Seahorses with Quilling Paper Strips
Be the first to share your review of this product.
Post a review