Your cart is empty.
Small Pumpkin with Corks
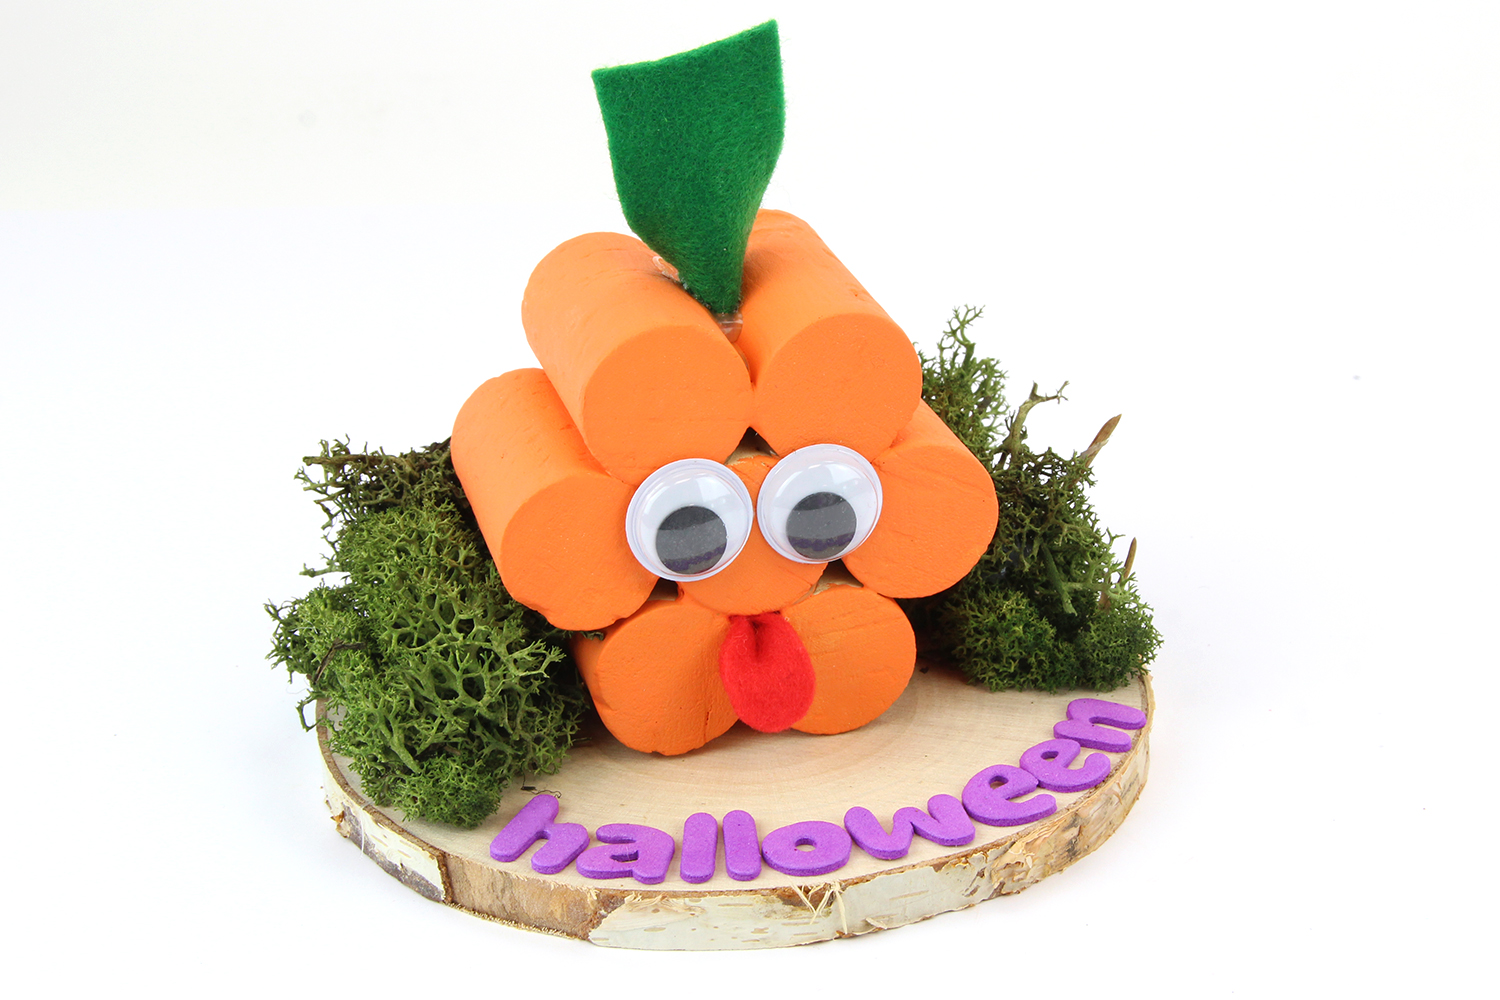
Small Pumpkin with Corks

In this craft, we will give a second life to our corks and create a lovely Halloween decoration at the same time.
Indeed, with corks, some paint, and a few accessories, children can make fun little pumpkins to decorate the house for the arrival of autumn and Halloween.
How to make this craft step-by-step:
Materials
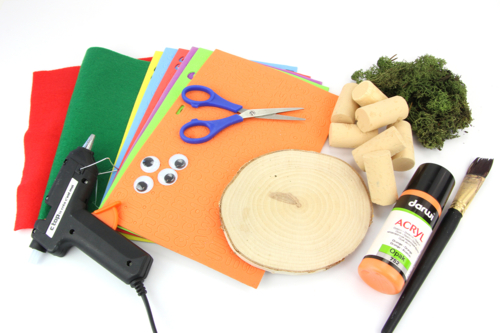
To make a pumpkin, you will need:
- 7 corks
- a slice of wood Ø 10 cm
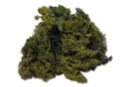
- Icelandic moss
- felt (red, green)
- 2 moving eyes Ø 18 mm
- alphabet stickers
- orange paint and a brush
- a glue gun
- a pair of scissors
Step 1
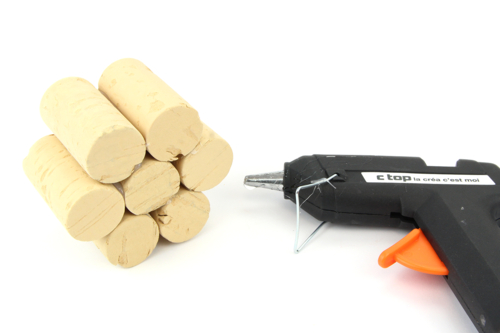
Glue 7 corks with a glue gun to form the pumpkin:
- one row of 2 corks
- one row of 3 corks
- one row of 2 corks
Step 2
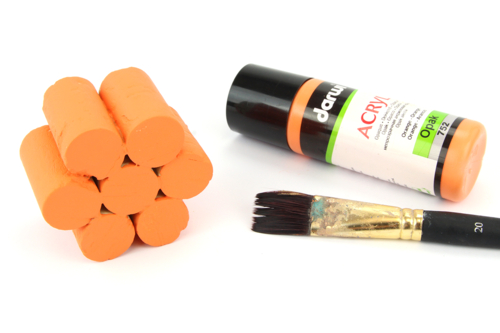
Paint the caps with orange paint and let them dry for about an hour.
Step 3
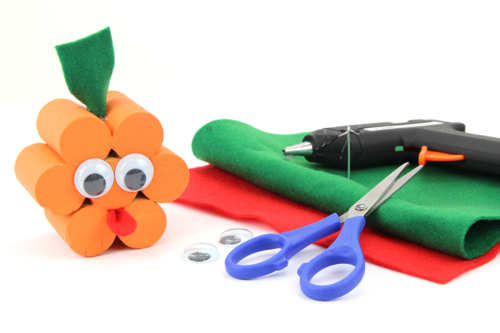
Cut off the pumpkin's stem and a small red tongue from felt sheets. Glue these two elements together with a glue gun.
Next, glue two googly eyes to give the pumpkin a funny look.
Step 4
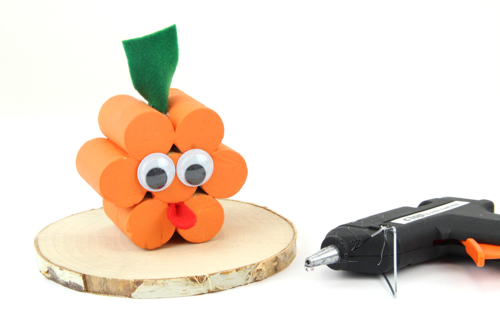
Glue the pumpkin onto a slice of wood.
Step 5
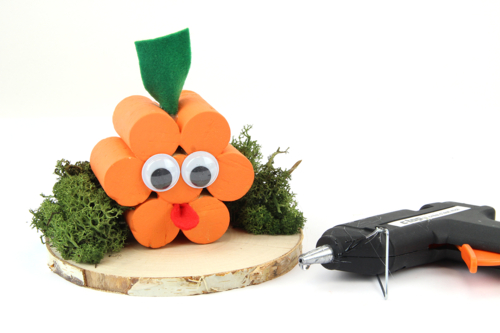
Glue Icelandic moss with the glue gun on the sides and back of the pumpkin.
Step 6
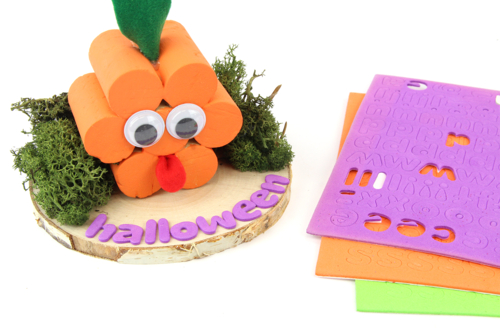
Customize your creation with alphabet stickers by writing a word or a name.
Materials Needed:
Materials Needed:


2,99€ (either 1,00 € / pc)
Available


Wooden Discs Ø 8 to 11 cm - 6 Pieces
Réf. 36020 - Product sheet
5,96€ (either 0,99 € / pc)
Available

Foam Letter Stickers - 7 Colors
Réf. 13774 - See the full range
4,59€ (either 0,66 € / pc)
Available


Other tutorials on the theme "Halloween Tutorials"





 5/5





Vos créations inspirées par ce tuto
Customer review
Give your feedback
Small Pumpkin with Corks
Be the first to share your review of this product.
Post a review