


Your cart is empty.
Snowman Painting

Snowman Painting


Discover a craft where children will have fun creating a funny snowman painting to decorate the home!
An easy and fun Christmas activity combining painting and collage!
Activity to be conducted under adult supervision.
How to make this craft step-by-step:
Materials

To create a lovely snowman picture, you will need:
- a wooden board (18 x 18 cm)
- dark blue acrylic paint and a paintbrush
- a half polystyrene ball Ø 9.5 cm
- a half polystyrene ball Ø 5.5 cm
- small driftwood branches
- 2 wiggle eyes Ø 2.5 cm
- a large fabric bow
- 2 brown pipe cleaners
- an orange pipe cleaner
- a black marker
- star stickers
- a pair of scissors
- a glue gun
Step 1

Paint the wooden surface blue and then let it dry for about 30 minutes.
Step 2

Glue small pieces of driftwood around the square support using the glue gun to create a lovely frame.
Step 3

Glue 2 half balls of polystyrene, one small and one large, in the center of the board to create the snowman.
Step 4

Glue 2 moving eyes onto the large half-ball and a fabric bow onto the small half-ball.
Step 5

Cut a piece of orange pipe cleaner measuring 7 cm, fold it in half, and insert it into the polystyrene to create the snowman's nose.
Step 6

Make the arms of the snowman using brown pipe cleaners.
To do this, cut the first piece to 10 cm, then cut a second piece to 4 cm to wrap around the first.
Step 7

Plant the 2 brown caterpillars in the polystyrene.
Step 8

Draw a nice smile using a black marker.
Step 9

Stick star stickers onto the blue background to create a beautiful starry night sky.
Materials Needed:
Materials Needed:

4,45€ (either 0,89 € / pc)
Available

2,49€ (either 0,42 € / pc)
Available

3,49€ (either 0,58 € / pc)
Available

2,99€ (either 1,00 € / pc)
Available


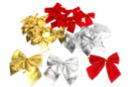
3,49€
Available
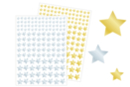
1,89€
Available


Other tutorials on the theme "Christmas Characters"

 5/5


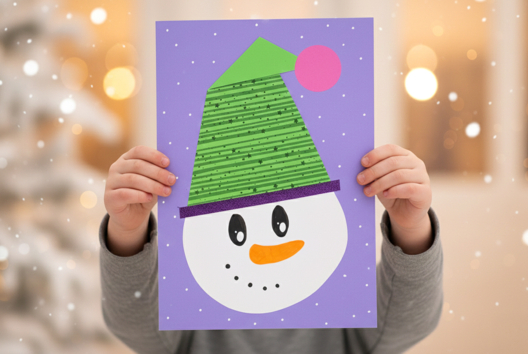
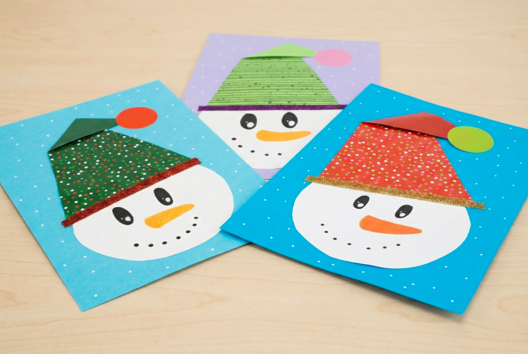






Vos créations inspirées par ce tuto
Customer review
Give your feedback
Snowman Painting
Be the first to share your review of this product.
Post a review