


Your cart is empty.
Spring Tree with Dried Flowers

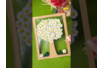

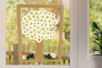
Spring Tree with Dried Flowers


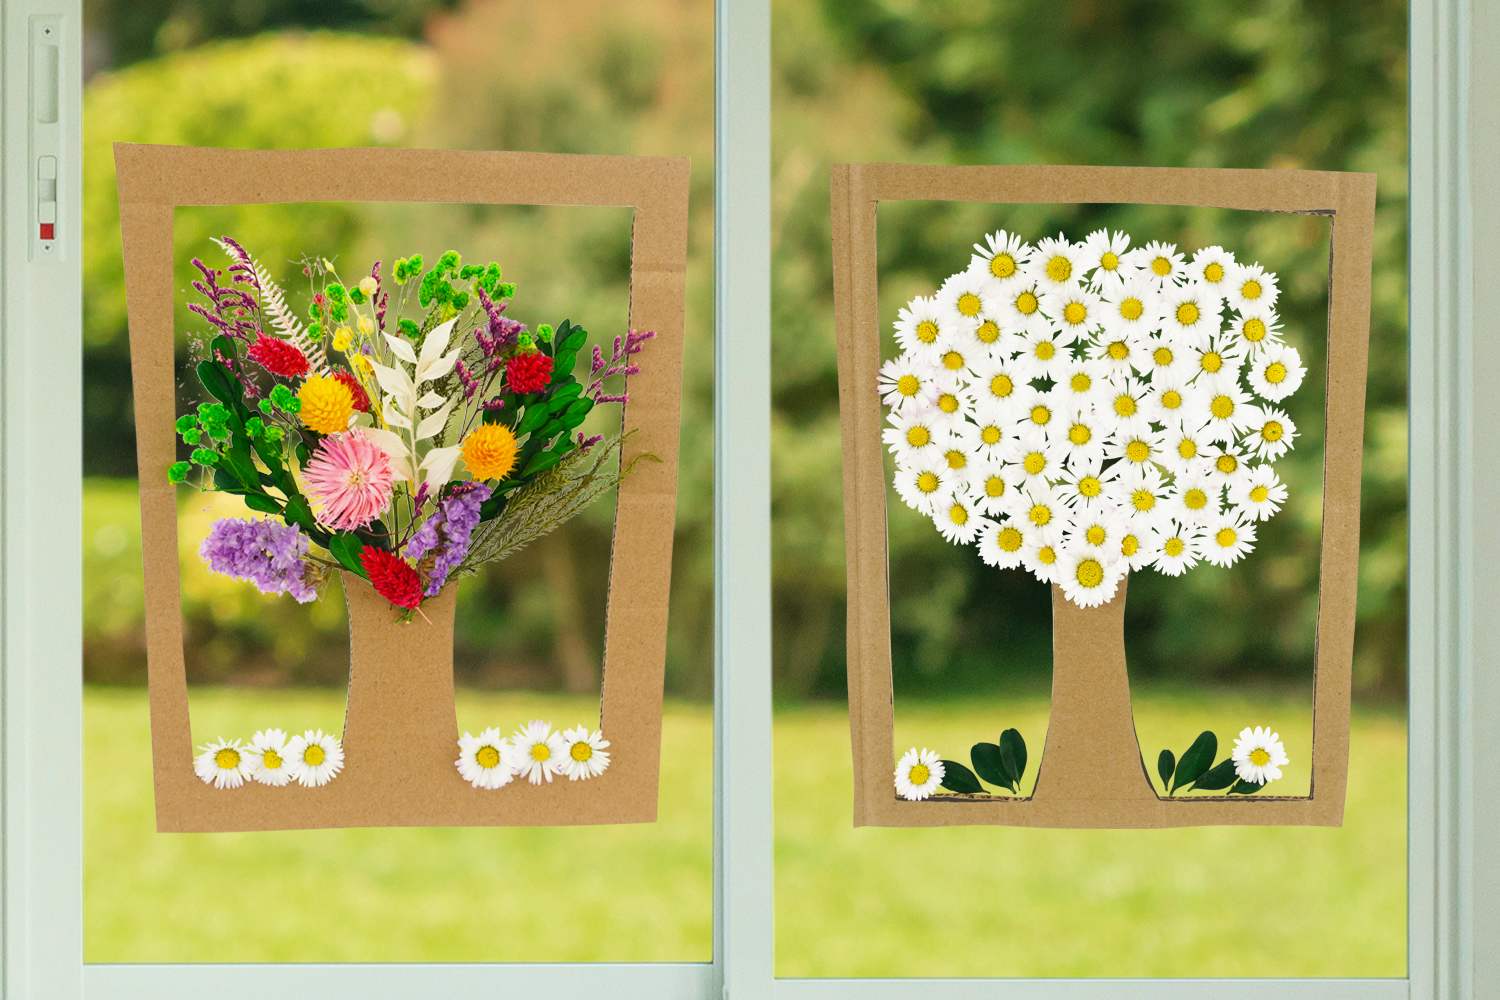
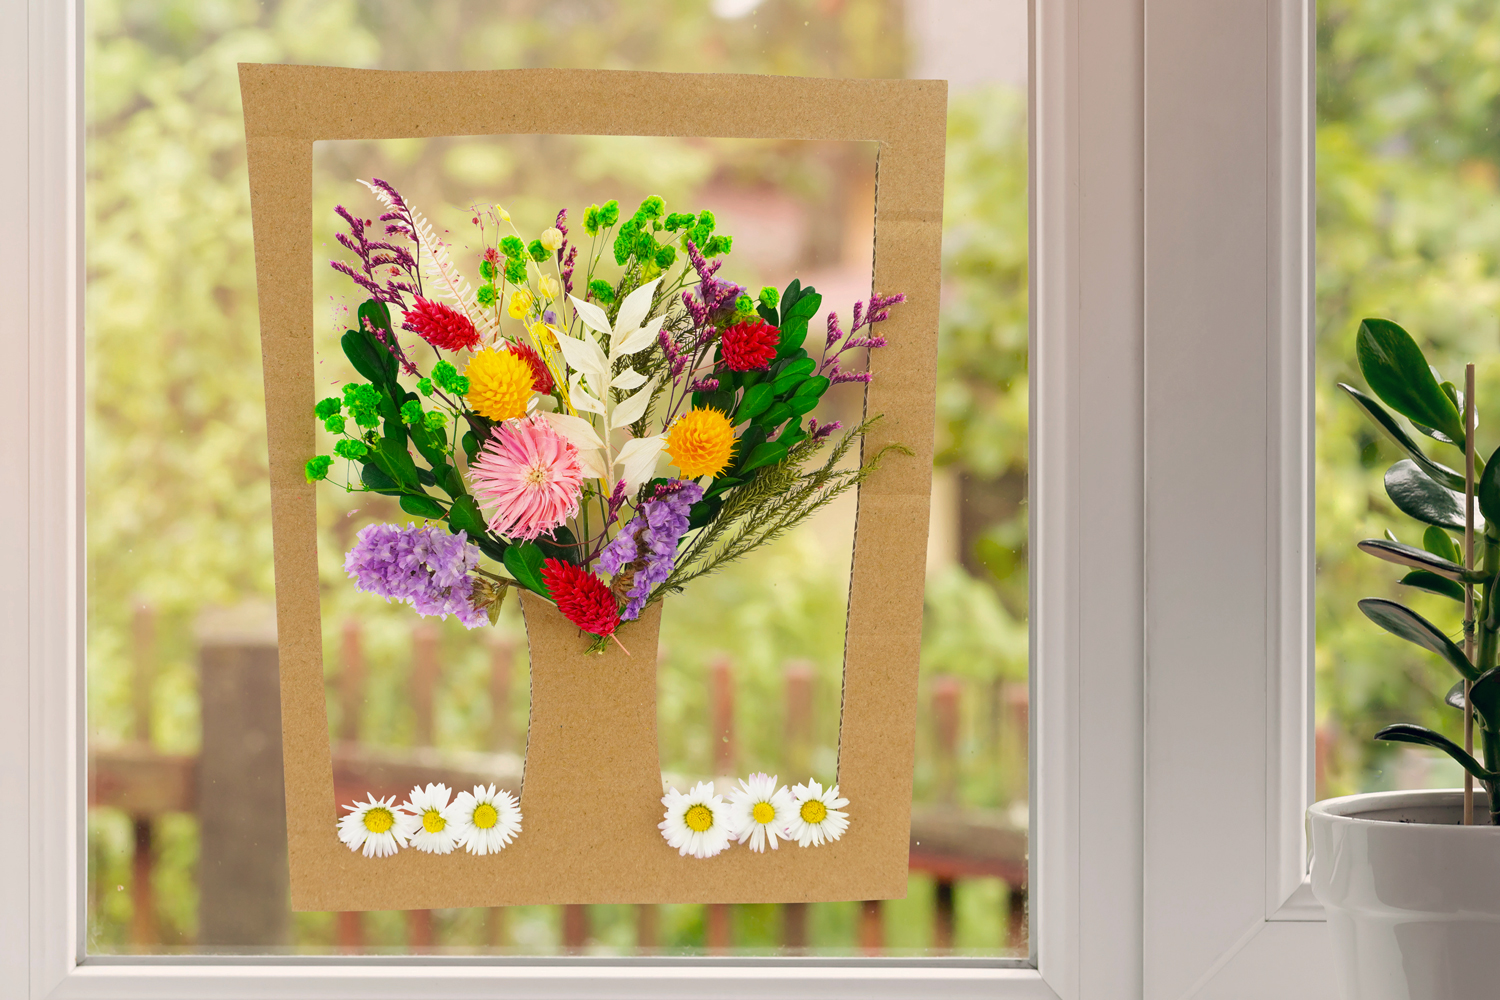
In this manual activity on the theme of Spring, we will show you how to create a beautiful spring tree using cardboard, adhesive plastic film, and dried flowers.
A creative craft that, in addition to being easy and fun, will spark children's imagination and raise awareness about recycling and upcycling.
Thèmes de l'idéa créa :
#Craft Tutorials
#Flower Tutorials
#Upcycling Tutorials
#Nature
#Spring Tutorials
How to make this craft step-by-step:
Materials
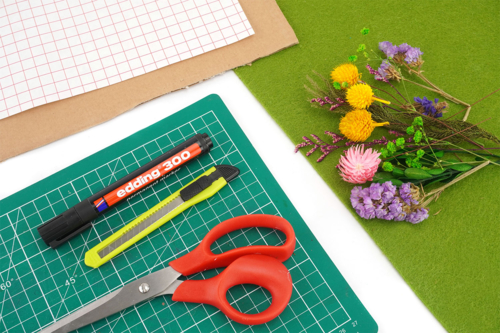
To make a spring tree you need:
- cardboard
- adhesive plastic film
- dried flowers and leaves
- a marker
- a cutting mat
- a pair of scissors
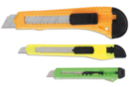
- a craft knife
Step 1
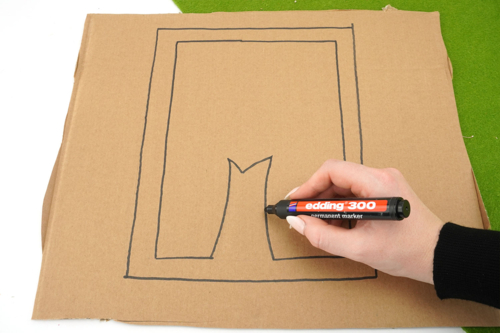
Start by drawing a rectangle of approximately 20cm x 15cm using a cutter.
Then trace a second rectangle inside, leaving a 2-3 cm margin and taking care to draw a trunk for the tree at the bottom.
Step 2
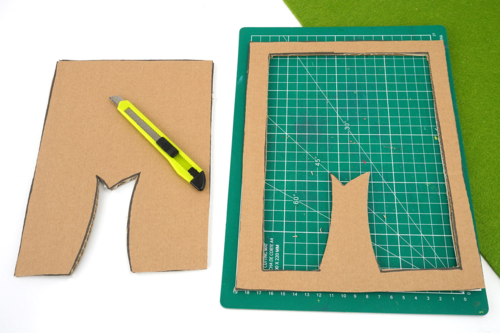
Cut out the inside of the rectangle using a cutter to create a frame like in the photo.
Step 3
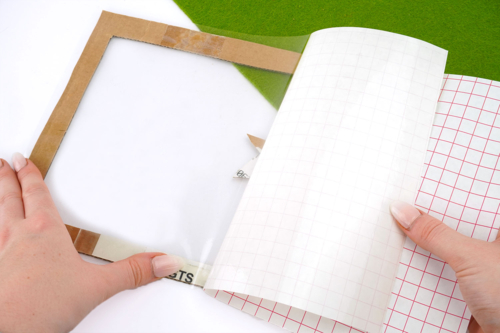
Remove the protective layer from the adhesive plastic film.
Then, place the film on the cardboard frame.
Step 4
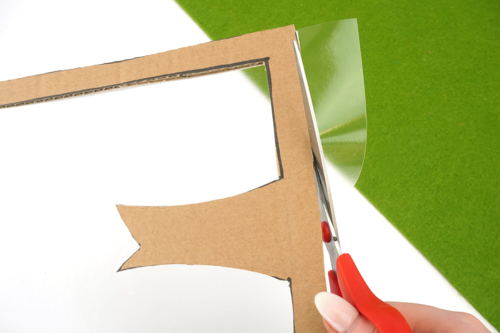
Cut the remaining ends of the plastic film using a pair of scissors.
Step 5
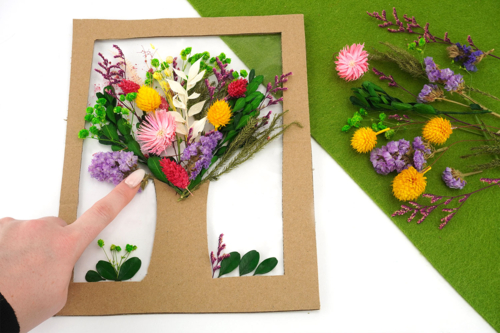
Then place dried flowers and leaves on the sticky part of the plastic film to create a beautiful flowering tree.
Step 6
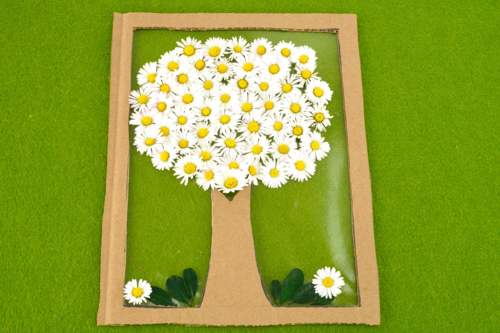
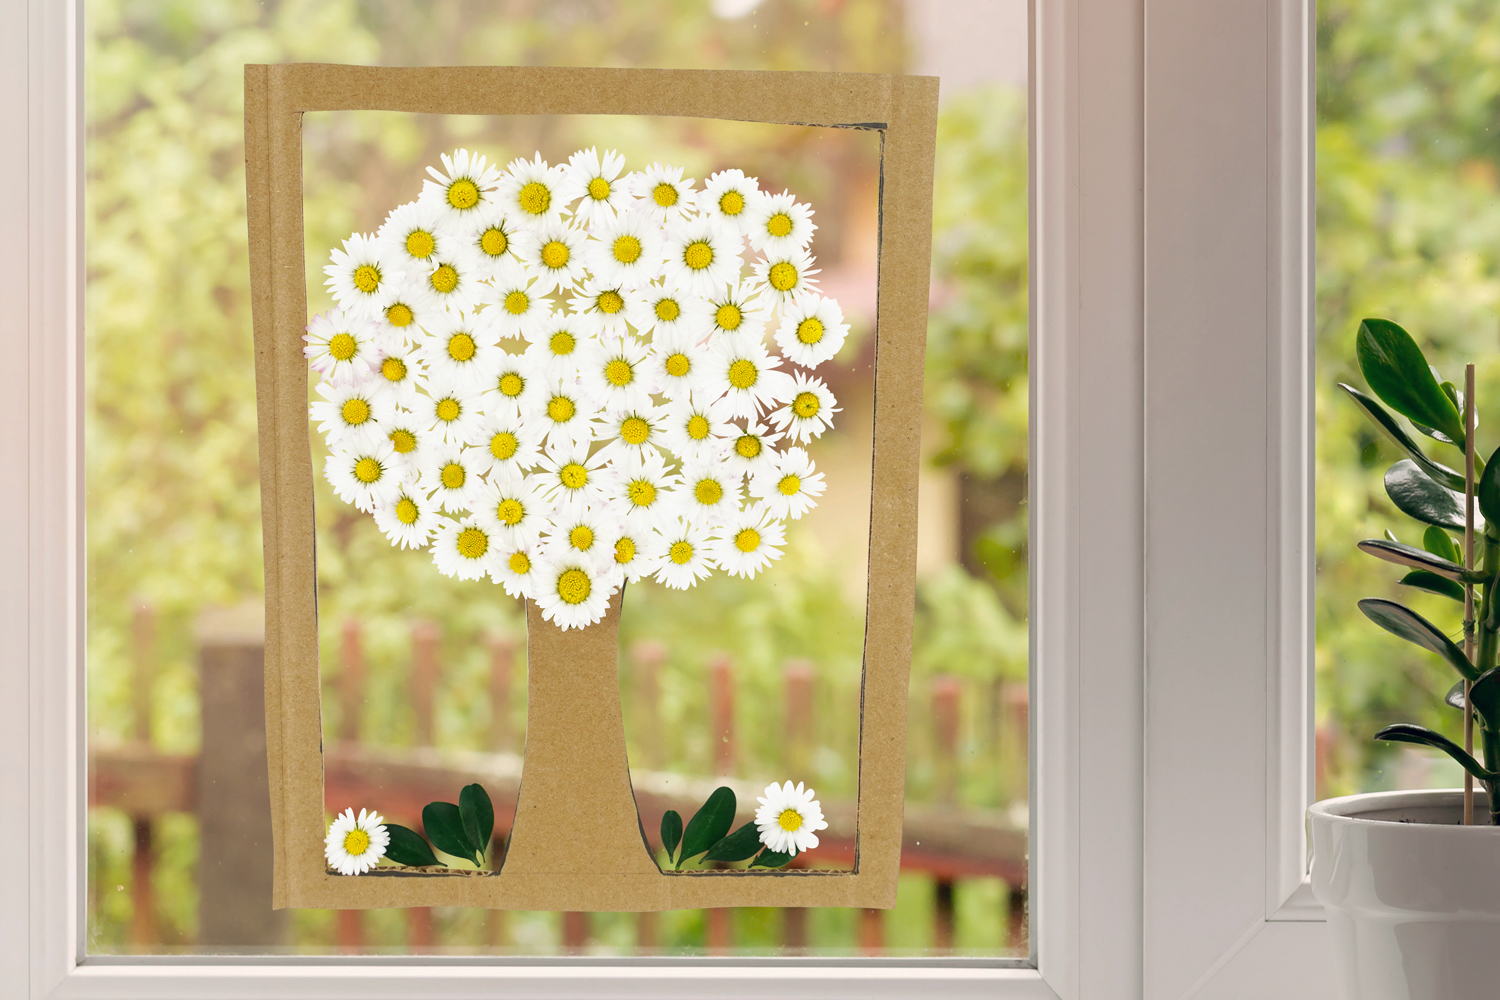
You can also create a version with flowers picked from the garden, like here with daisies.
Materials Needed:
Materials Needed:


4,99€ (either 0,50 € / pc)
Available



Other tutorials on the theme "Craft Tutorials"








 4,5/5


Customer review
Give your feedback
Spring Tree with Dried Flowers
Be the first to share your review of this product.
Post a review