


Your cart is empty.
Thank You Teacher Ruler
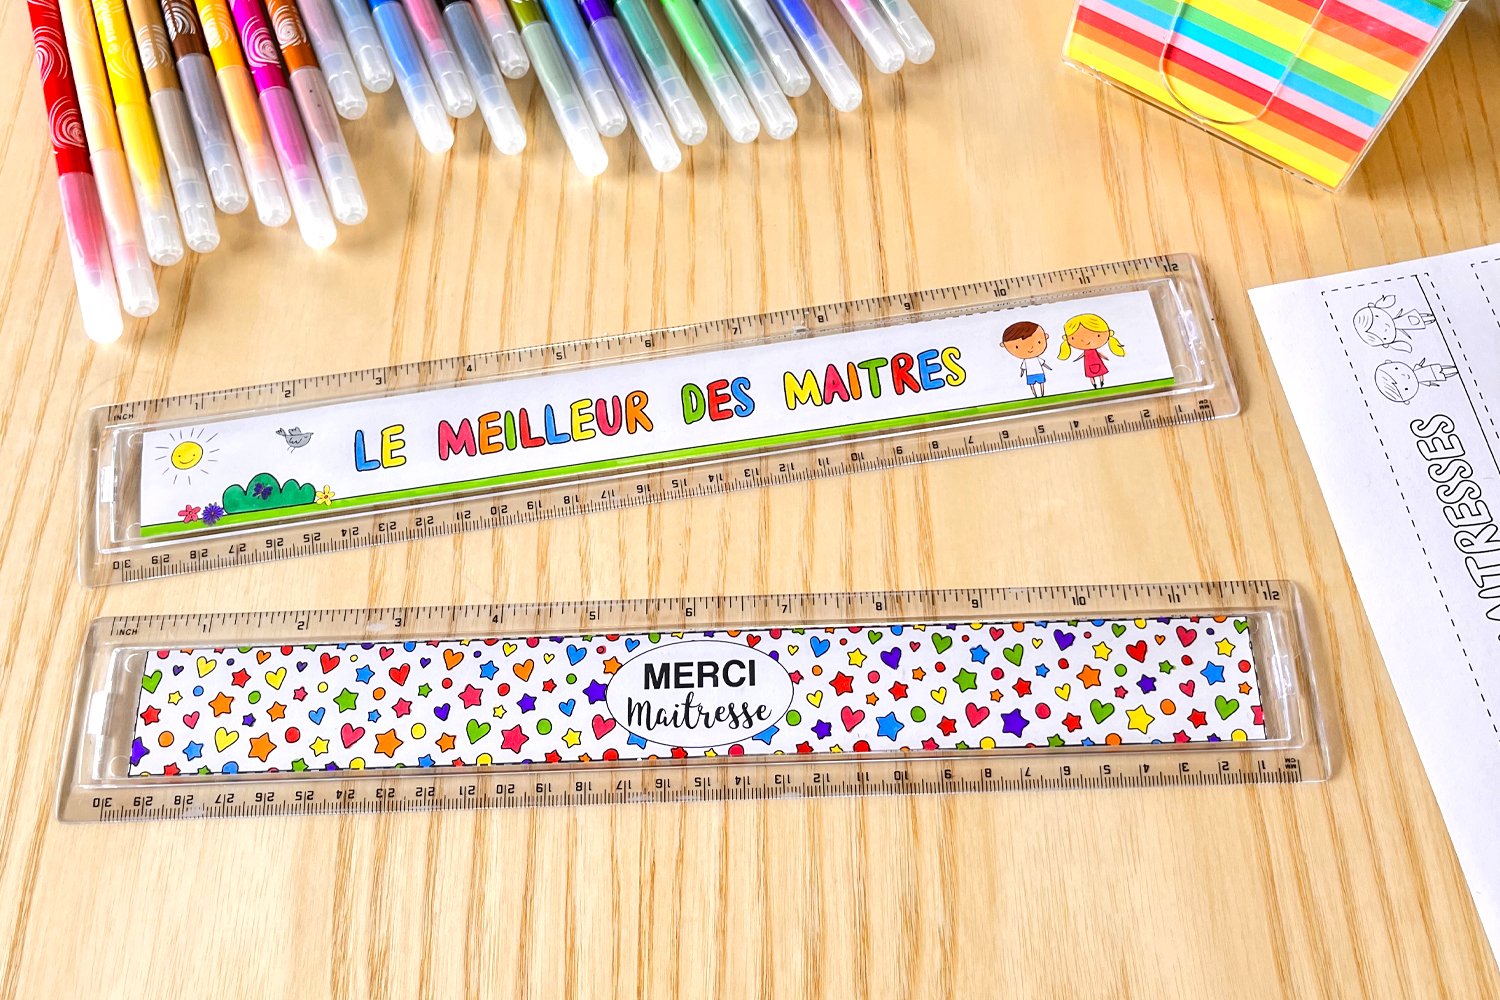
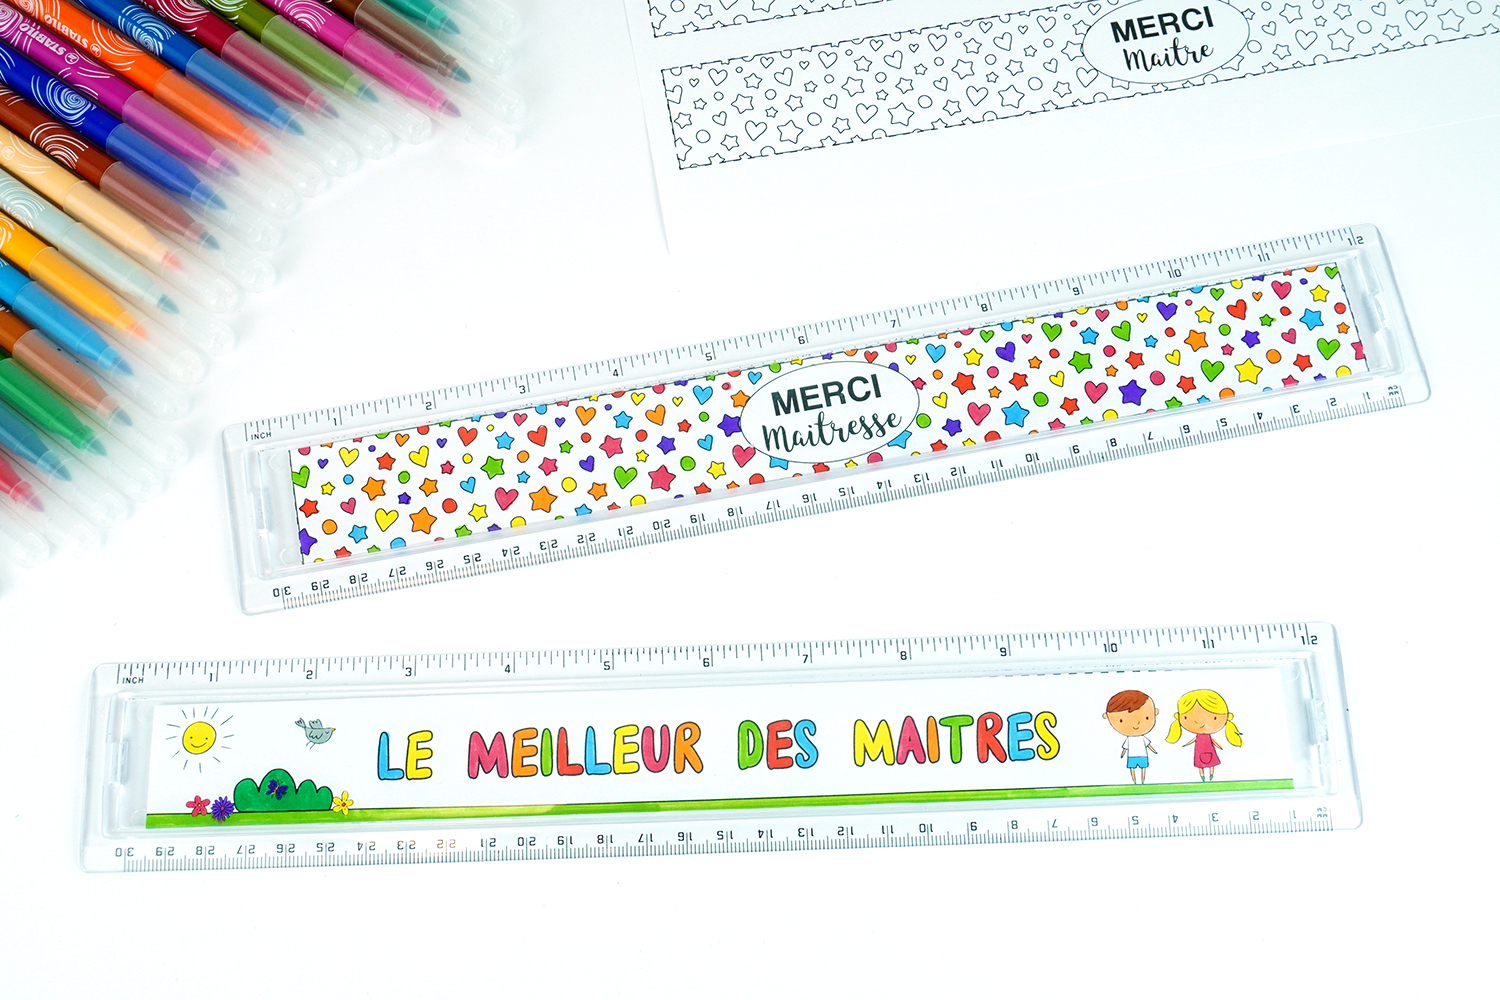


Thank You Teacher Ruler
This year, your child could give a unique handmade gift to thank their teacher!
Here’s an affordable and easy-to-make tutorial that will make an impression! The teacher will be delighted to receive such a lovely gift and will be proud to use it in the coming years.
To PRINT the templates click here or on "Printable Template" in the third photo.
How to make this craft step-by-step:
Materials:
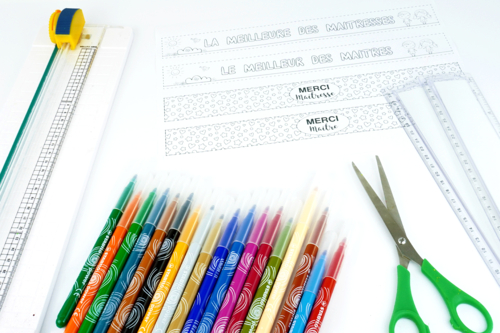
To carry out this activity you will need:
- A free "Thank you teacher" printable template
- A transparent ruler to personalize
- White A4 paper - 120 g
- Markers
- A pair of scissors or a paper cutter
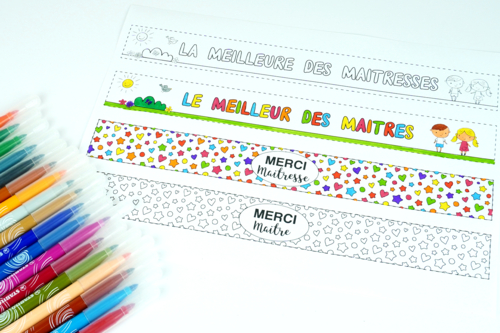
Step 2:
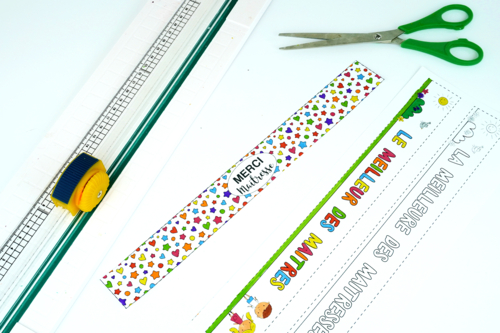
Cut the model with a pair of scissors following the dotted lines.
Tip: the paper cutter is a very handy tool that children can safely use to cut the strips neatly.
Step 3:
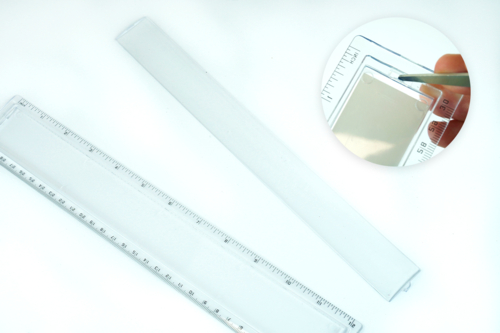
Unclip the upper part of the ruler which allows you to insert a drawing.
To do this, simply press down with the tip of a pair of scissors.
Step 4:
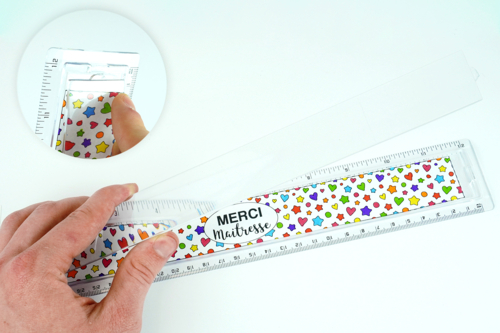
Slide the drawing into the bottom part and then reassemble the two parts of the ruler by clipping them together.
Materials Needed:
Materials Needed:


Other tutorials on the theme "School Gift Tutorials"
 5/5








Vos créations inspirées par ce tuto
Customer review
Give your feedback
Thank You Teacher Ruler
Be the first to share your review of this product.
Post a review