


Your cart is empty.
3D Paper Butterfly


3D Paper Butterfly
Discover our new tutorial to create this beautiful 3D paper butterfly!
We have even prepared a free printable template to make this craft even easier (click on "Technical Sheet" below the main photo)!
How to make this craft step-by-step:
Materials:

To make a butterfly you need:
- Colored A4 paper sheets
- A pair of scissors
- A glue stick
- A black marker
- A pencil
Use our rotary cutter for rounder circles.
Step 1:

Print our free template and then cut out the shape of the butterfly.
Step 2:

Trace the outline of the shape on a dark blue piece of paper and then cut it out.
Step 3:

Glue the cut-out shape onto a light blue sheet of paper, applying glue only in the center.
Step 4 :

From a sheet of pink paper, cut out 4 strips of paper measuring 5 cm x 10 cm.
Step 5:

Create cylinders with the pink paper strips by applying glue to the ends.
Step 6:

Glue the cylinders at the center of the butterfly shape.
Step 7:

Cut yellow circles:
- Two with a diameter of 5 cm
- Two with a diameter of 4 cm
- Two with a diameter of 3 cm
Cut pink circles:
- Four with a diameter of 4 cm
- Two with a diameter of 3 cm
Vary the colors to your liking!
Step 8:

Glue the circles symmetrically on the wings.
Step 9:

Glue the pink circles by overlapping them.
Step 10:

Cut two yellow strips measuring 1 cm x 8 cm.
Step 11:

Wrap the ends and stick them.
Step 12:

Cut out two circles of approximately Ø 1.8 cm from a sheet of white paper and then glue them.
Step 13:

Using a black marker, draw the pupils and a mouth.
Materials Needed:
Materials Needed:
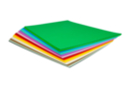
26,99€ (either 0,11 € / pc)
Available


 5/5







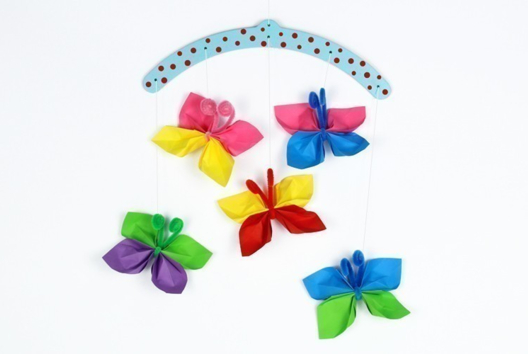
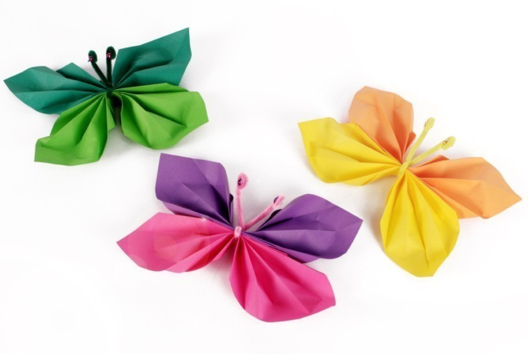


Making paper butterflies with 2 children aged 4 and 2 years old
Réalisation de papillons en papier avec 2 enfants de 4 et 2 ans