Your cart is empty.
Butterfly on Base
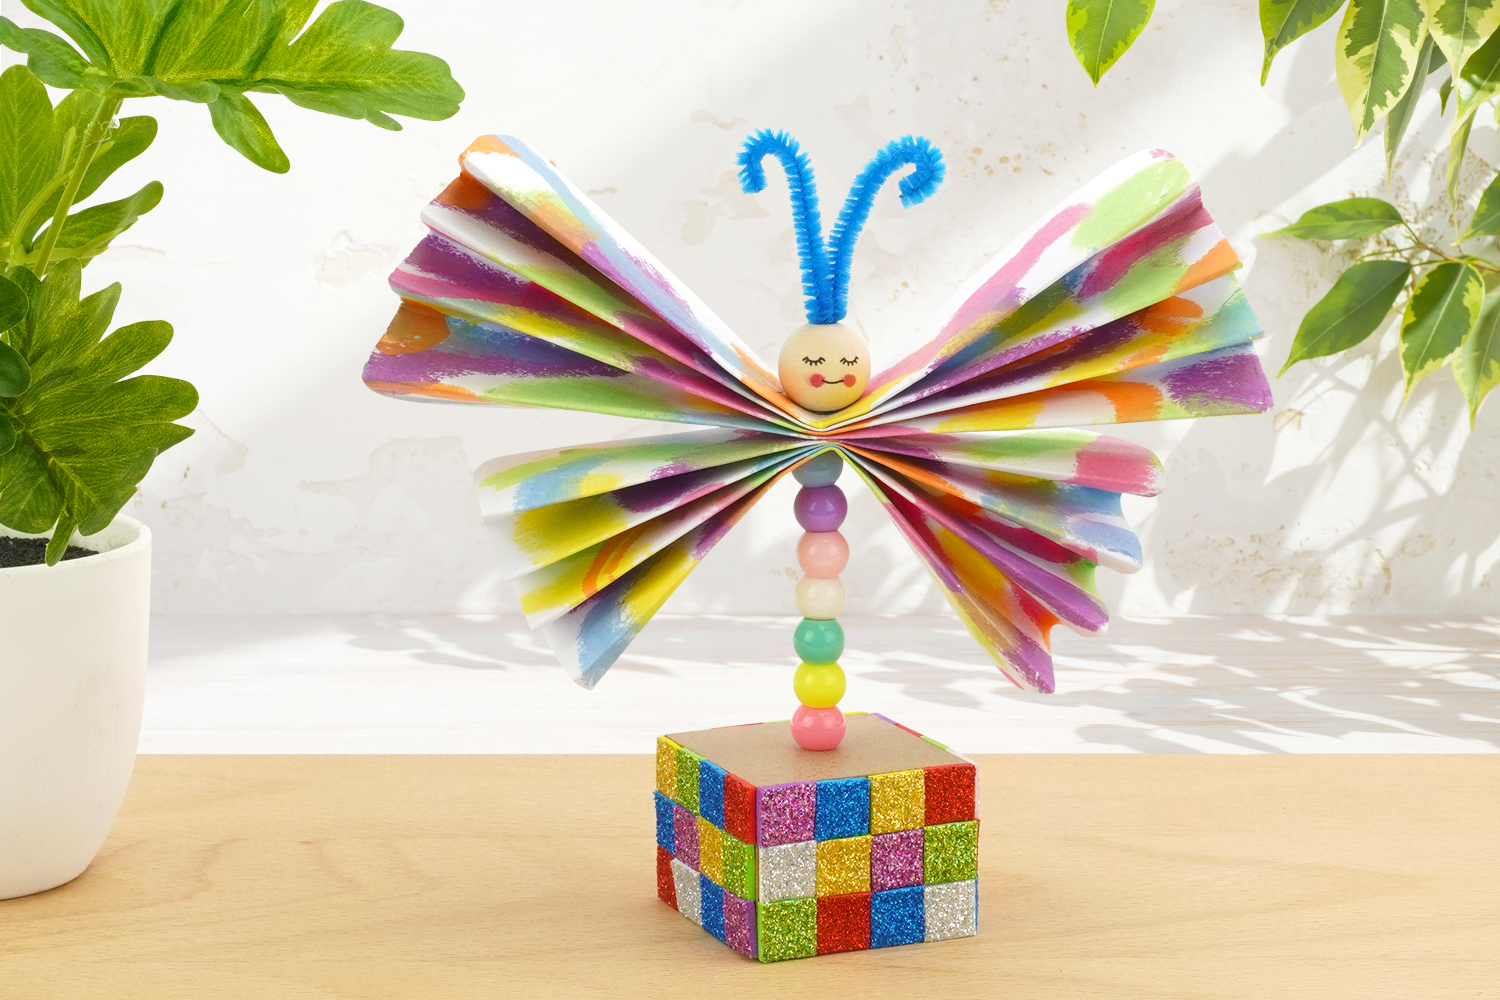
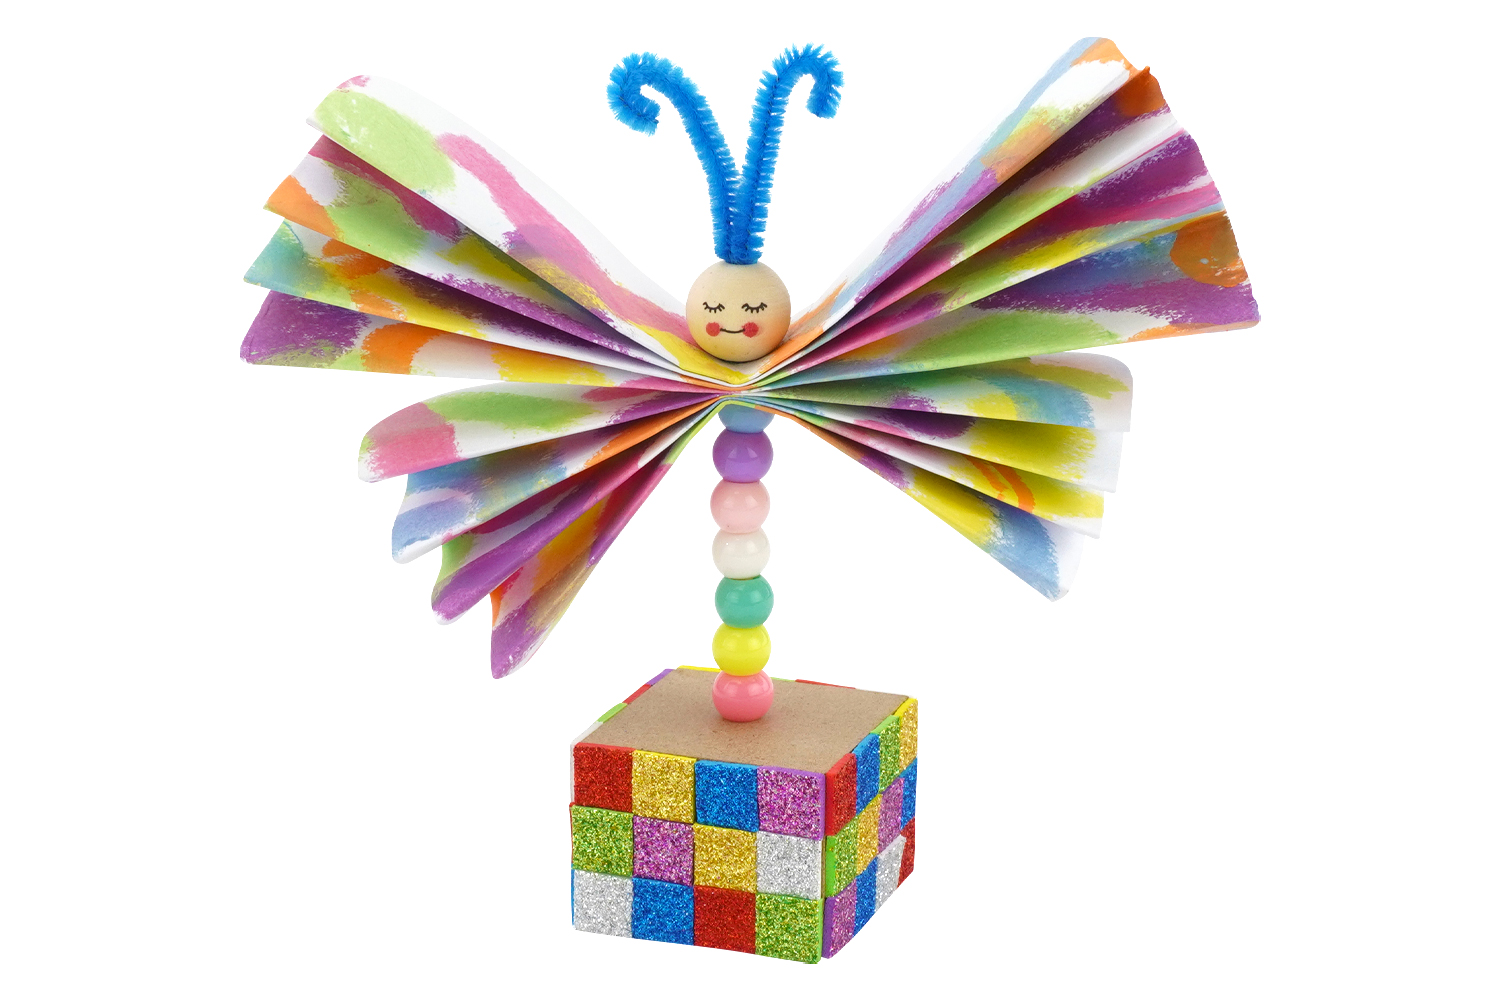

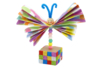
Butterfly on Base


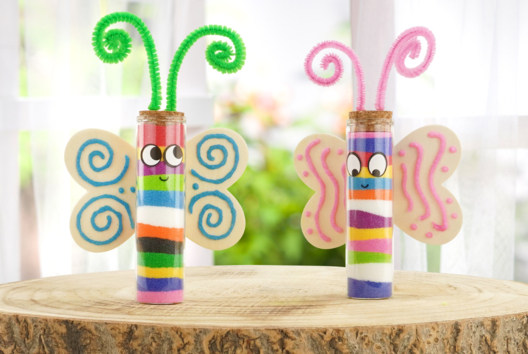
With paper, some beads, and solid poster paint, we will show you how to create beautiful butterflies with children.
These colorful butterflies will add a lovely summer touch to your home decor.
An easy and fun activity perfect for keeping and entertaining children (from age 3) this summer!
How to make this craft step-by-step:
Materials
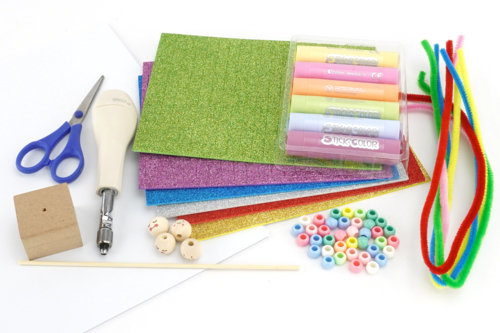
To make a butterfly, you will need:
- a sheet of white paper (A4 - 120 g/m²)
- solid gouache sticks
- a wooden base with a rod
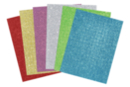
- glitter mosaic stickers
- large-hole beads
- a caterpillar
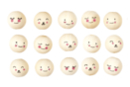
- a wooden face bead
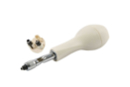
- a hole punch
- a cutting mat
- a pair of scissors
Step 1
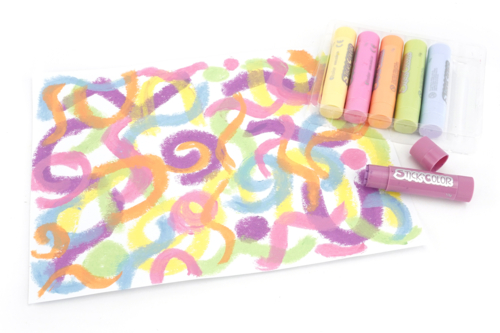
"Doodle" on the sheet of white paper using solid poster paint sticks.
This colored sheet will be used to create the wings of the butterfly.
Step 2
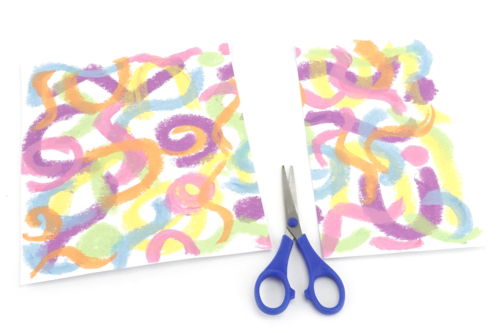
Cut the sheet widthwise into 2 parts (with one part slightly larger than the other).
Step 3
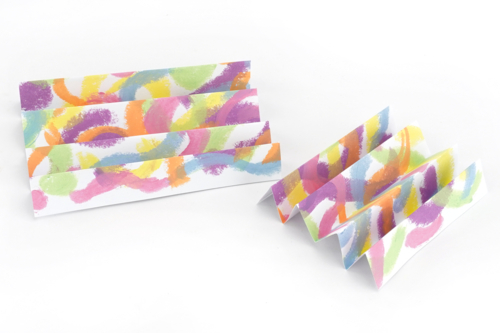
Fold the 2 pieces of paper in an accordion shape as shown in the photo.
Step 4
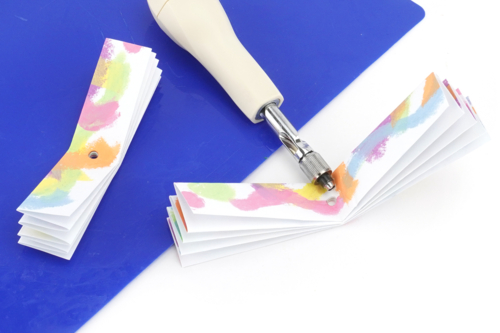
Fold the accordion in half to mark the center crease.
Using a hole punch (use the Ø 4 mm head), make a hole in the center of each paper accordion.
Tip: protect your work surface with a cutting mat.
Step 5
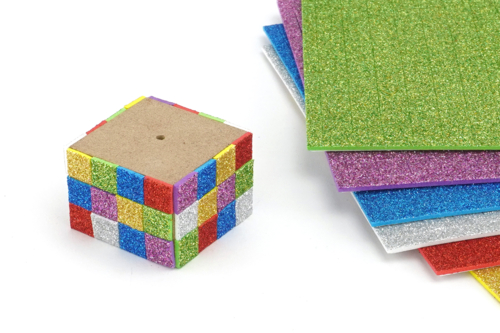
Cover the 4 side faces of the wooden base with adhesive glittered mosaics.
Step 6
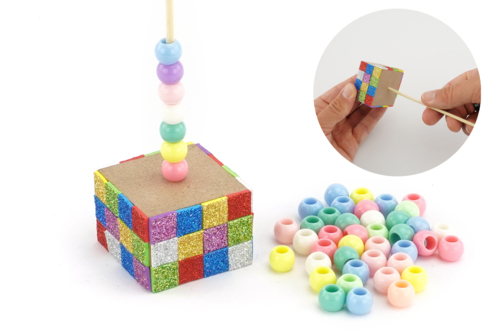
Push the rod into the hole in the base, then slide 6 to 7 colored beads onto the rod.
Step 7
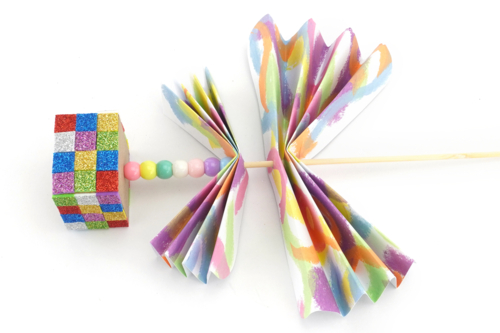
Thread the 2 paper accordions onto the wooden stick (the smaller one placed at the bottom).
Step 8
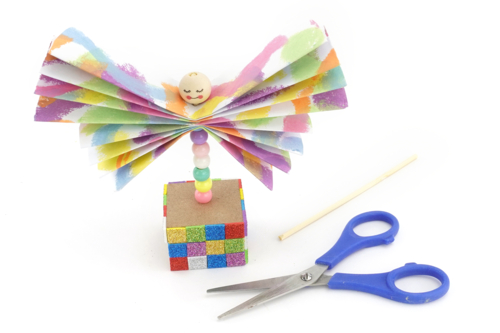
Place a wooden "face" bead on the stem and then cut the stem just above the bead using a pair of scissors.
Step 9
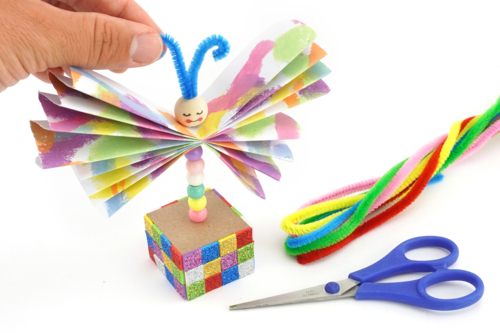
Cut 2 pieces of pipe cleaners about 6 cm long and slide them into the hole of the wooden bead.
Bend the ends to create the butterfly's antennas.
Materials Needed:
Materials Needed:




2,99€
Available

Other tutorials on the theme "Animal Tutorials"



 5/5




Customer review
Give your feedback
Butterfly on Base
Be the first to share your review of this product.
Post a review