


Your cart is empty.
Decorating Easter Eggs with Finger Stamps





Decorating Easter Eggs with Finger Stamps


In this craft activity themed around Easter, discover a SUPER EASY tip to decorate your Easter eggs with beautiful multicolored dots!
Finger stamps will allow younger children to paint with their fingers without getting messy, and we just LOVE that!
You can then use the eggs to:
- decorate a table
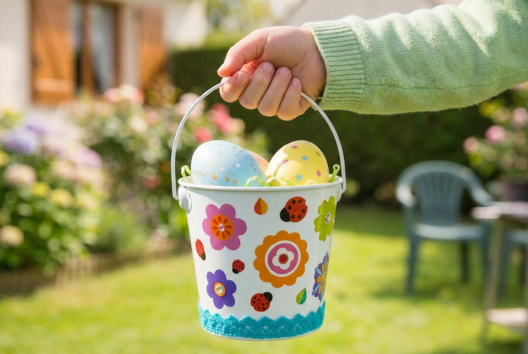
- place them in a small basket
- hang them on a tree
- etc...
How to make this craft step-by-step:
Materials:

For this activity, you will need:
- white plastic eggs
- finger stamps
- acrylic paint
- a sturdy paper basket
- crinkled grass
- wooden sticks Ø 4 mm
- a pencil sharpener
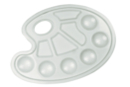
- a palette
Step 1:

To begin, prepare your colors in a paint palette.
(here we choose blue, red, orange, yellow, green, and pink)
Step 2:

Use a pencil sharpener to sharpen the wooden rods Ø 4 mm so they can be easily inserted into the small hole located beneath our plastic eggs.
Tip : make sure the egg is securely locked in place.
Step 3:

Hold an egg by its wooden stick, then dab spots of various colors using finger stamps.
Then leave it to dry for 20 minutes by placing the stick in a cup, for example.
Step 4:

You can now place the eggs in the cutest baskets.
Our sturdy cardboard baskets are easy to assemble by folding, and you just need to add a bit of paper shred for a lovely Easter decoration.
Materials Needed:
Materials Needed:


2,99€ (either 1,00 € / pc)
Available

Wooden Sticks 20 cm - Ø 4 mm - 25 pcs
Réf. 10356 - See the full range
1,89€ (either 0,08 € / pc)
Available

Other tutorials on the theme "Easter Tutorials"



 5/5





Vos créations inspirées par ce tuto
Customer review
Give your feedback
Decorating Easter Eggs with Finger Stamps
Be the first to share your review of this product.
Post a review