Your cart is empty.
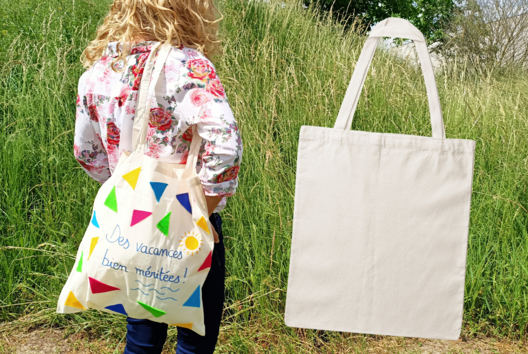
Embroidered Punch Needle Bag
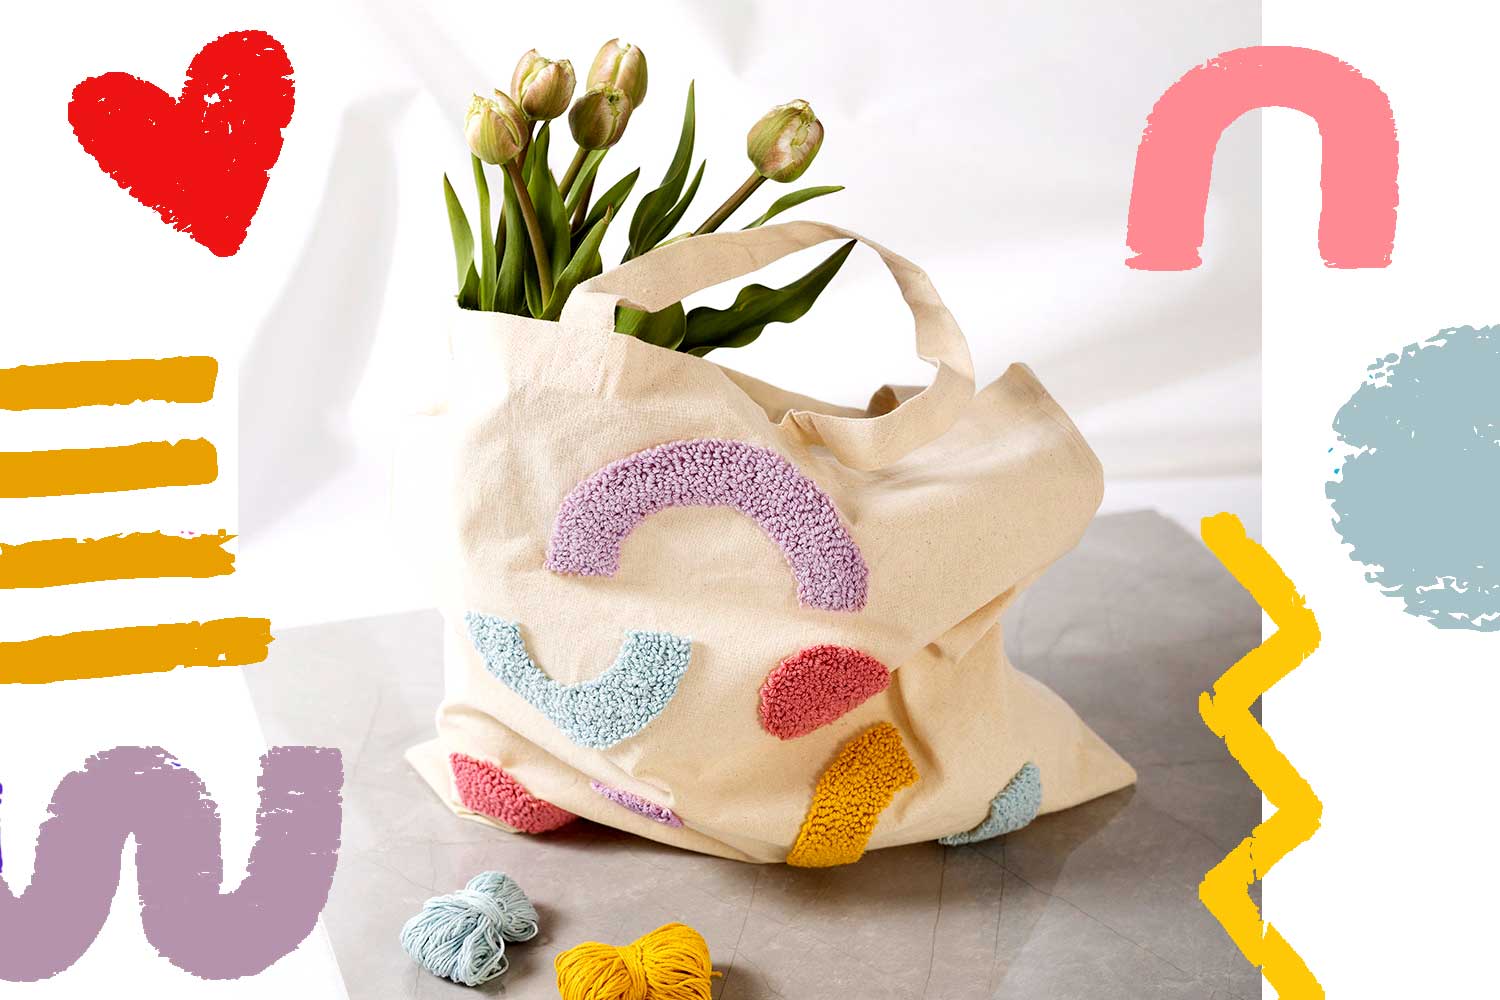


Embroidered Punch Needle Bag


Create beautiful looped embroideries with the Punch Needle!
Follow our step-by-step tutorial to discover this activity and make a trendy tote bag!
Thèmes de l'idéa créa :
#Sewing Tutorials
#Mother's Day Tutorials
#Grandmothers' Day Tutorials
#DIY Tutorials for Parents' Day
How to make this craft step-by-step:
Step 1
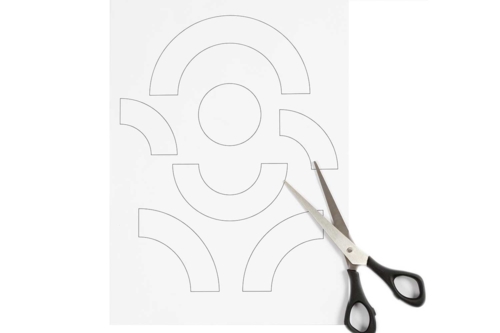
Cut out the shapes from the template.
Step 2
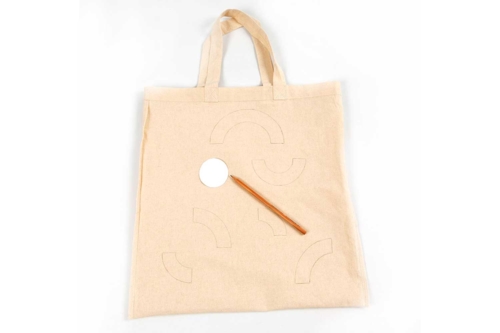
Turn the bag inside out, and on the reverse side, use the cut-out shapes as a stencil to create the embroidery patterns.
Why work on the reverse side of the bag? All the embroidery will be done on the reverse side because the loops will show on the other side of the stitching.
Step 3
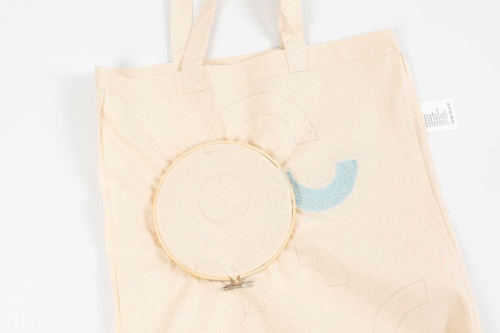
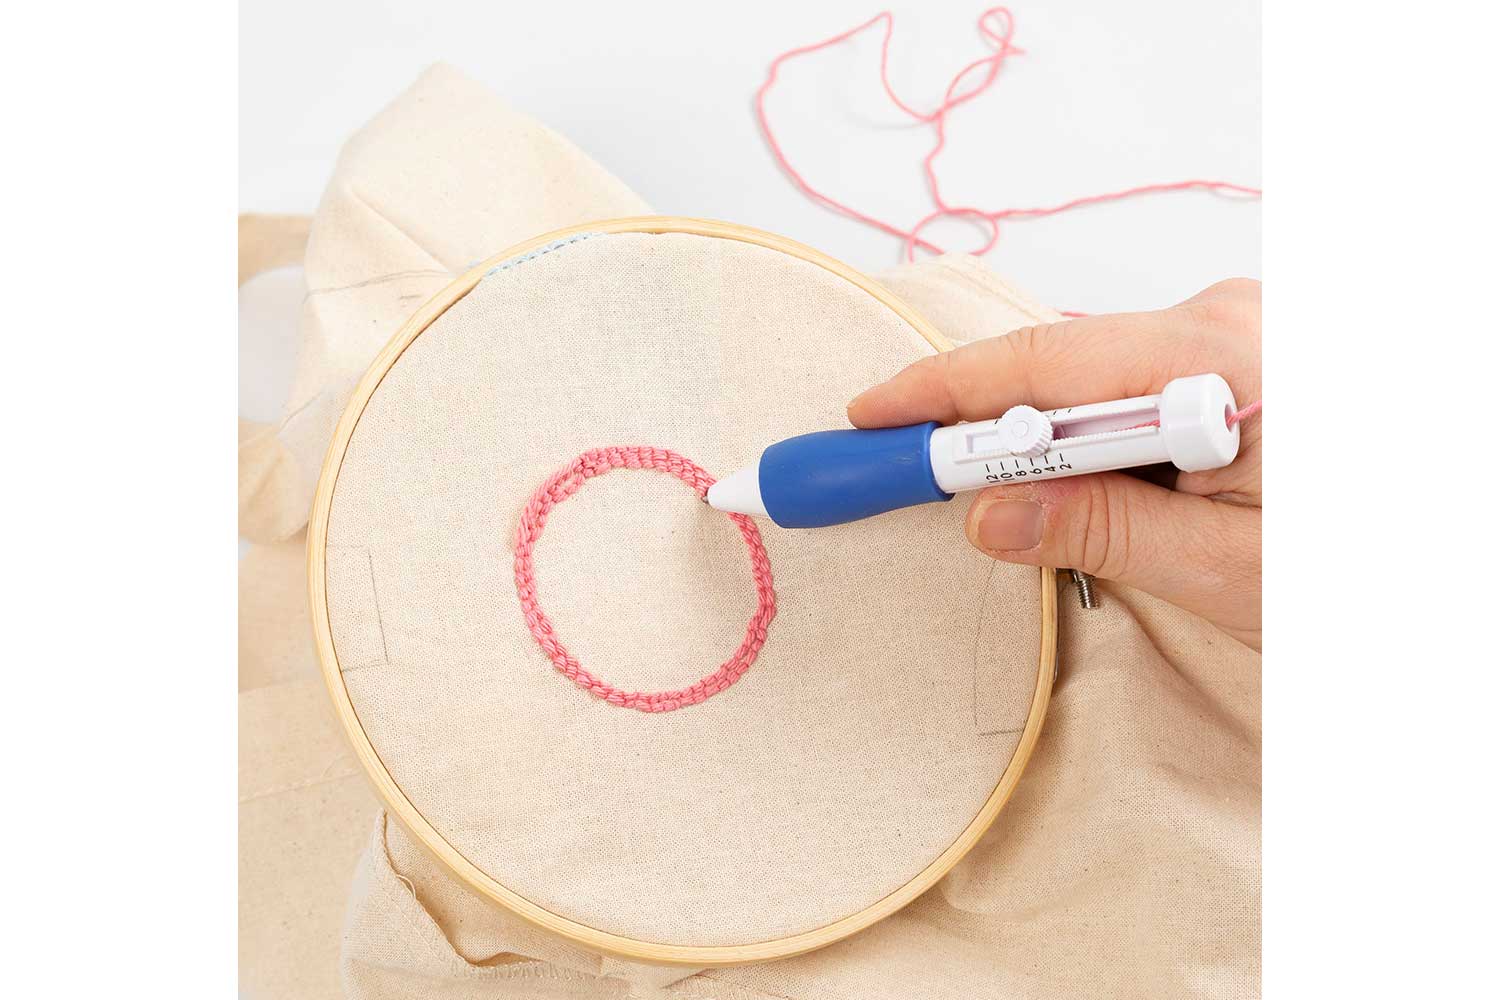
Attach an embroidery hoop around a design. Make sure the fabric is taut to facilitate the needle's action for the next steps.
Step 4
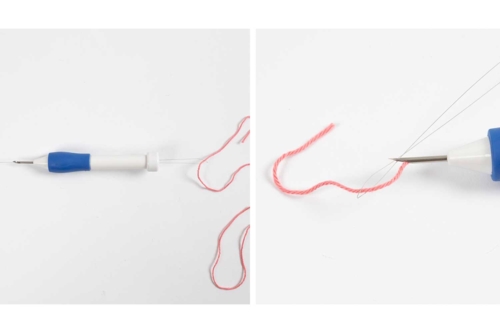
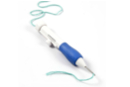
Prepare your needle:
1- Thread the yarn through the needle. To do this, use a needle threader from the back of the handle to the tip of the needle.
2- Insert the needle threader into the small hole located at the tip of the needle and pass the yarn through the loop of the threader. Now
thread the yarn through the needle.
3- Now that the yarn is in the tip of the needle, adjust its length to 5 (the longer the needle, the larger the loops).
Step 5
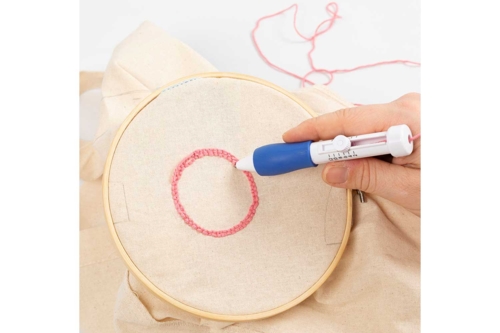
You can now start stitching.
"Punch" with a stitch length of about 2-3 mm. The needle should be inserted almost completely each time you go through the fabric. Start along the edge of each design and work towards the center.
Step 6
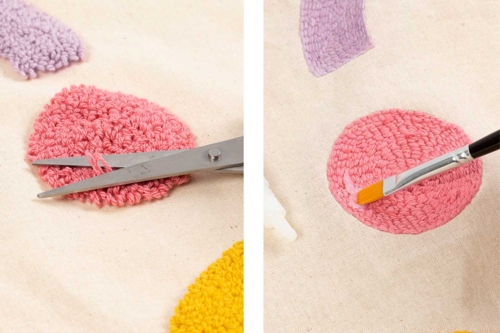
Once all the patterns are embroidered, trim the excess thread ends.
Then glue to the back using textile glue or white glue with a brush.
Allow the glue to dry. Then flip the bag to the right side, your bag is now complete!
Materials Needed:
Materials Needed:



Extra Quality 100% Cotton Ball - Orange
Réf. 44274 - Similar product
3,29€
Available from January 2027



Other tutorials on the theme "Sewing Tutorials"







 5/5


Customer review
Give your feedback
Embroidered Punch Needle Bag
Be the first to share your review of this product.
Post a review