


Your cart is empty.
Snowman with Ice Sticks
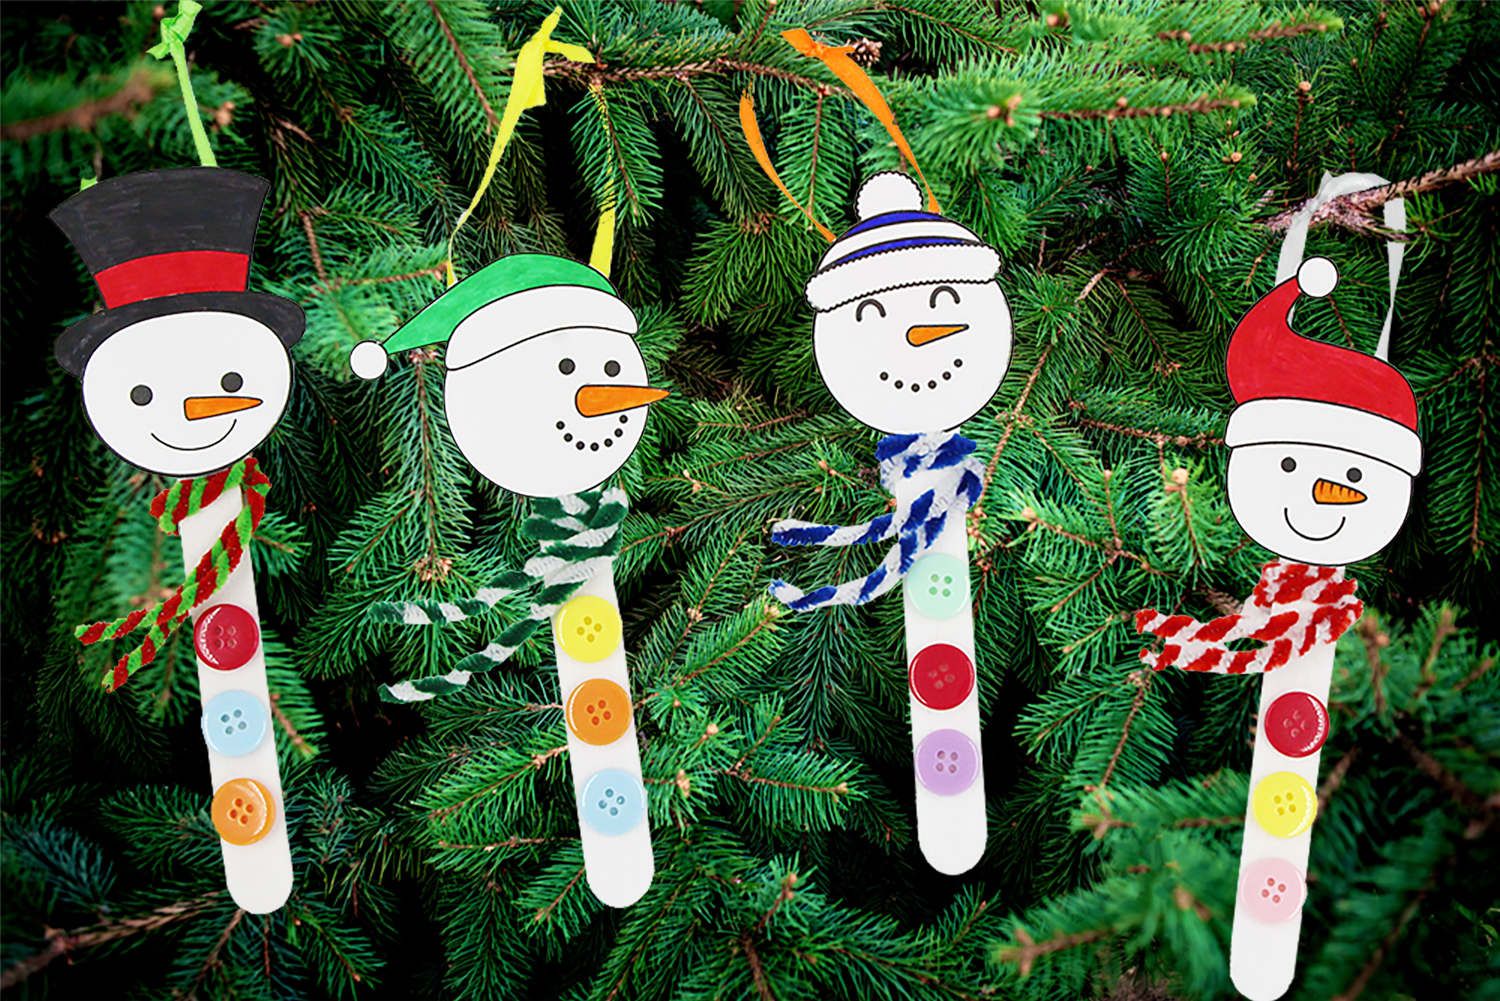

Snowman with Ice Sticks
In this tutorial, you will learn how to transform wooden sticks into snowmen that you can hang on the Christmas tree.
An easy and fun Christmas craft, perfect for children!
TIP: To download and print our Christmas templates, click here or on "printable template" on the second photo.
Thèmes de l'idéa créa :
#I'm Making an Advent Calendar
#Craft Tutorials
#Winter Tutorials
#Christmas Ornement
How to make this craft step-by-step:
Materials
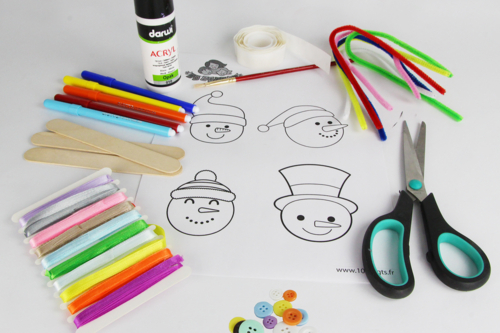
To make a snowman, you will need:
- A snowman face template to print
- A large wooden stick (length = 15 cm)
- Multicolored chenille stems (30 cm x Ø 6 mm)
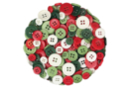
- Colored plastic round buttons
- Satin ribbon (width = 6 mm)
- Medium tip markers
- White acrylic paint and a brush
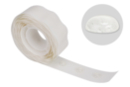
- Adhesive glue dots
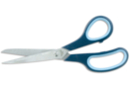
- A pair of scissors
Step 1
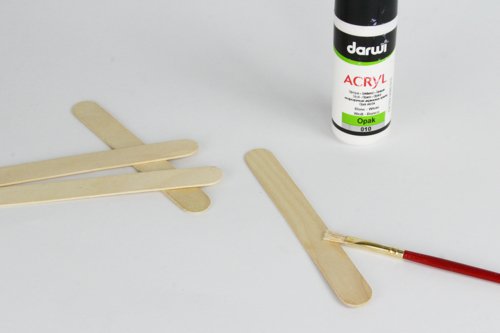
Paint the wooden stick with white acrylic paint and then let it dry for about 30 minutes.
Step 2
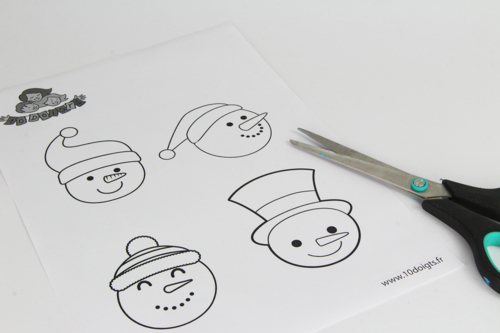
Click on « technical sheet » below the main photo at the top of the page to print our template.
Then cut out the face of the snowman you wish to use for your creation.
Step 3
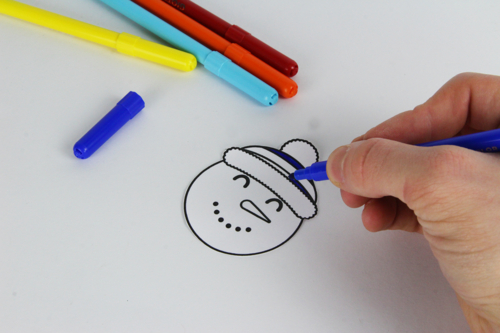
Color the snowman's head with the markers.
Step 4
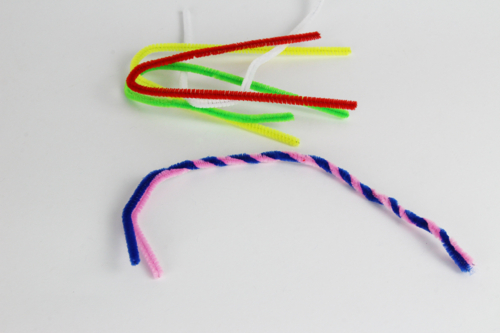
Take 2 pipe cleaners of different colors and twist them together to make the snowman's scarf.
Step 5
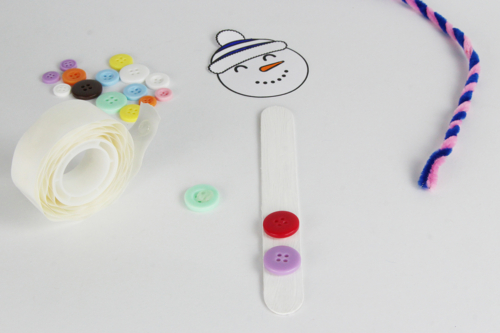
Glue 3 plastic buttons onto the wooden stick using adhesive gel pads.
Step 6
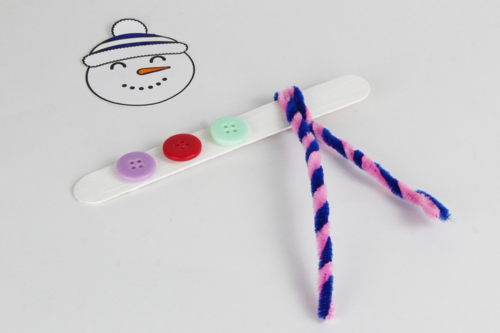
Wrap the twisted chenille stems around the wooden stick to secure the scarf, then adjust the length with a pair of scissors.
Step 7
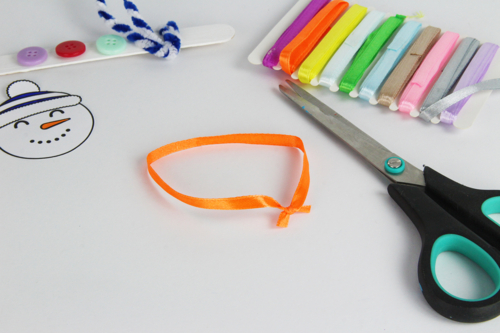
Cut about 25 cm of ribbon and then make a double knot to hang the snowman.
Step 8
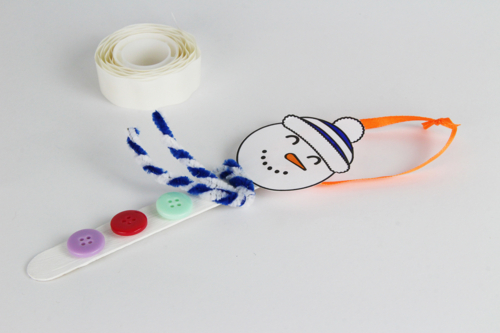
Stick an adhesive dot to the top of the stick, wrap the ribbon around it, and then attach the head of the snowman to the dot.
Materials Needed:
Materials Needed:


2,99€ (either 1,00 € / pc)
Available

2,99€
Available


3,99€ (either 0,13 € / pc)
Available







very nice and inexpensive activity!
activité très sympa et peu coûteuse!