


Your cart is empty.
Witch Hat
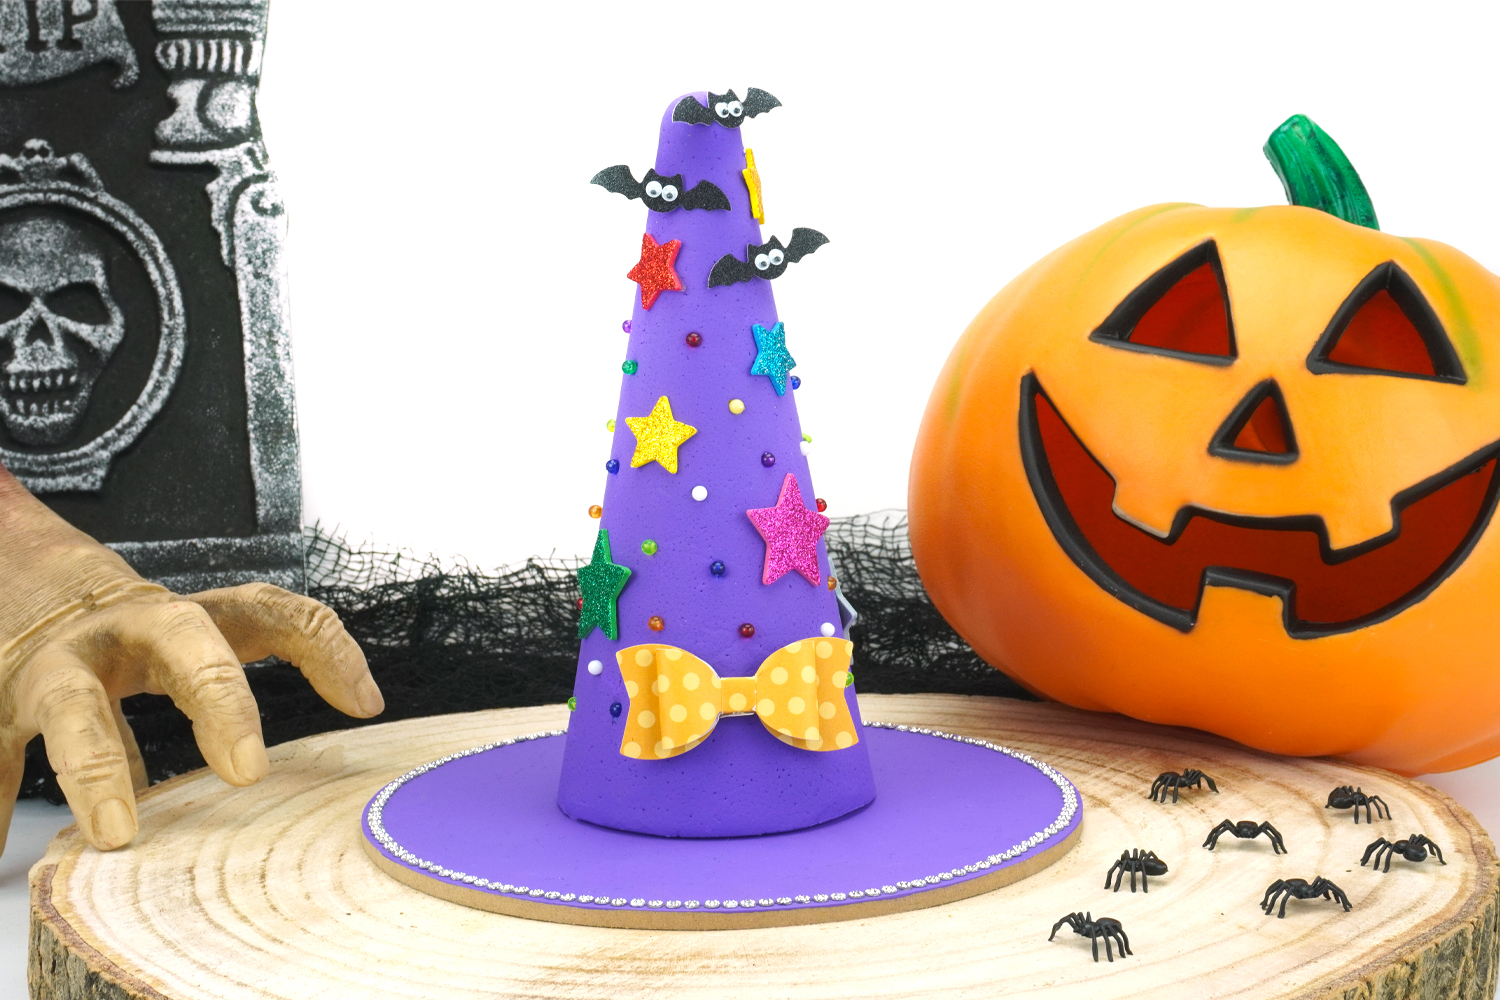
Witch Hat


Create a unique Halloween craft by making a decorative witch hat.
This activity includes painting, sticker collage, and using plastic pins. It's an easy and fun project suitable for children from a young age.
To enhance this activity, check out our Halloween stickers for preschoolers. They are perfect for collage activities and early independent creations.
Thèmes de l'idéa créa :
#Halloween Tutorials
How to make this craft step-by-step:
Materials
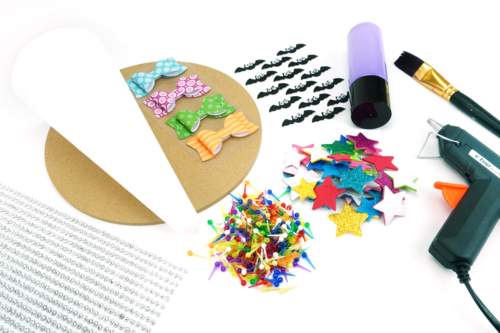
To make a witch hat, you will need:
- a round wooden base (Ø 20 cm)
- a polystyrene cone (20 cm)
- acrylic paint and a brush
- a bow tie sticker
- star stickers
- plastic pins
- bat stickers
- adhesive rhinestone strips
- a glue gun
Step 1
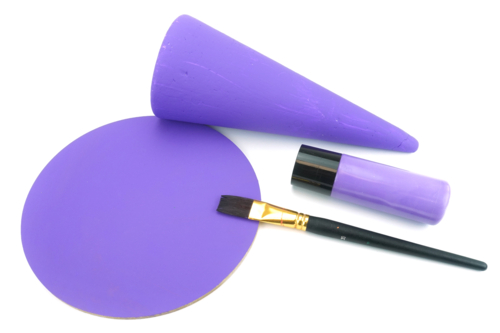
Paint the wooden base and the polystyrene cone with acrylic paint, then let them dry for about an hour.
Step 2
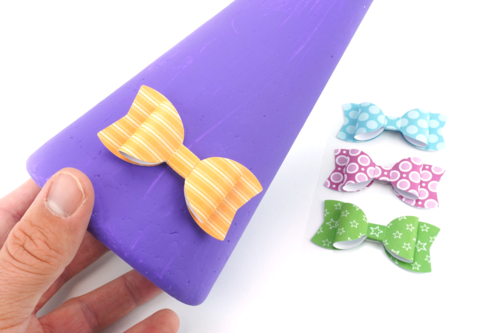
Attach a bow tie sticker to the base of the cone.
Step 3
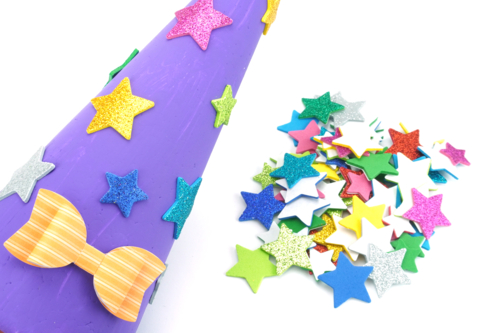
Decorate the cone with star stickers.
Step 4
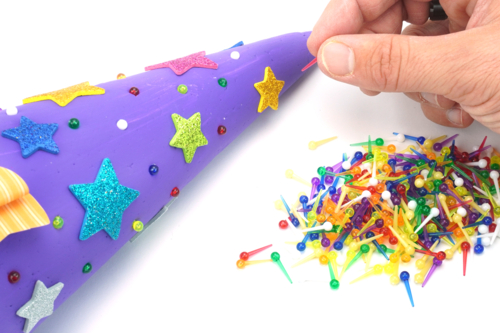
Insert colourful plastic pins into the polystyrene to add extra colour.
Step 5
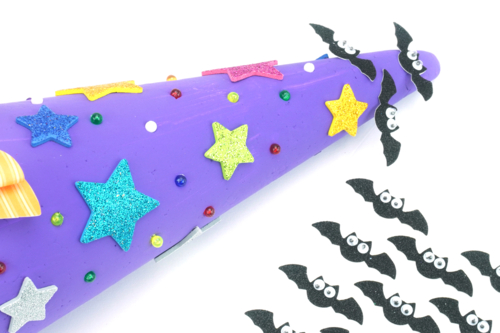
Glue a few small bats to the top of the hat.
Step 6
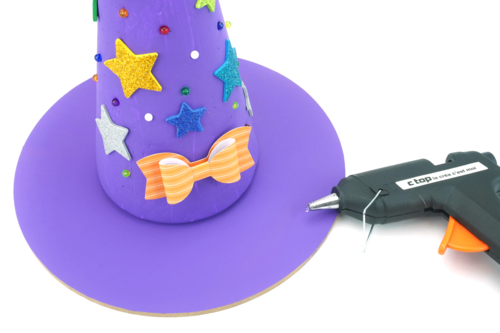
Attach the polystyrene cone to the centre of the wooden base using a glue gun.
Step 7
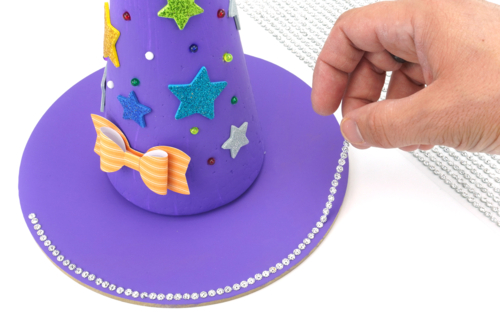
Decorate the edge of the hat with adhesive rhinestone strips.
Materials Needed:
Materials Needed:

5,94€ (either 0,99 € / pc)
Available


3,79€
Available

2,99€ (either 1,00 € / pc)
Available



3,99€
Available

Other tutorials on the theme "Halloween Tutorials"




 5/5


Vos créations inspirées par ce tuto
Customer review
Give your feedback
Witch Hat
Be the first to share your review of this product.
Post a review