


Your cart is empty.
Autumn Tree with Tissue Paper
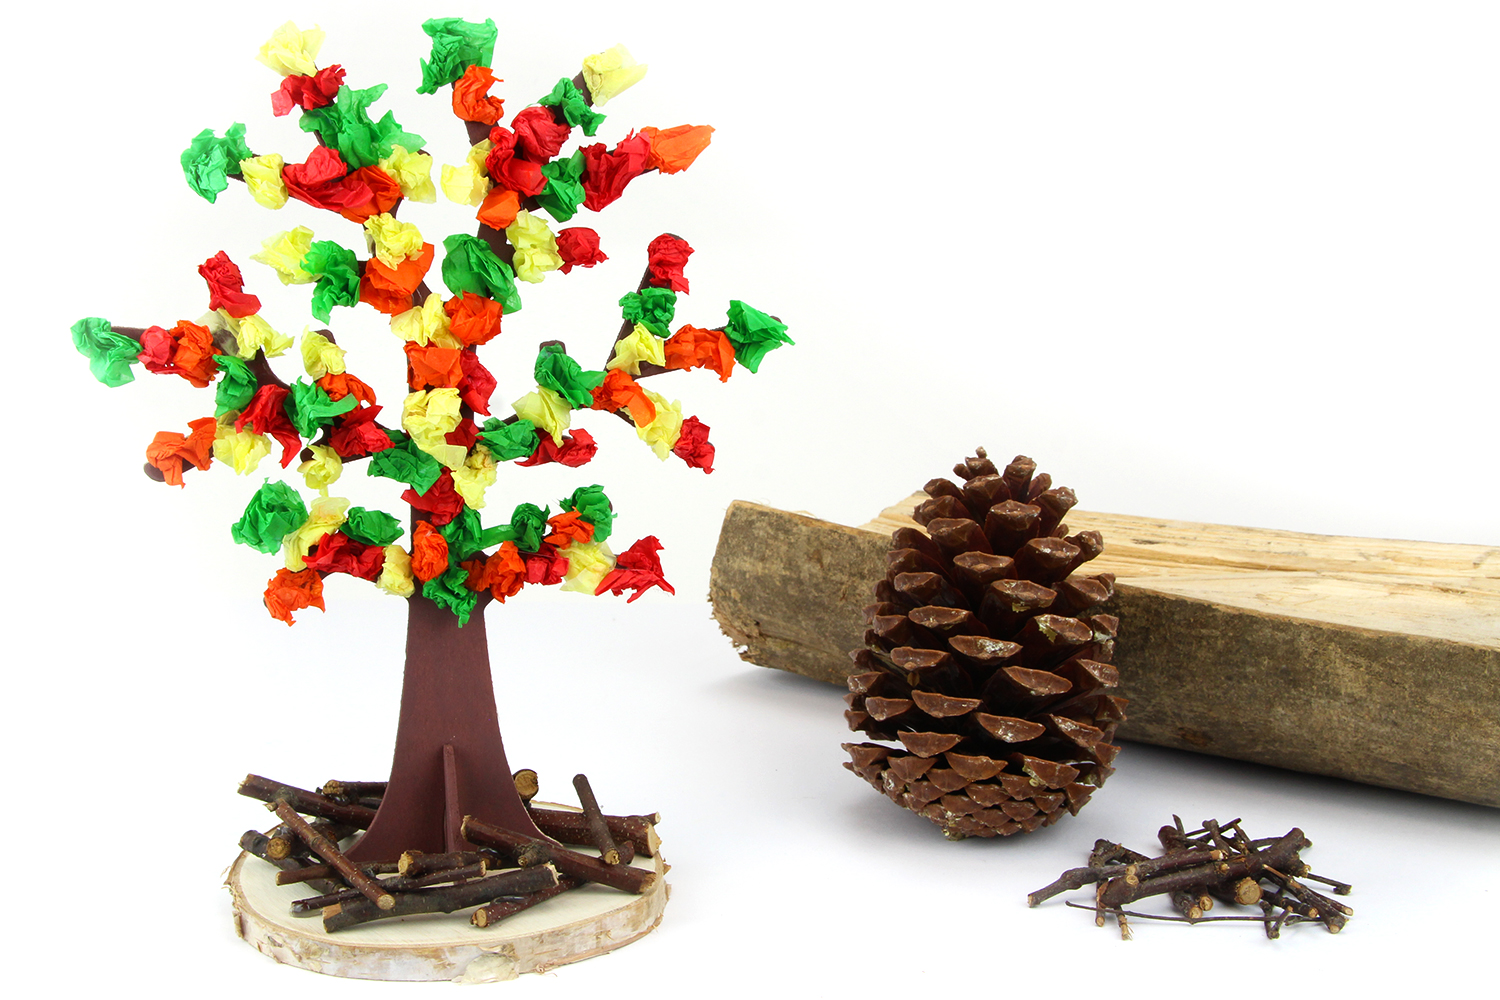
Autumn Tree with Tissue Paper

Cutting, gluing, and painting are on the agenda for this creative activity that will allow children to create a beautiful tree in autumn colors!
How to make this craft step-by-step:
Materials
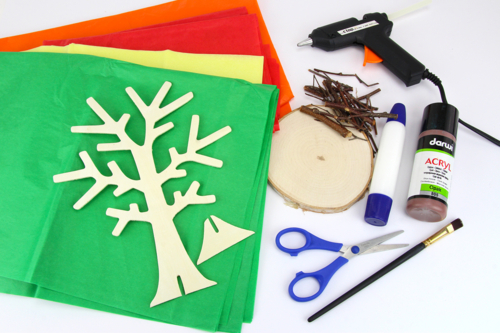
For this activity, you will need:
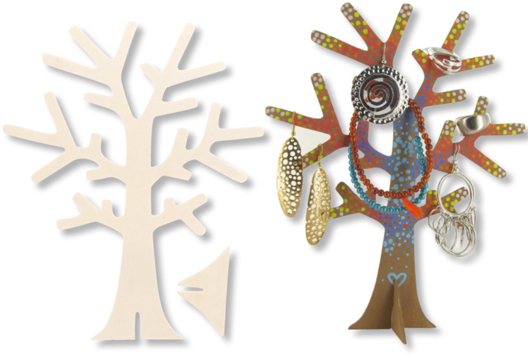
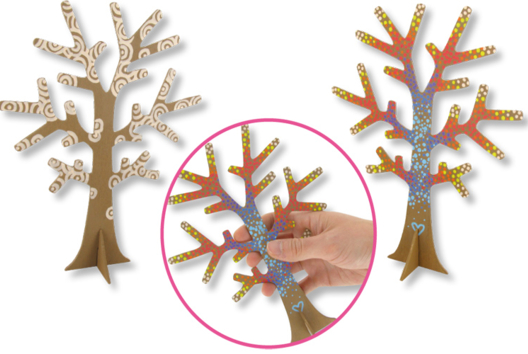
- a wooden tree
- brown acrylic paint
- a brush
- tissue paper (red, green, yellow, orange)
- a wood slice Ø 10 cm
- wooden twigs
- a tube of strong white glue
- a glue gun
- a pair of scissors
Step 1
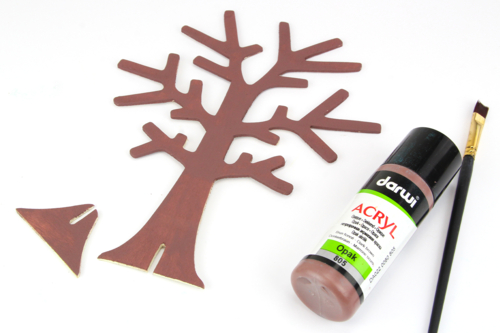
Paint the wooden tree with brown paint and let it dry for about 30 minutes.
Step 2
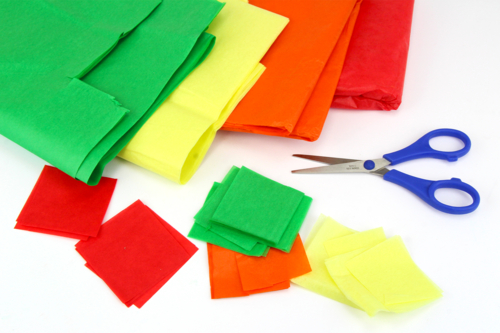
Cut approximately 100 squares of tissue paper measuring 5 x 5 cm.
Choose autumn colors (green, red, yellow, orange...).
Step 3
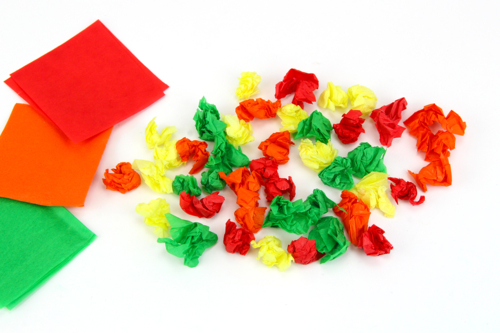
Make small balls with the tissue paper squares.
Step 4
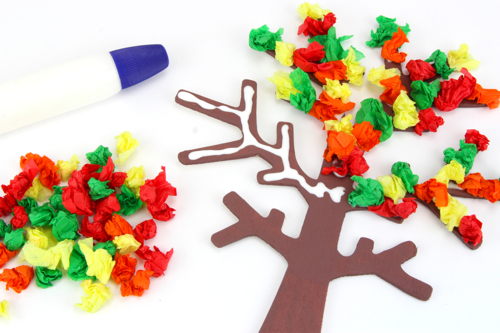
Apply strong white glue on the branches and then stick the tissue paper balls to create the foliage of the tree.
Step 5
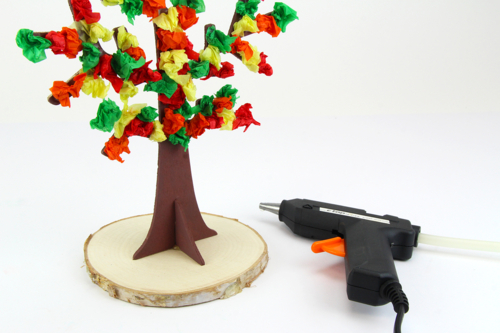
Glue the tree onto a piece of wood using a glue gun.
Step 6
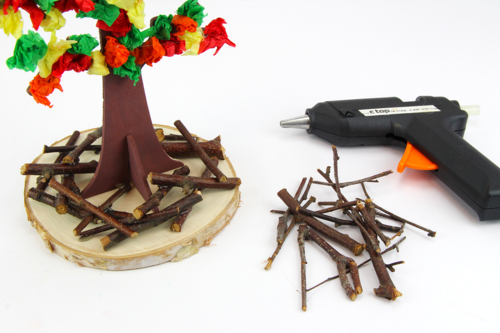
Decorate the wooden support by gluing small twigs.
Materials Needed:
Materials Needed:

Wood Jewelry Tree Holders - 4 Pieces
Réf. 15307 - See the full range
5,56€ (either 1,39 € / pc)
Available


2,99€ (either 1,00 € / pc)
Available

4,99€
Available

Wooden Discs Ø 8 to 11 cm - 6 Pieces
Réf. 36020 - Product sheet
5,96€ (either 0,99 € / pc)
Available


 5/5




Vos créations inspirées par ce tuto
Customer review
Give your feedback
Autumn Tree with Tissue Paper
Be the first to share your review of this product.
Post a review