


Your cart is empty.
Skeleton keychain in macramé
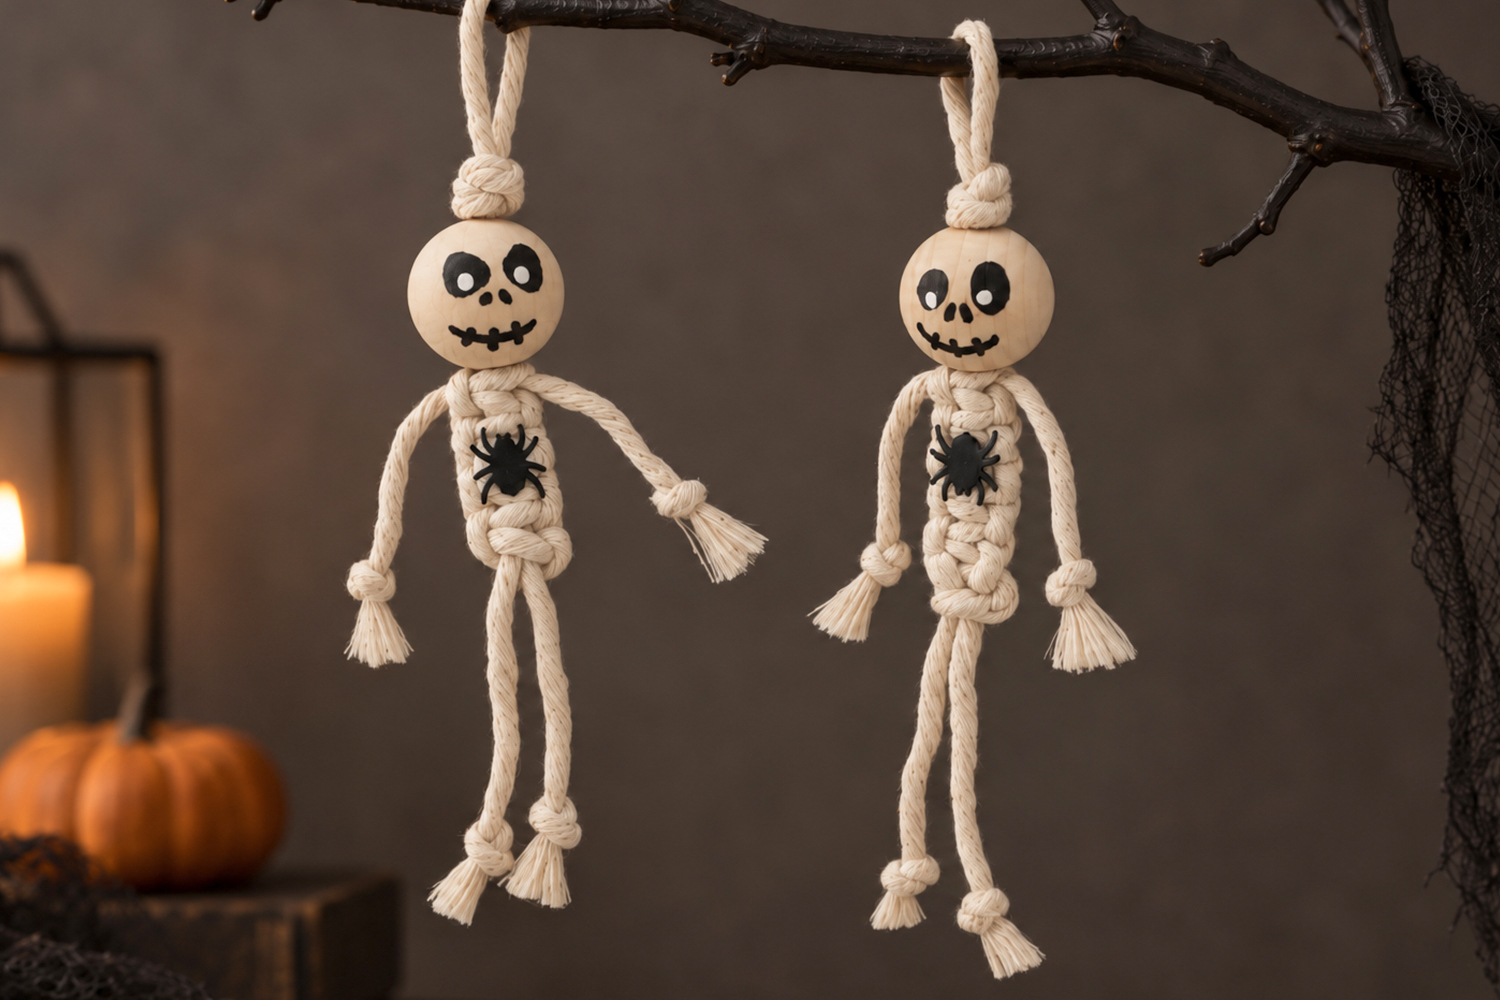
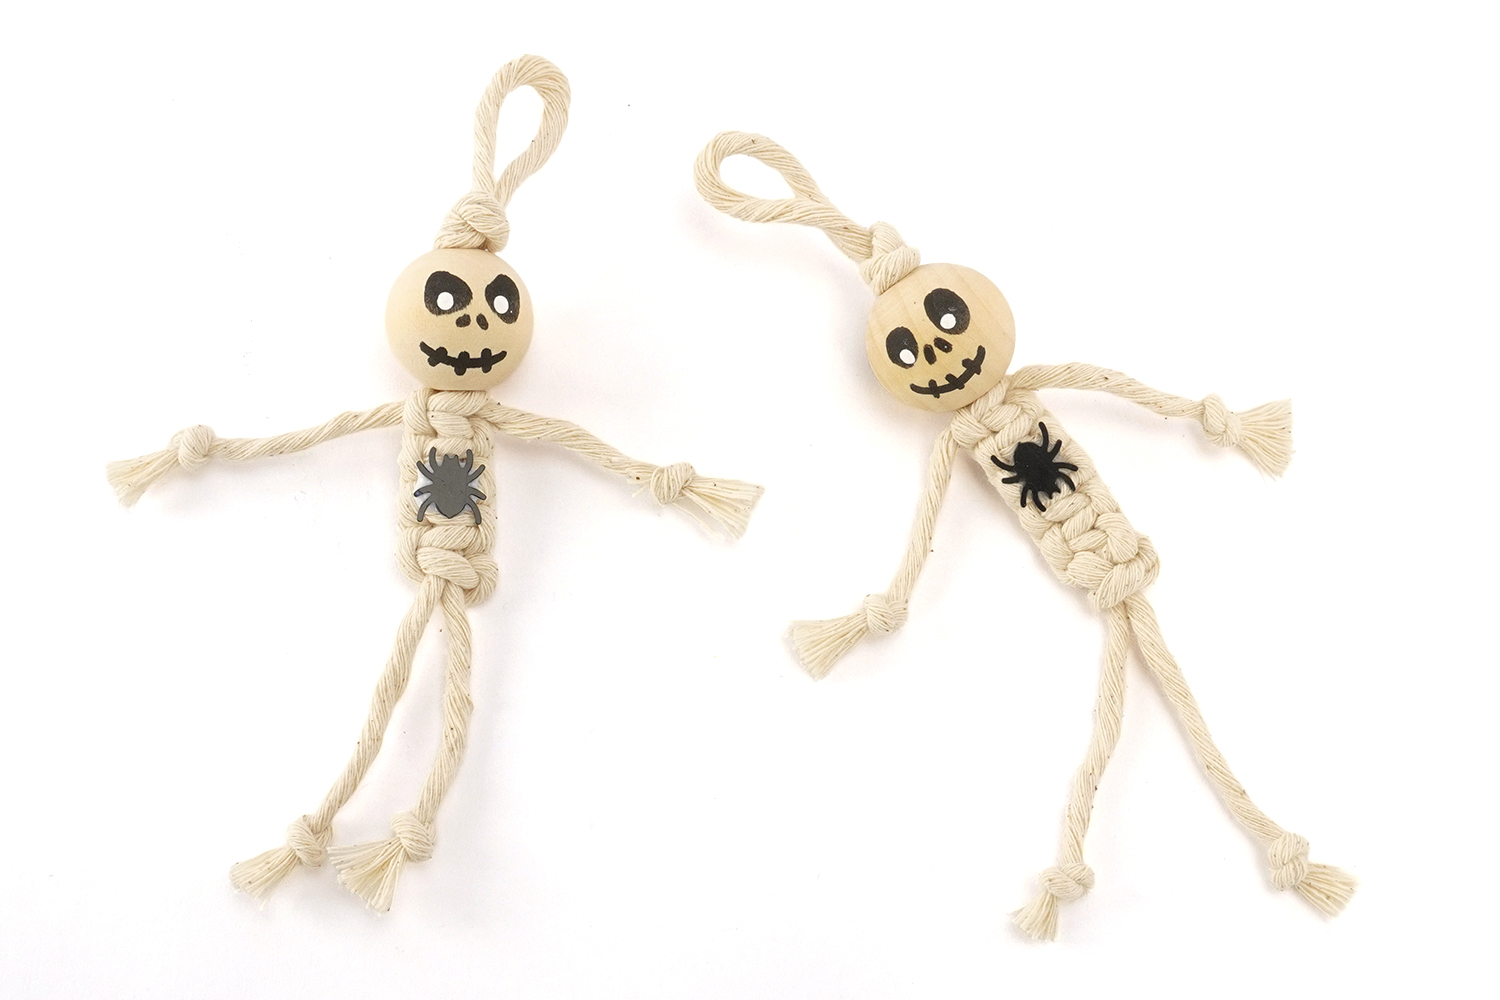


Skeleton keychain in macramé


Create a skeleton keyring using a wooden bead and macramé cord. With a few simple knots, your kids can bring to life a fun little skeleton that helps develop their creativity, fine motor skills and concentration. This Halloween craft for ages 6 and over lets them make a unique character to hang on a bag, pencil case or decorative branch to complete your Halloween decorations at home.
Why your kids will love this craft:
- A fun introduction to macramé: This project teaches the flat knot technique in an engaging way.
- The combination of cotton cord and wooden bead creates a boho Halloween look, far from disposable plastic toys.
- Passing the cords under and over the central strands develops bilateral coordination, dexterity and focus.
Thèmes de l'idéa créa :
#Halloween Tutorials
How to make this craft step-by-step:
Materials
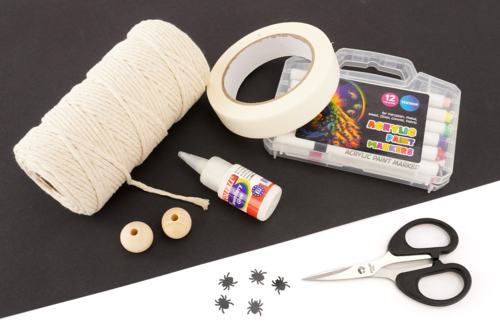
To make the skeleton you will need:
- a spool of cotton macramé cord (3.5 mm diameter)
- a wooden bead (2.5 cm diameter)
- a small spider decoration
- acrylic markers
- special glue for rhinestones and jewellery
- scissors
- masking tape
Step 1
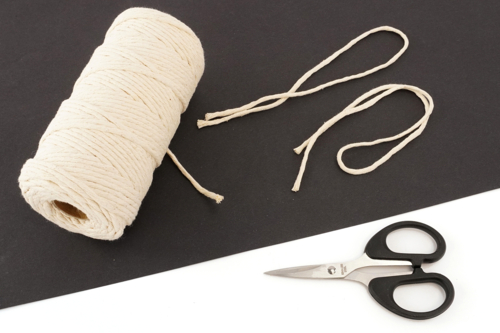
Cut two pieces of macramé cord about 60 cm long.
Step 2
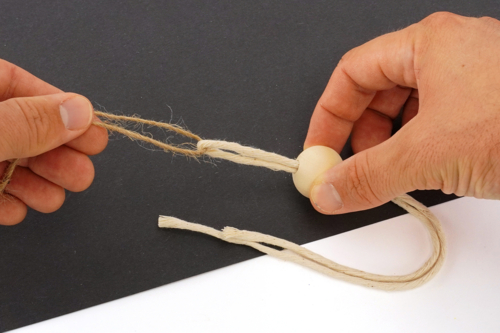
Fold the first cord in half and thread it through the wooden bead.
Tip: Use a thinner piece of string to help pull the cord through the bead more easily.
Step 3
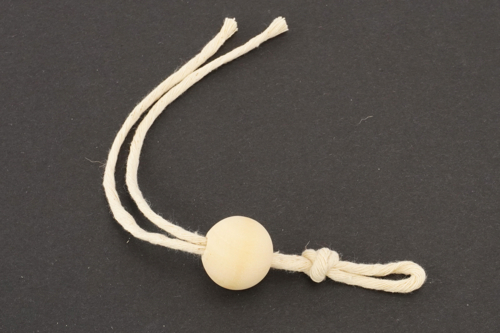
Tie a knot to create the keyring loop.
Step 4
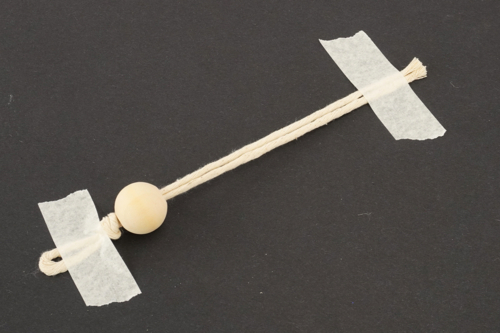
Place the cord in front of you with the loop facing you, then stick two pieces of masking tape at each end to hold it in place.
Step 5
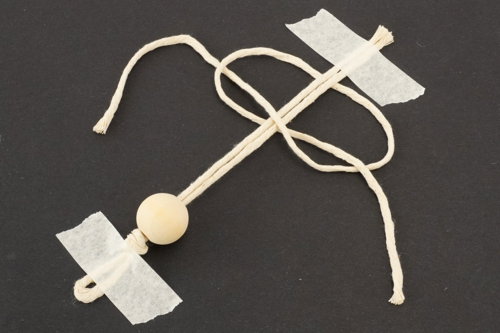
Here is how to make the knot used in this craft:
- Place the second cord under the two central strands.
- Take the right outer cord and pass it over the two central strands to form a loop on the right.
- Take the left outer cord, pass it over the end of the right cord, then under the two central strands. Pull the left cord through the loop formed on the right.
- Gently pull the two outer cords to tighten the knot around the central strands.
Step 6
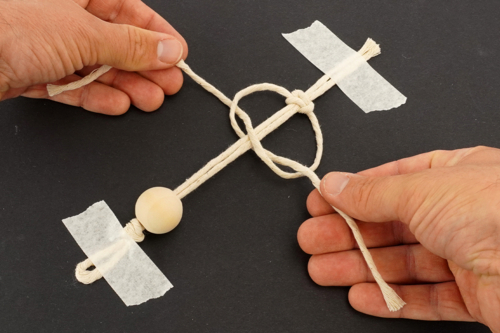
Repeat the same knot, alternating the starting side (once on the right, once on the left) for about 10 rows.
Note: Alternating right and left is important to create a straight, flat weave.
Step 7
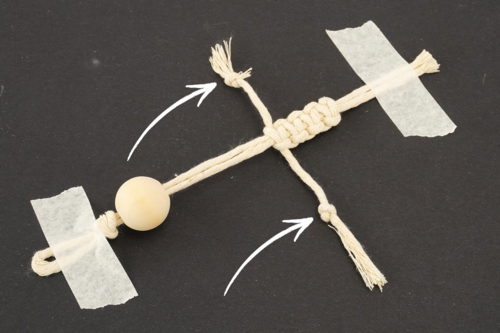
Make two knots to finish the skeleton's arms.
Step 8
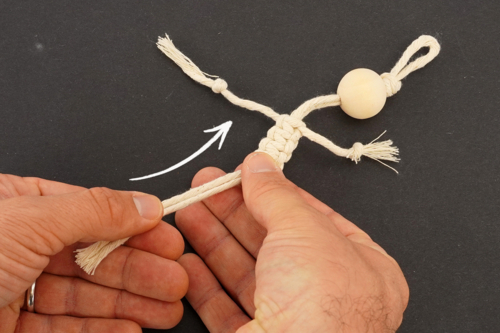
Slide the skeleton's body up to the wooden bead.
Step 9
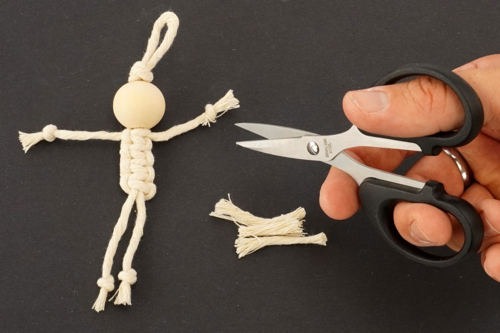
Tie two knots to finish the legs, then cut off the excess cord at the hands and feet.
Step 10
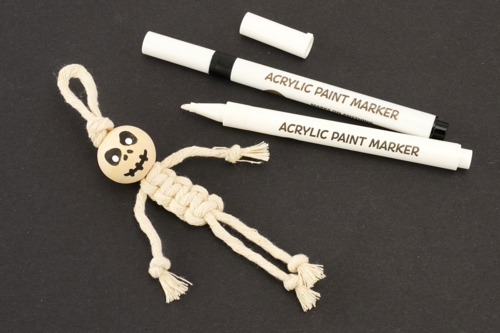
Use acrylic markers to draw the skeleton's face on the wooden bead.
Step 11
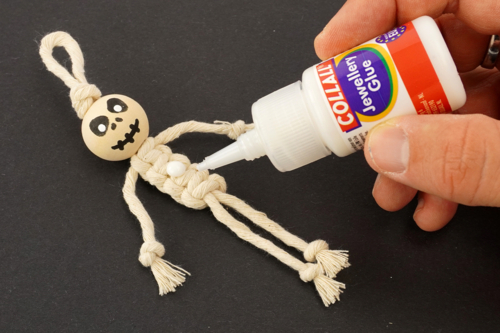
Put a dot of glue in the centre of the skeleton's body.
Step 12
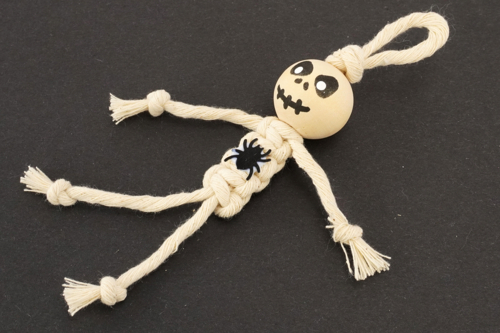
Place a small black spider on the glue dot, then let it dry for a few hours before handling the skeleton keyring.
Materials Needed:
Materials Needed:

12,90€
Available

2,99€ (either 0,25 € / pc)
Available



Other tutorials on the theme "Halloween Tutorials"





 1/5




Customer review
Give your feedback
Skeleton keychain in macramé
Be the first to share your review of this product.
Post a review